Assembly
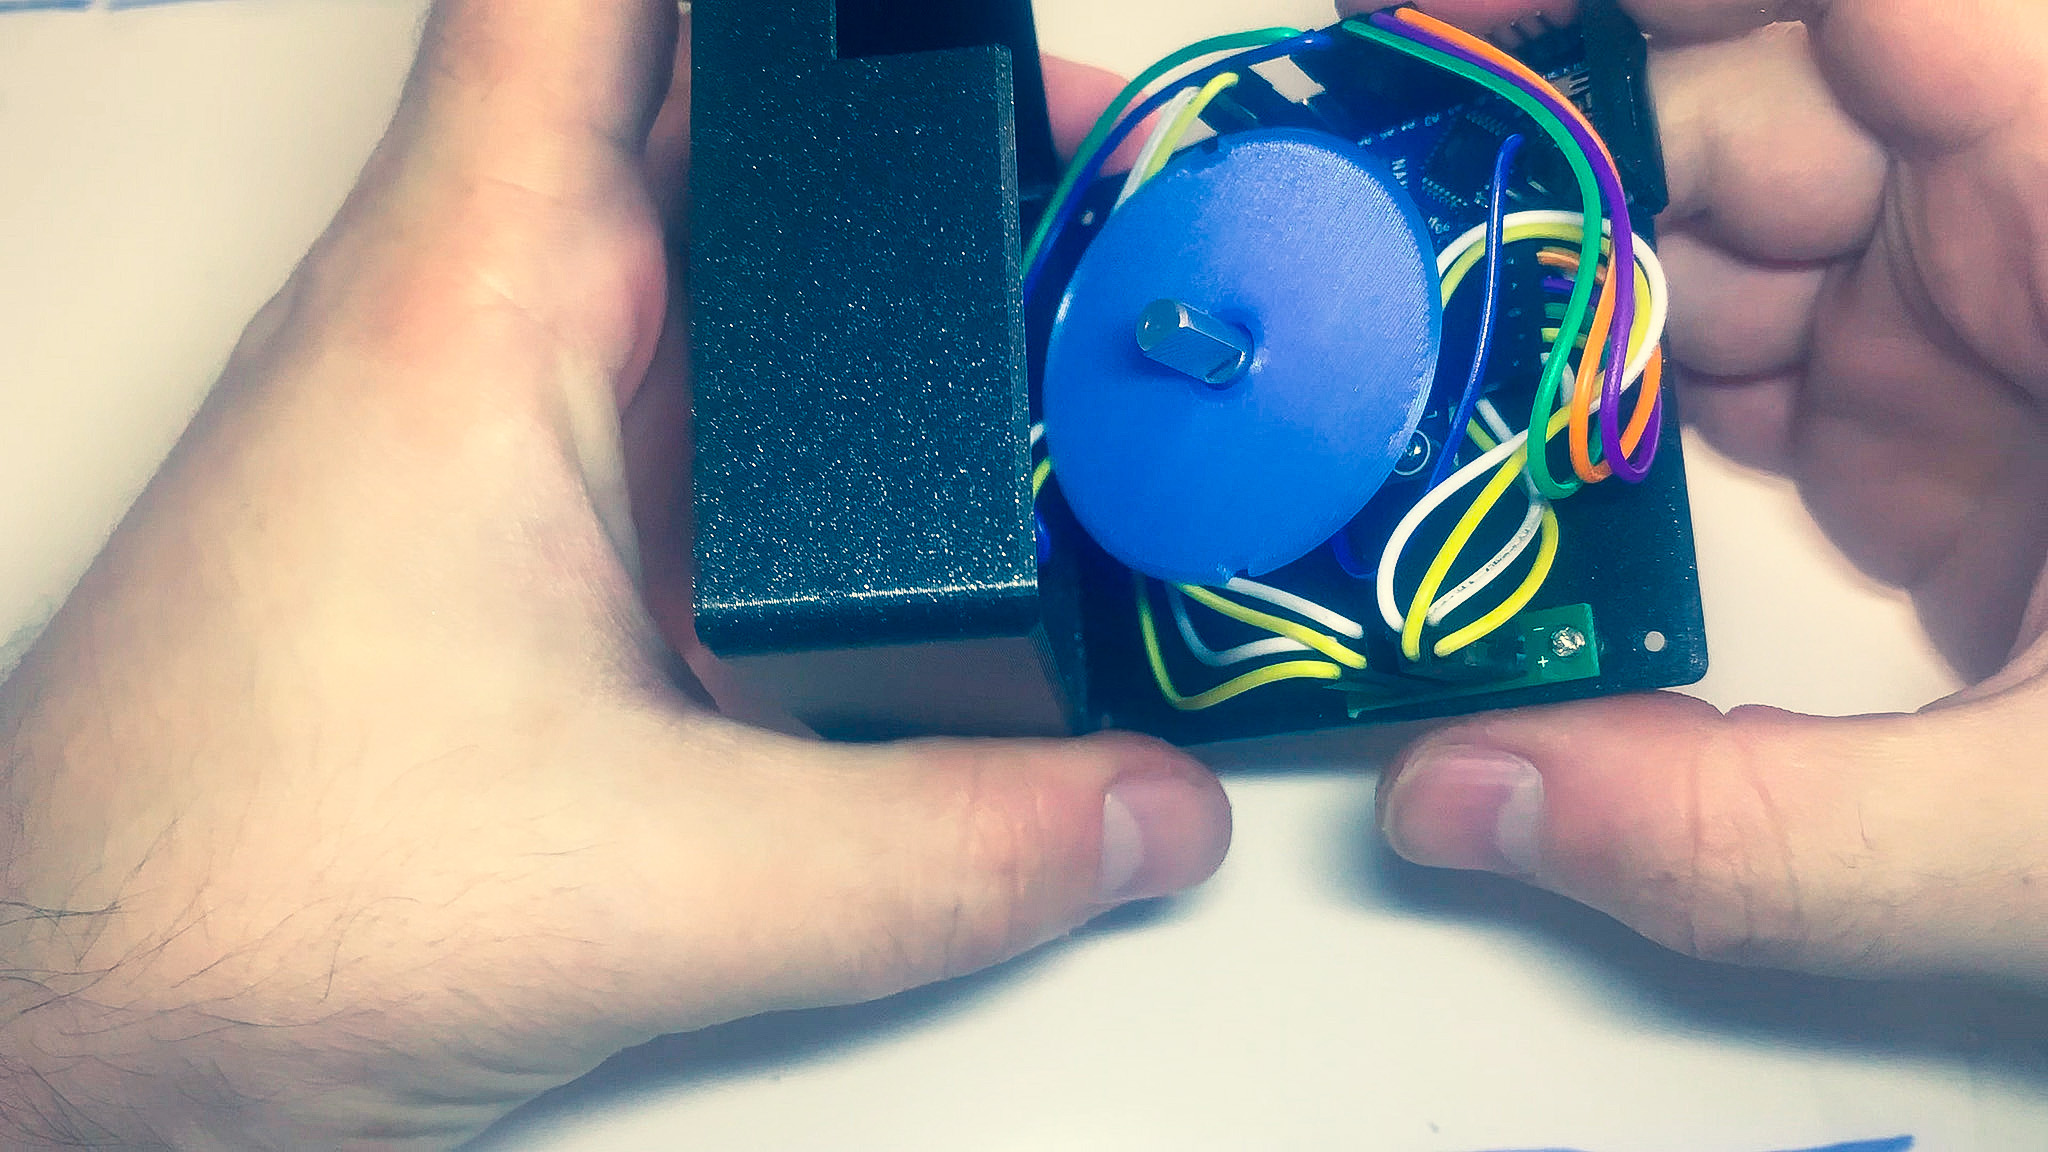
- Pass the shaft of the rotary encoder through the ring. Make sure that the little tab on the front of the encoder lines up with the notch on the bottom side of the ring and that it sits flush.
- Pre-bend and organize the wires so they are out of the way.
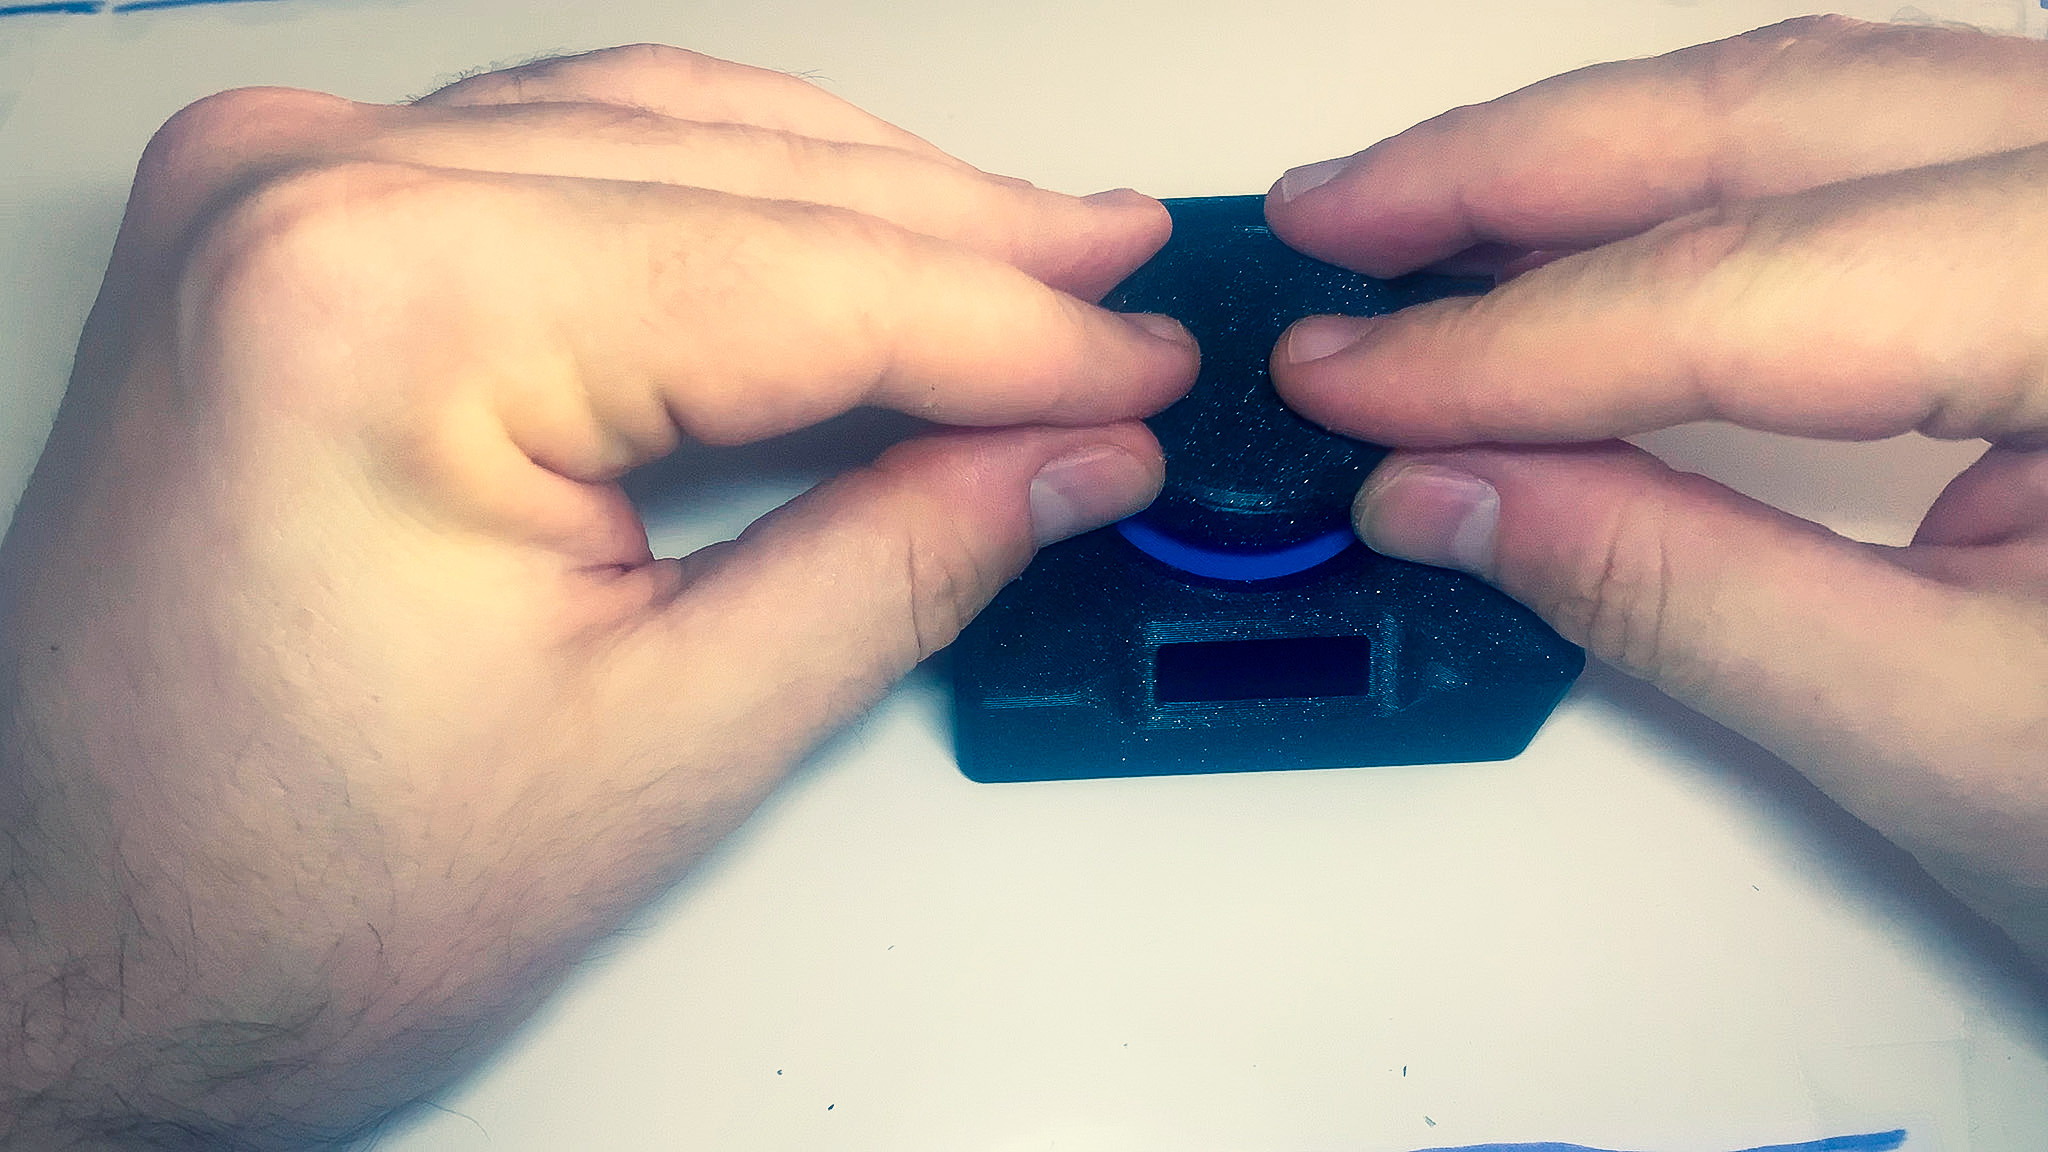
- Bring the top and bottom parts together until they snap in place.
- Take a look at the ring from the top and make sure it sits flush with the top part of the enclosure. If needed, push on the bottom part of the enclosure until it fits in place.
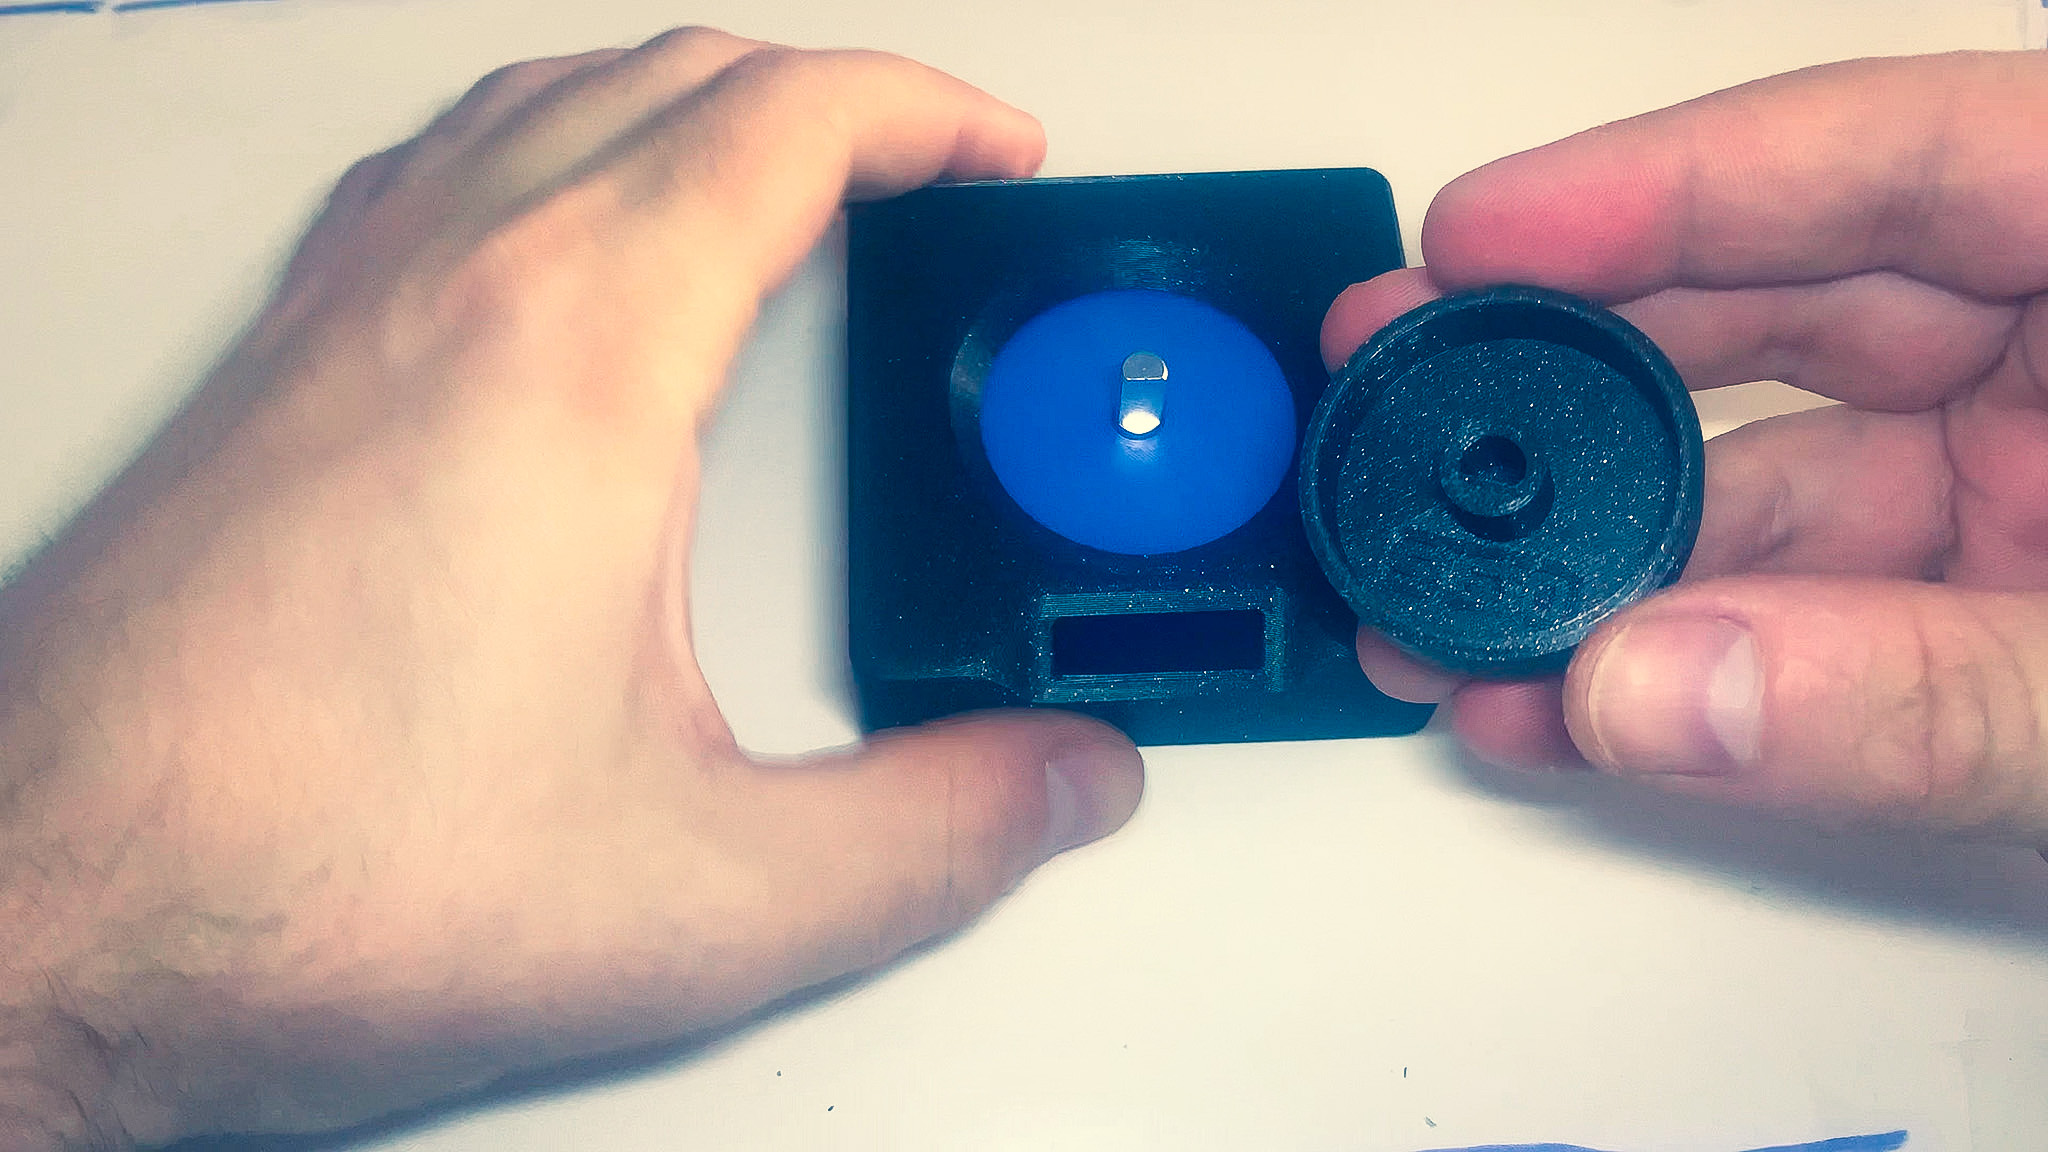
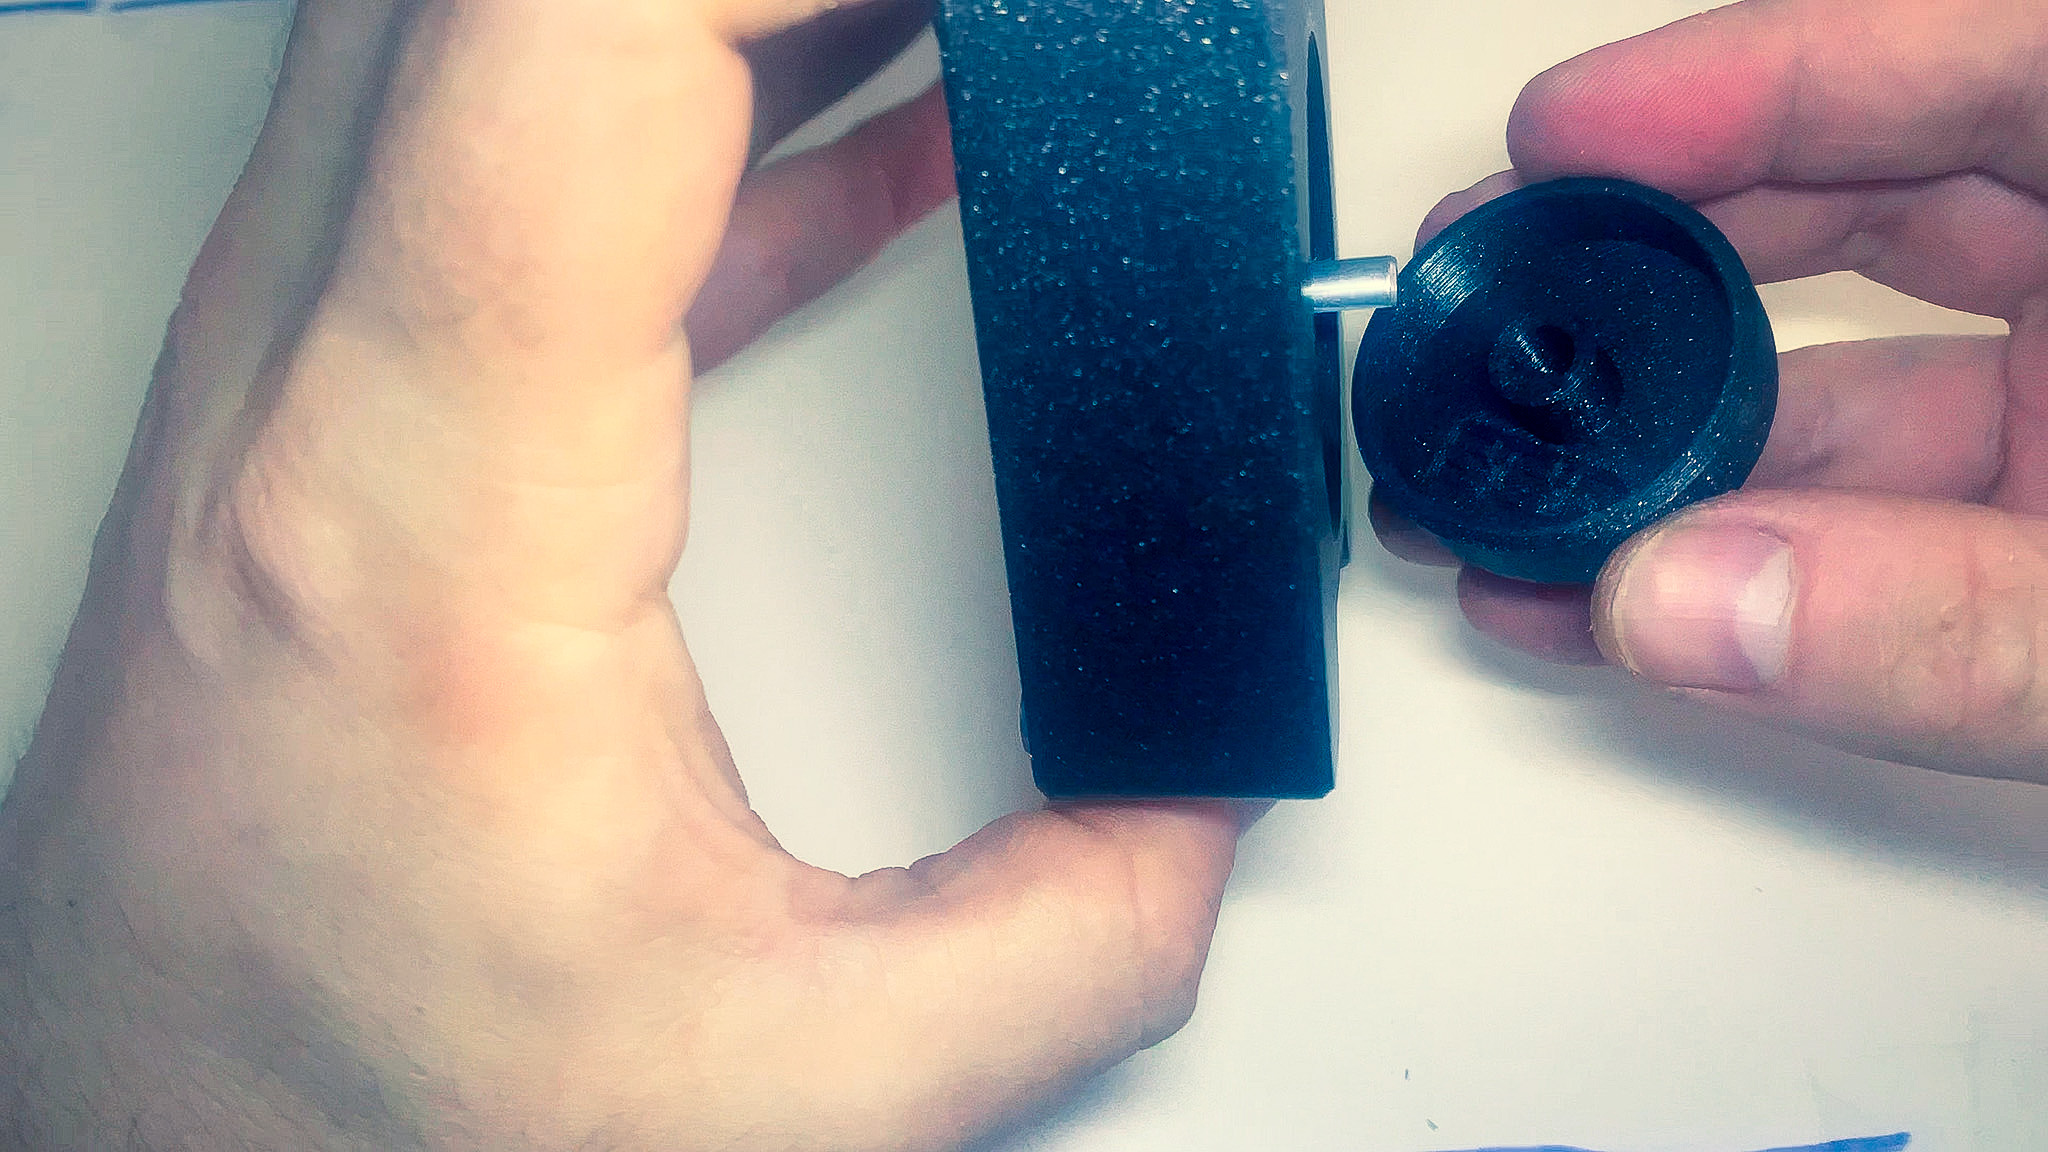
- Slide the knob on the shaft of the rotary encoder.
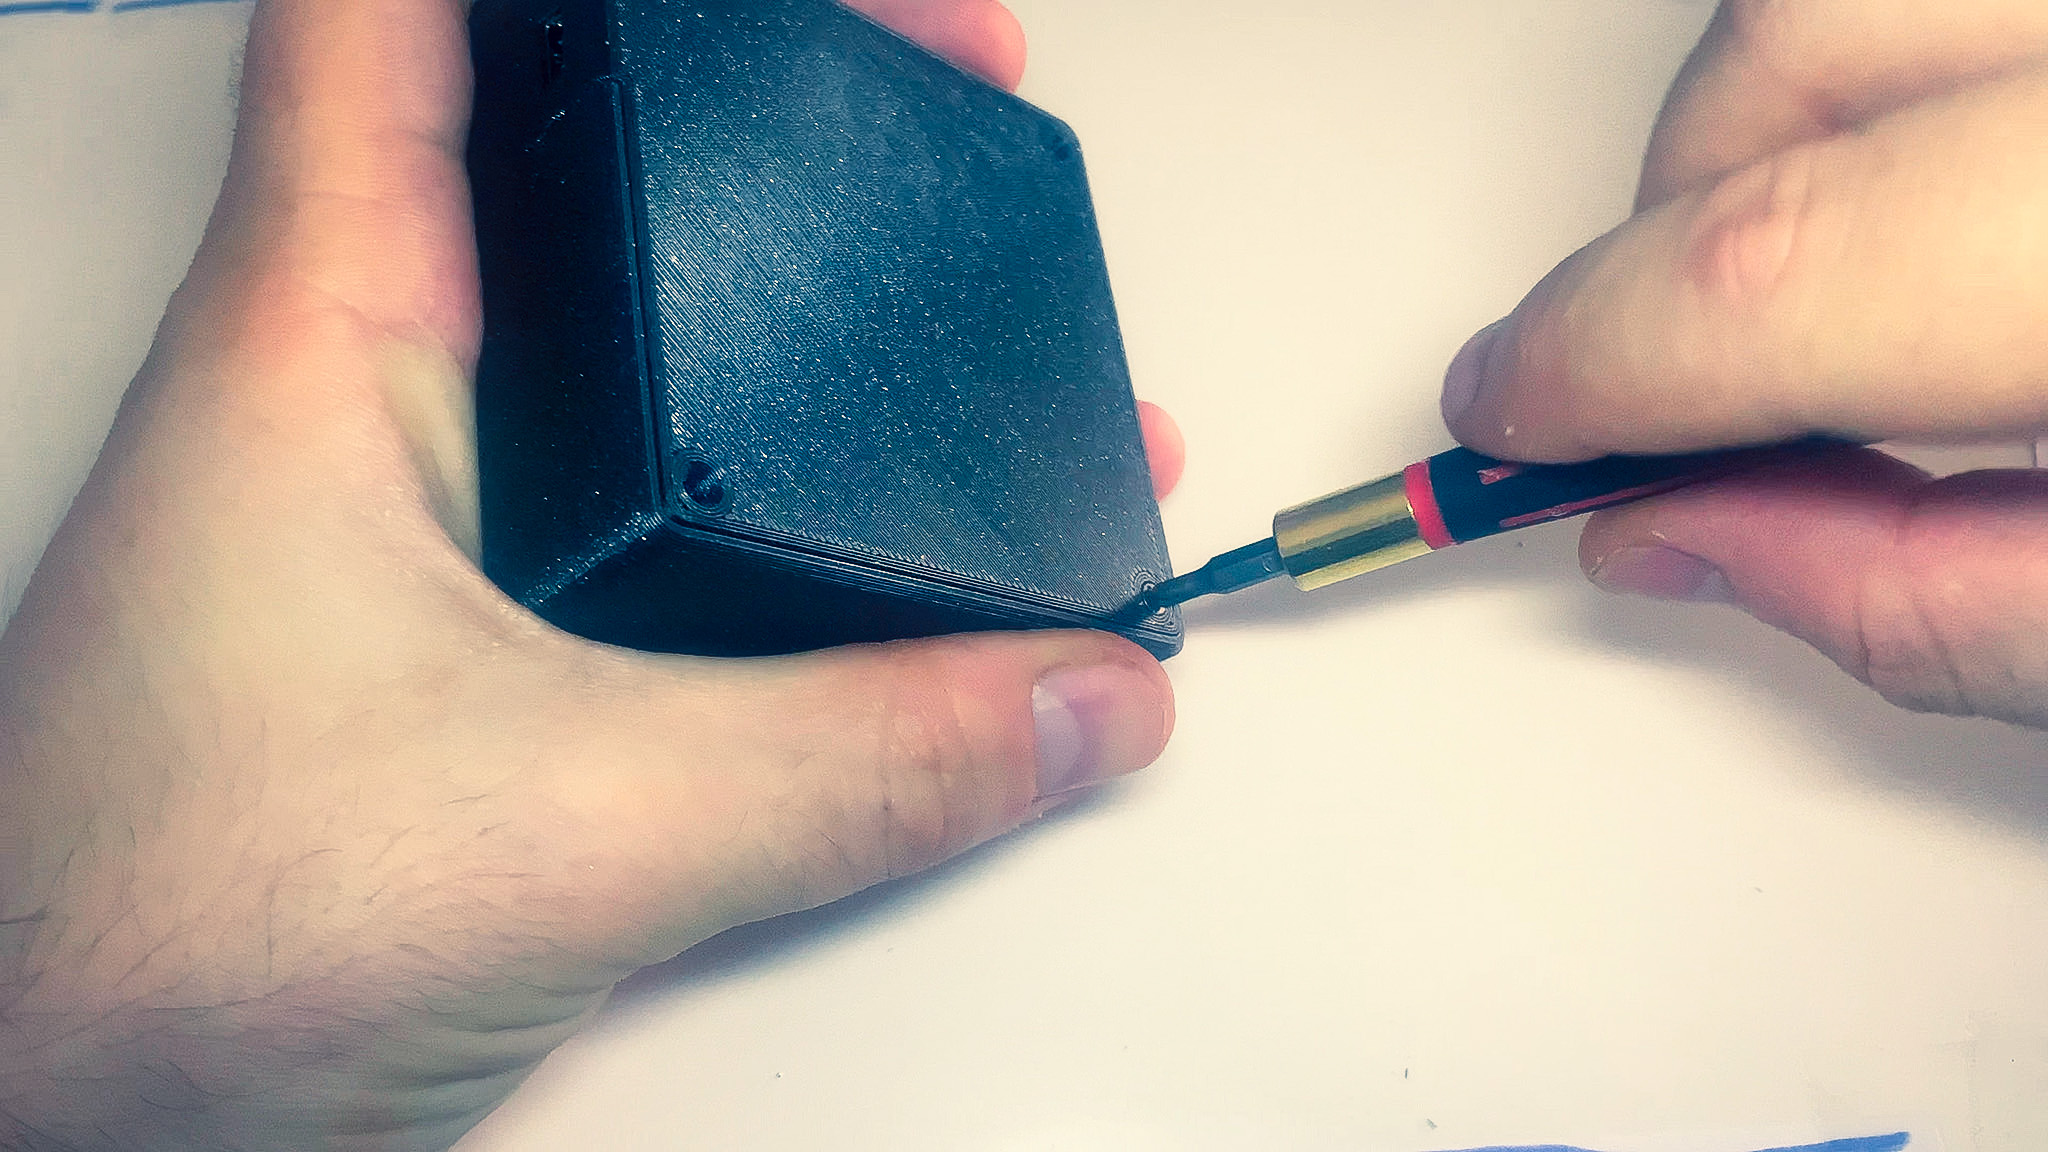
- Turn it upside down and use the 4 countersink screws to secure the two halves together.
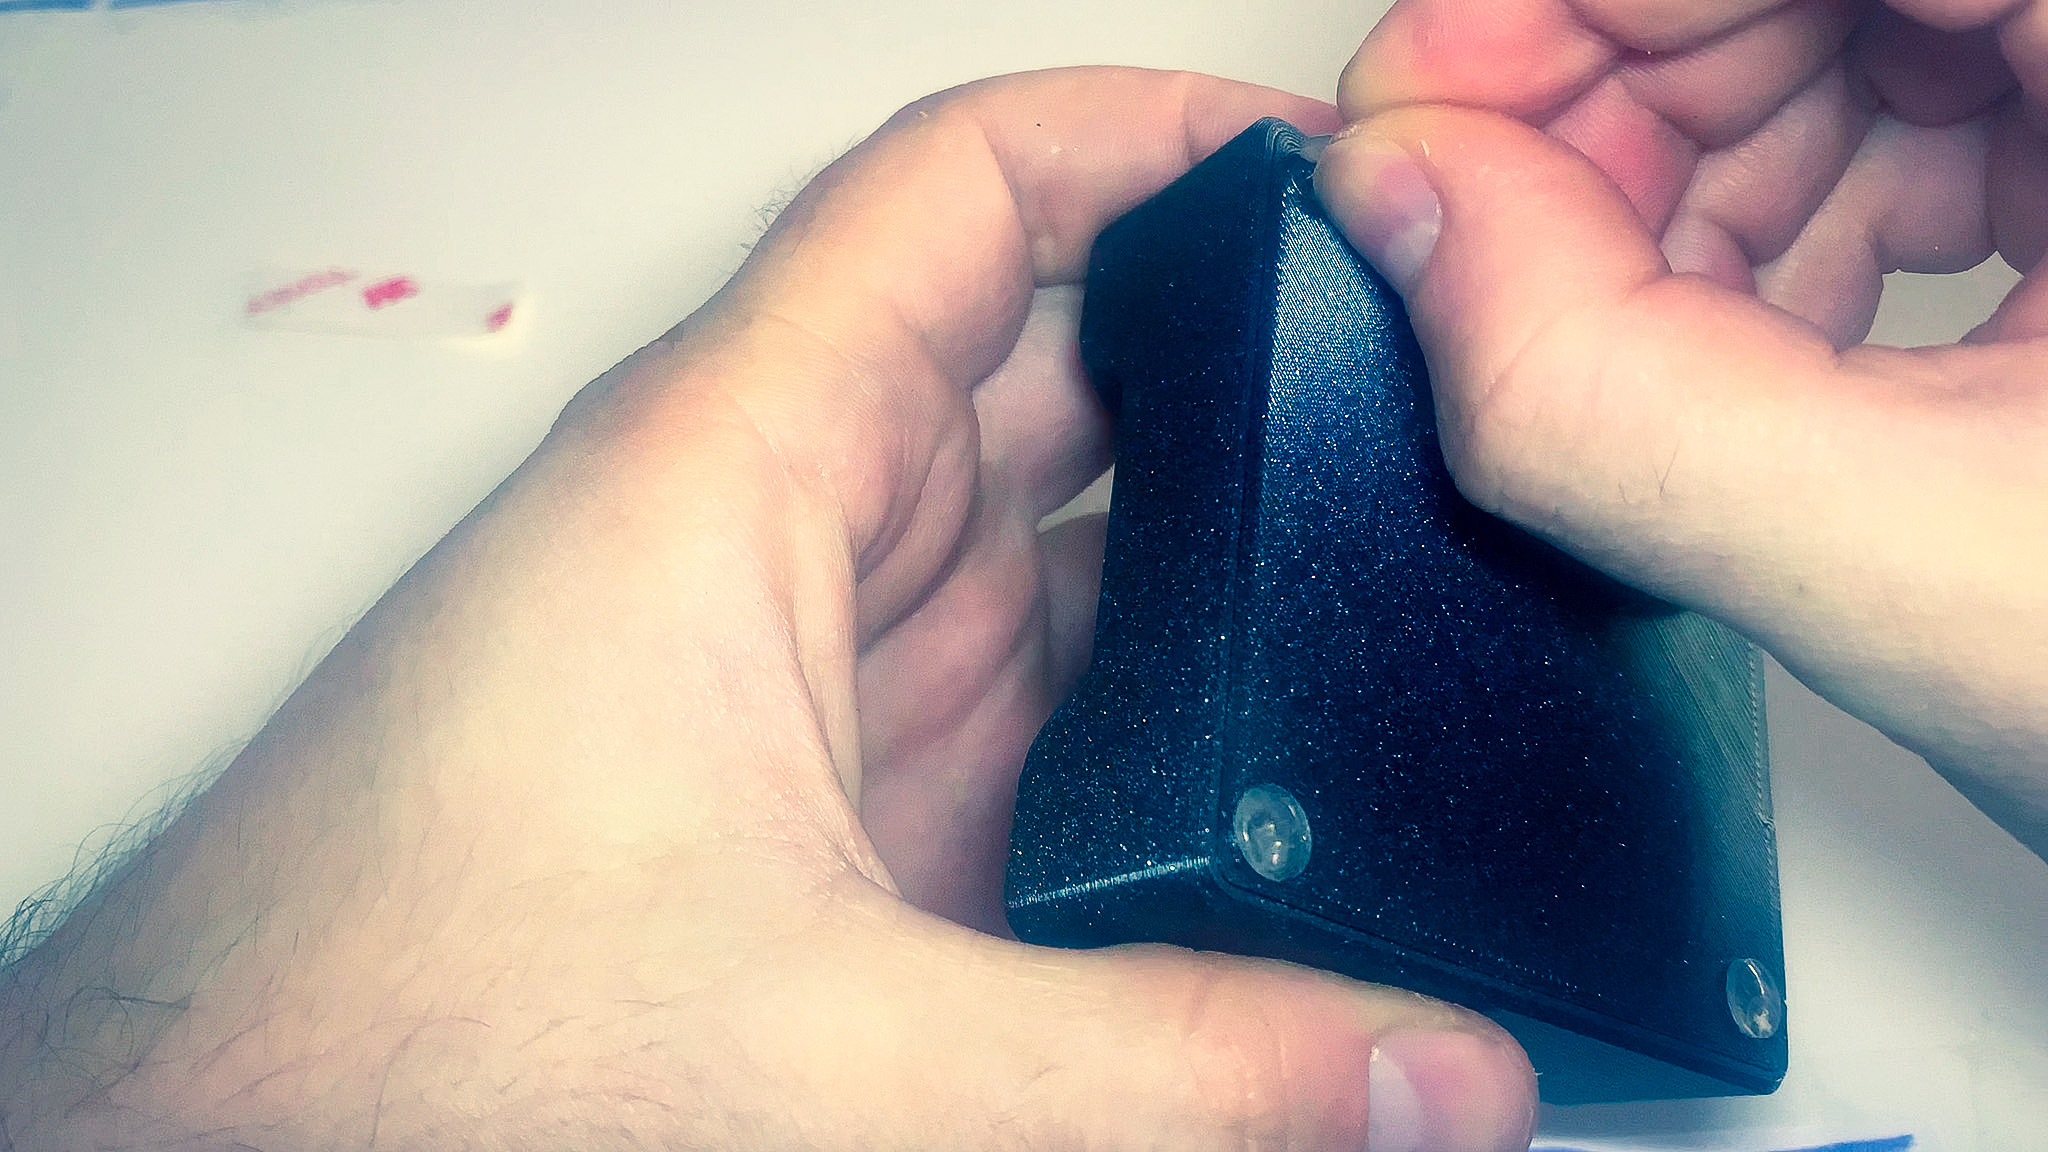
- Place the silicon-bumpers on top of the the screws.


Congratulations
Congratulations you have completed the build!
You now have your very own Maxmix controller.
Go to the install section and follow the instructions to get the software setup.