Electronics
Grab all the electronic components, the M2x5mm screws and a small philips head screw-driver.
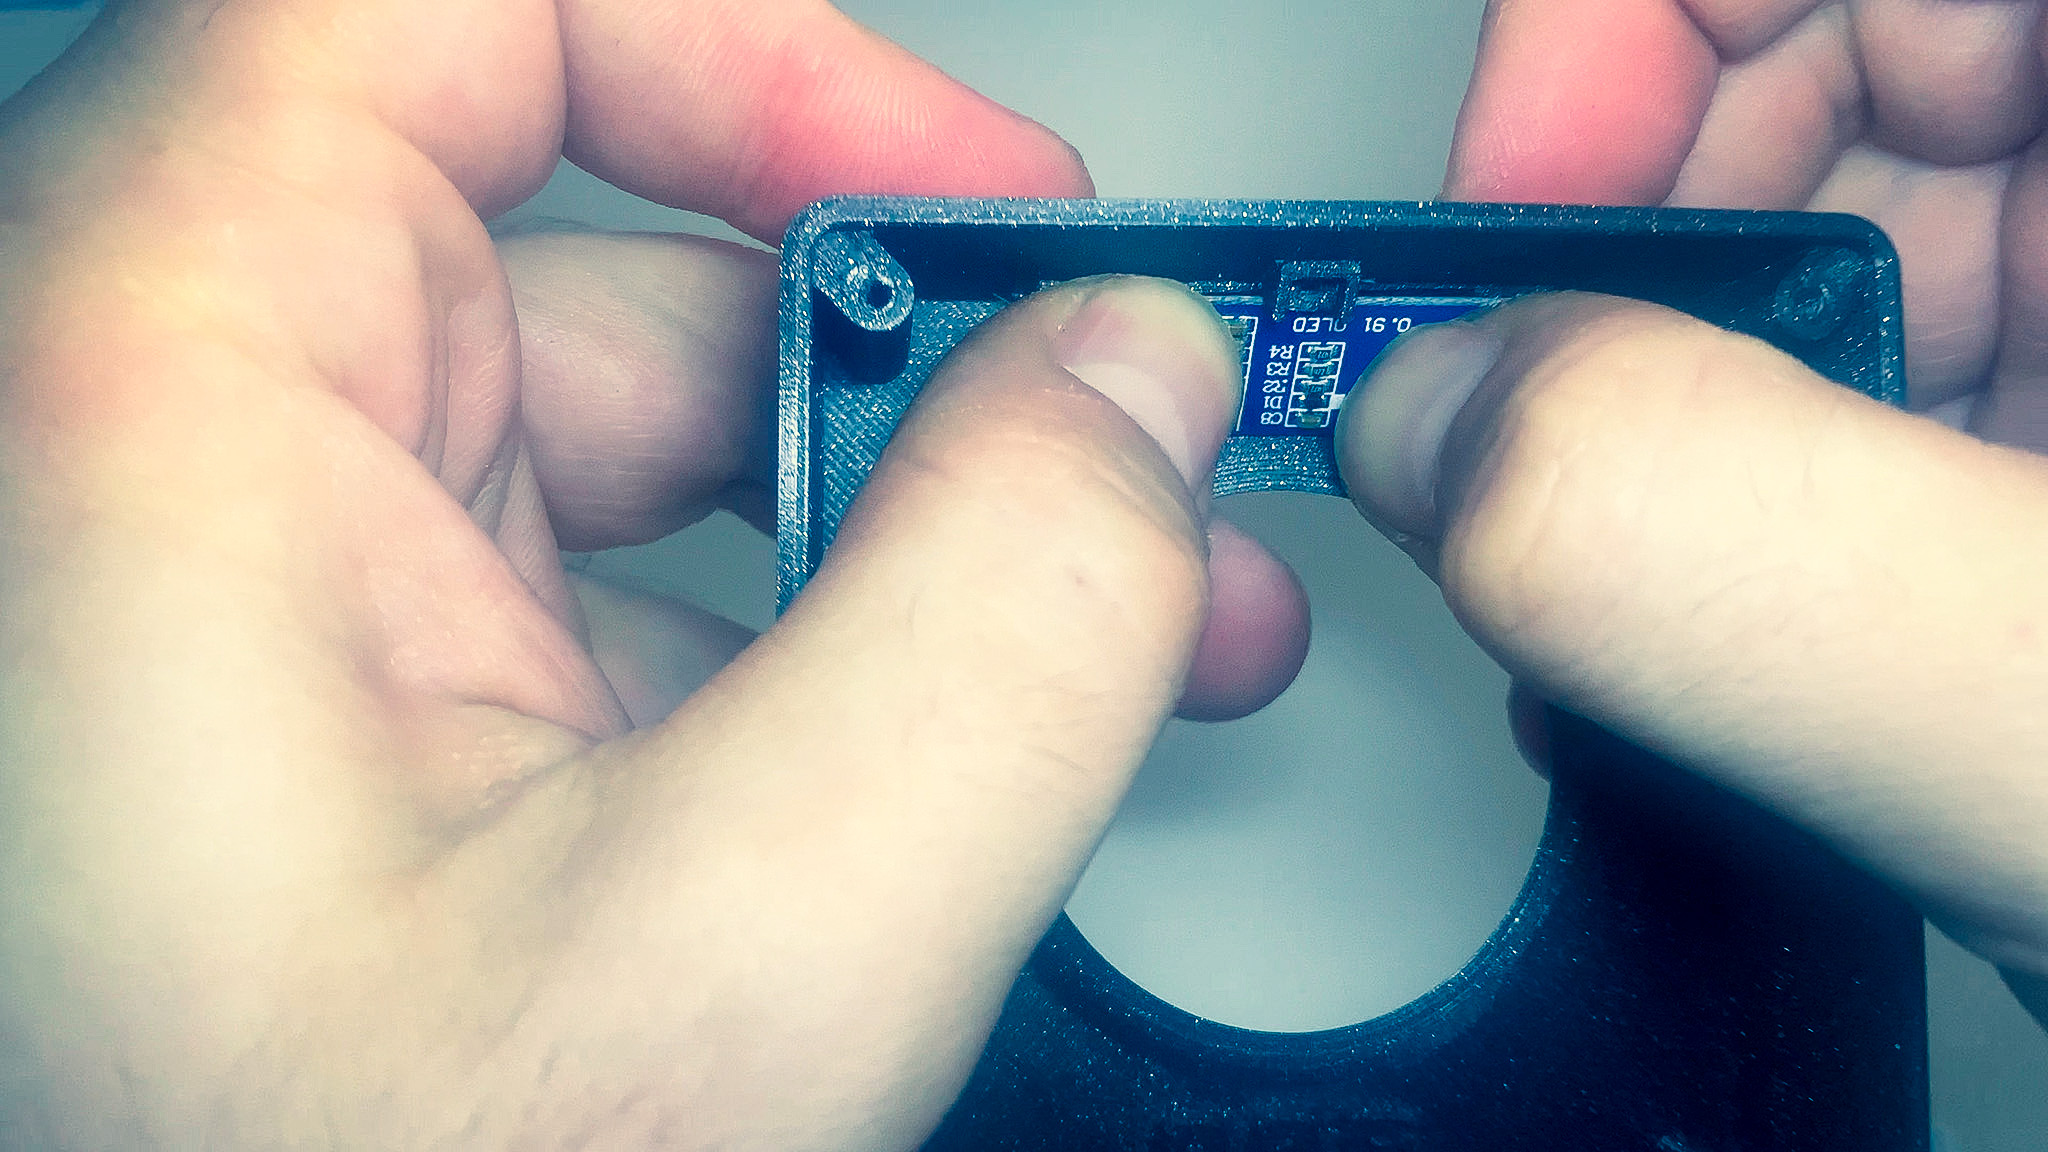
1. Display
- Grab the OLED display and the top part of the enclosure.
- Insert the bottom of the display first and then push on the top until it is secured in place. If needed, push on the the front wall of the enclosure to help the display slide in.
- Drop the P-shaped tab in place and secure it with the screw.


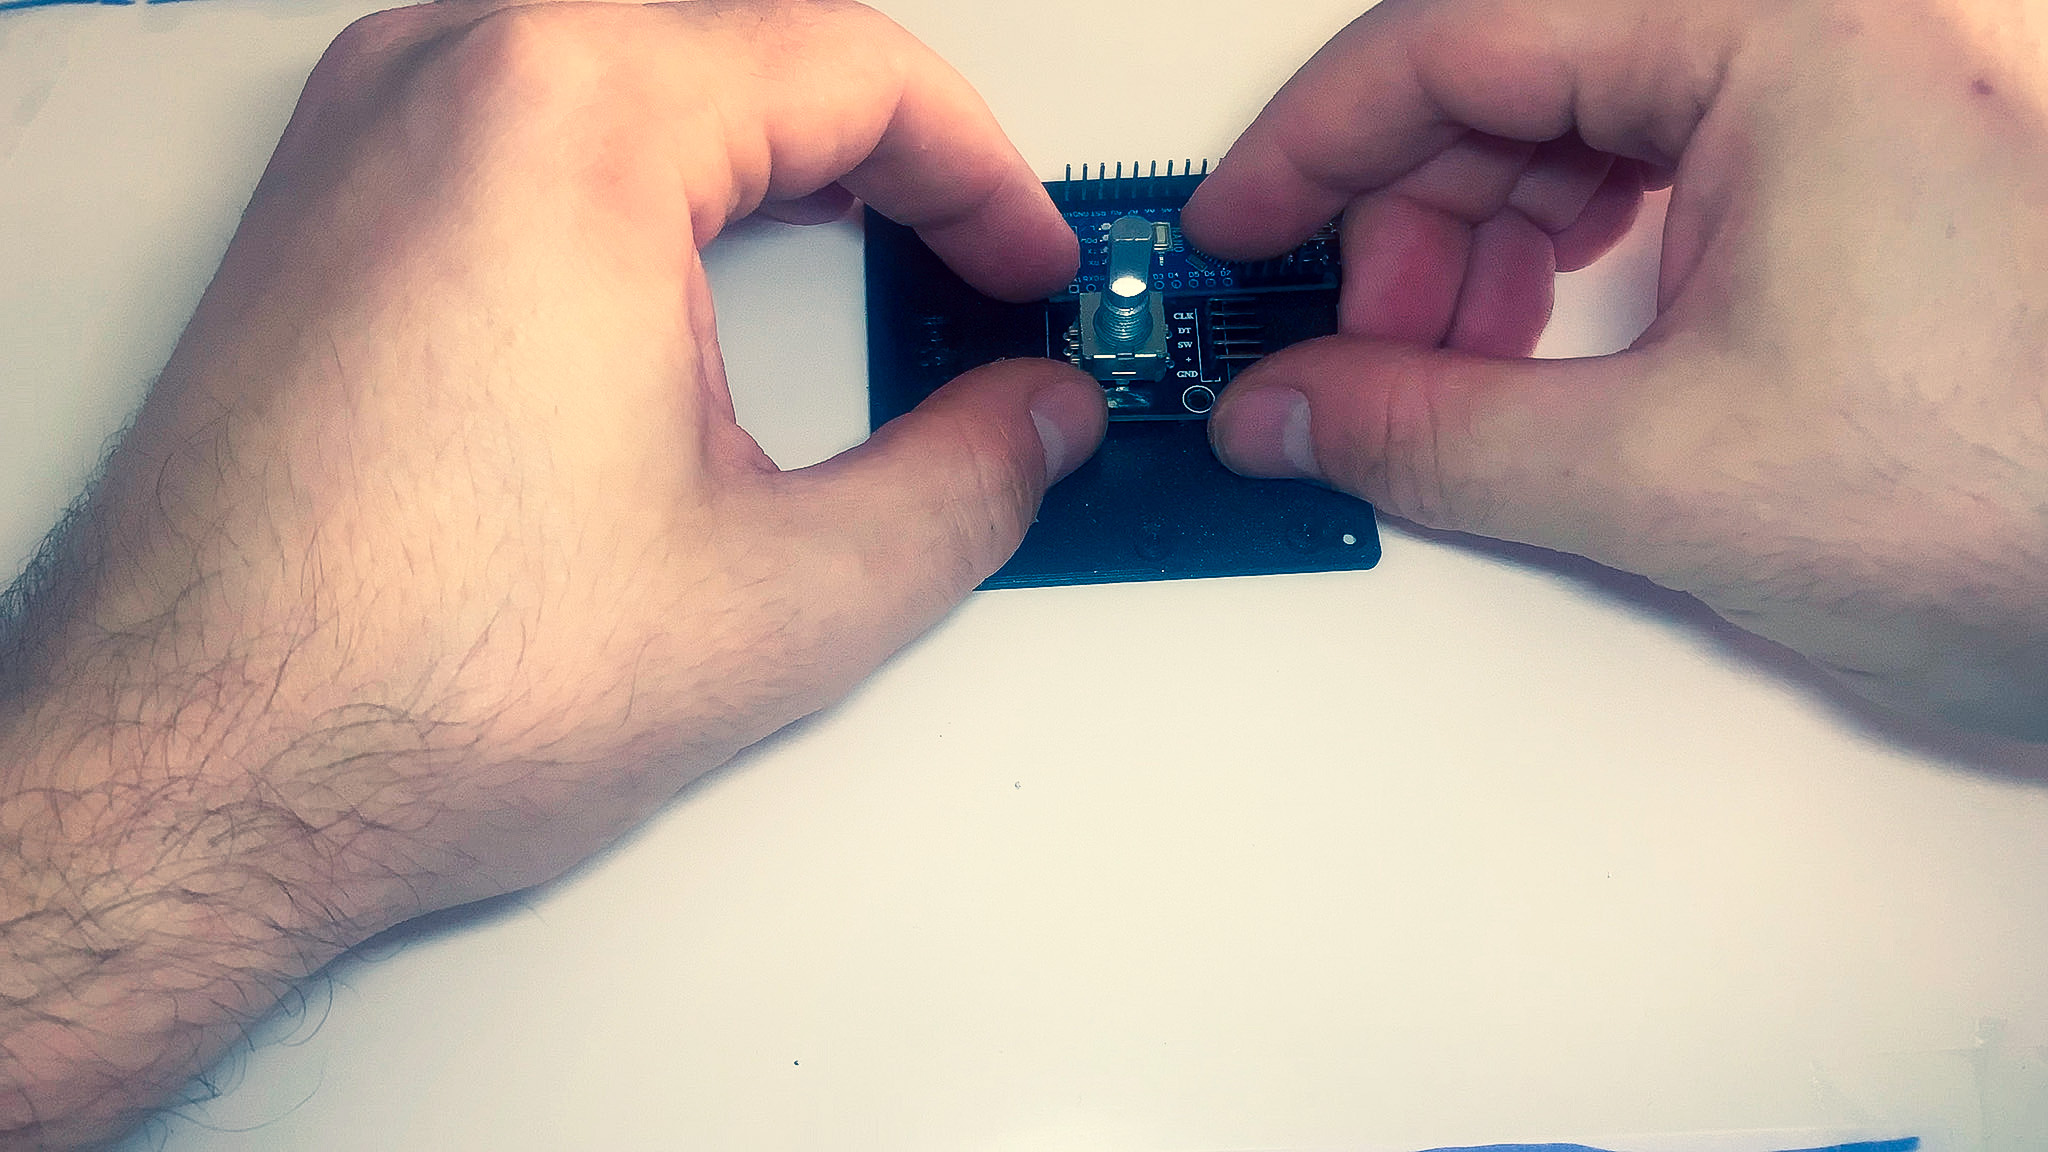
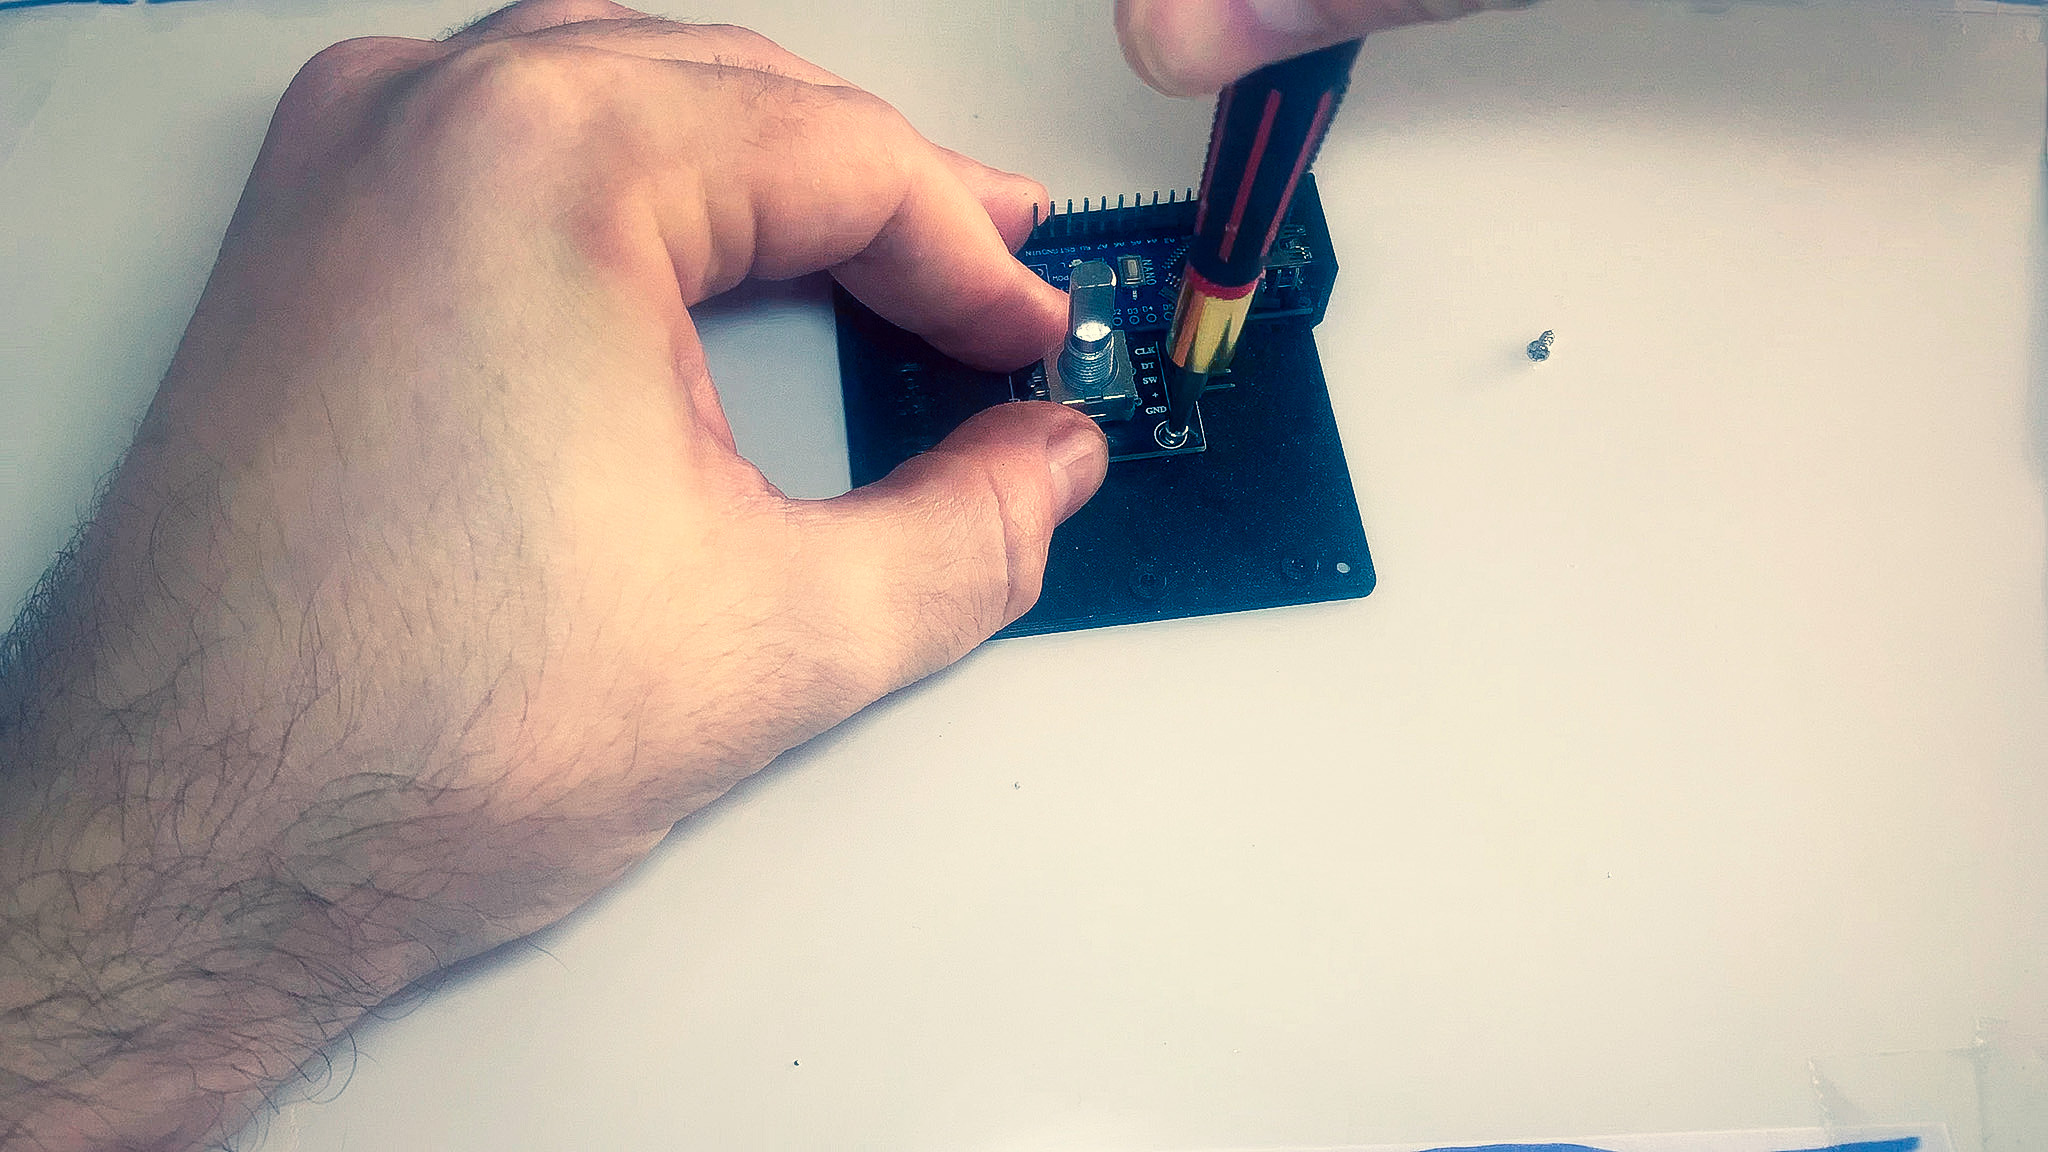
2. Rotary encoder
- Grab the rotary encoder and bottom part of the enclosure.
- Place the encoder in the center, lining up the holes.
- Secure it using the 2 screws.


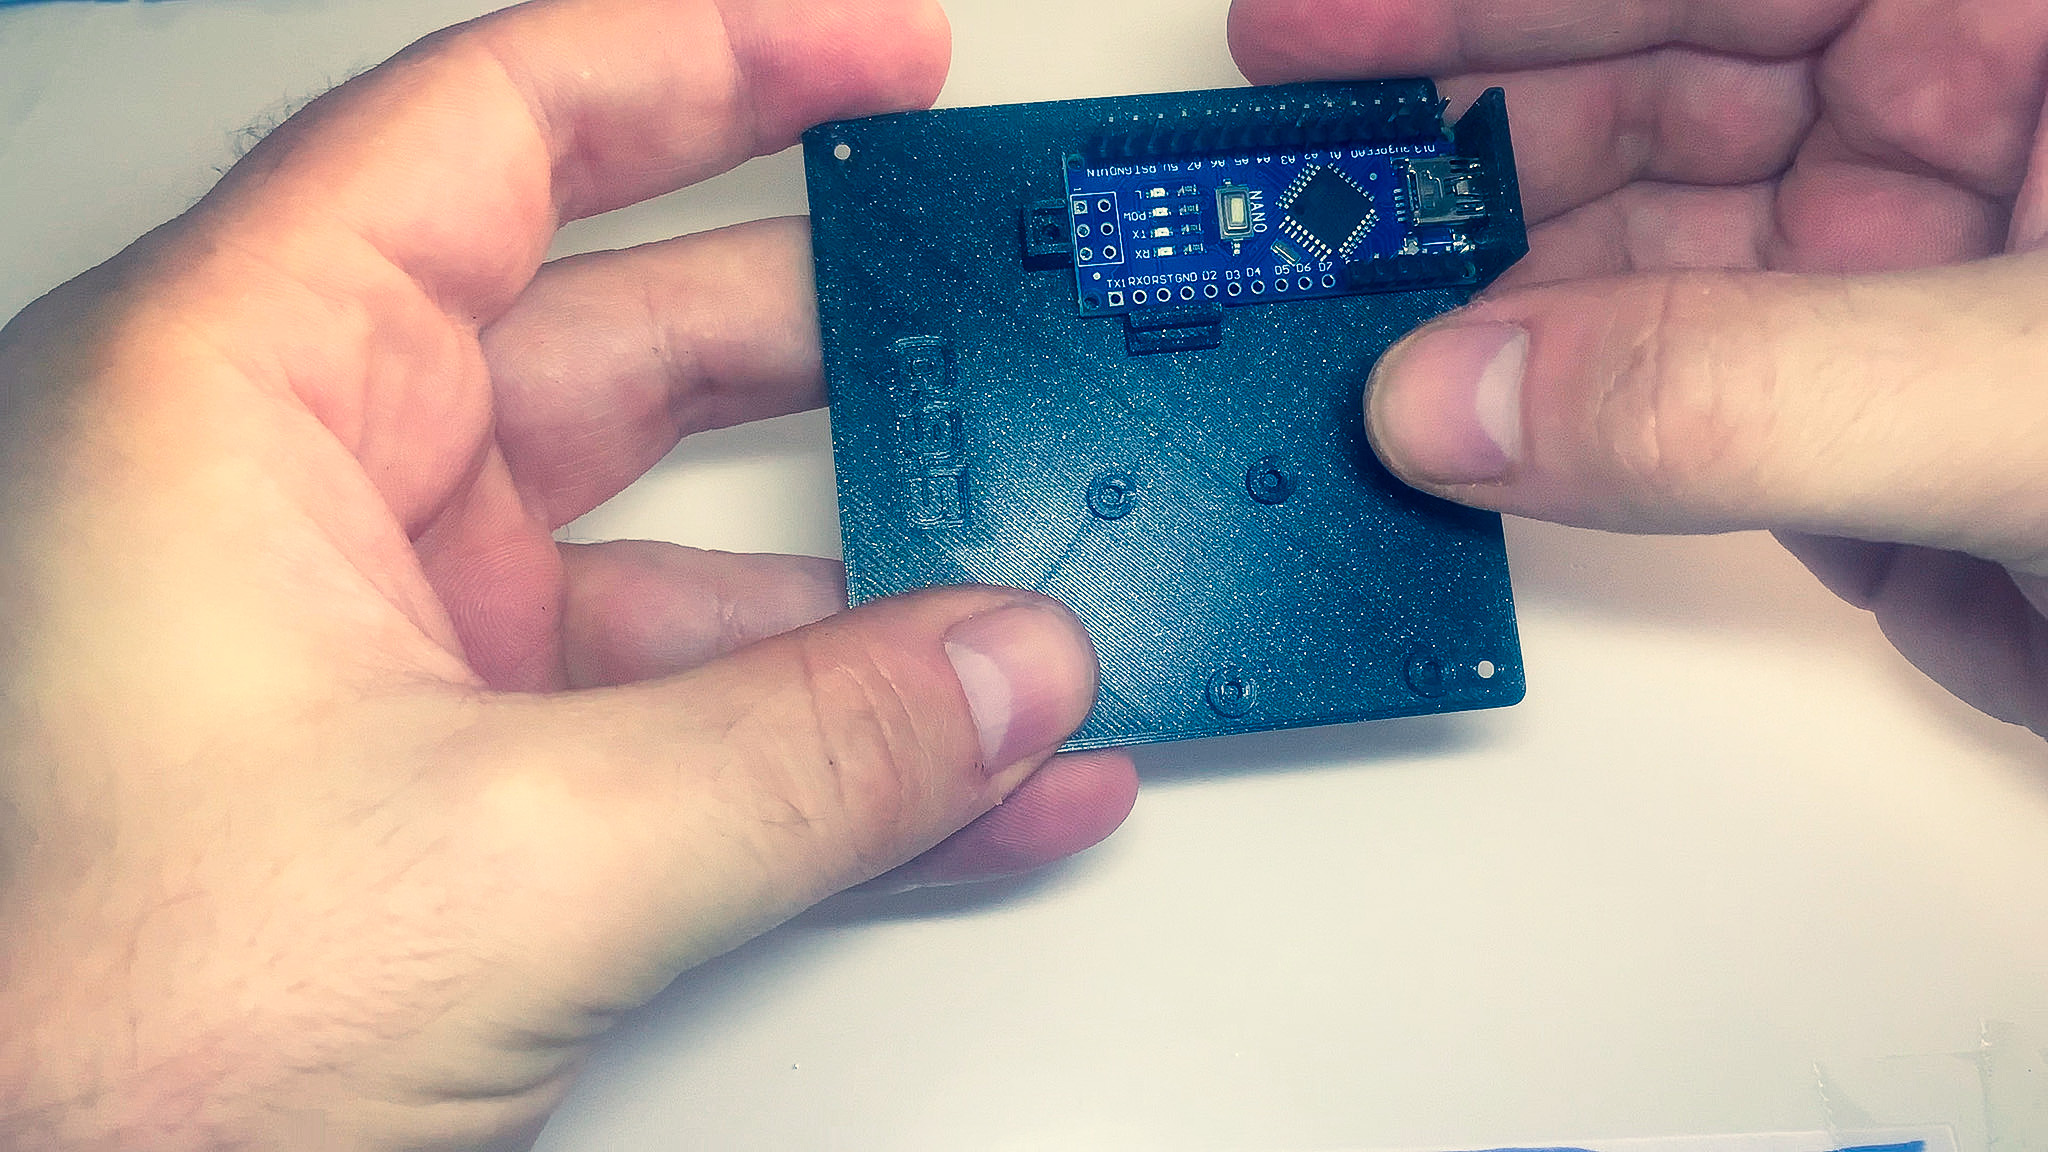
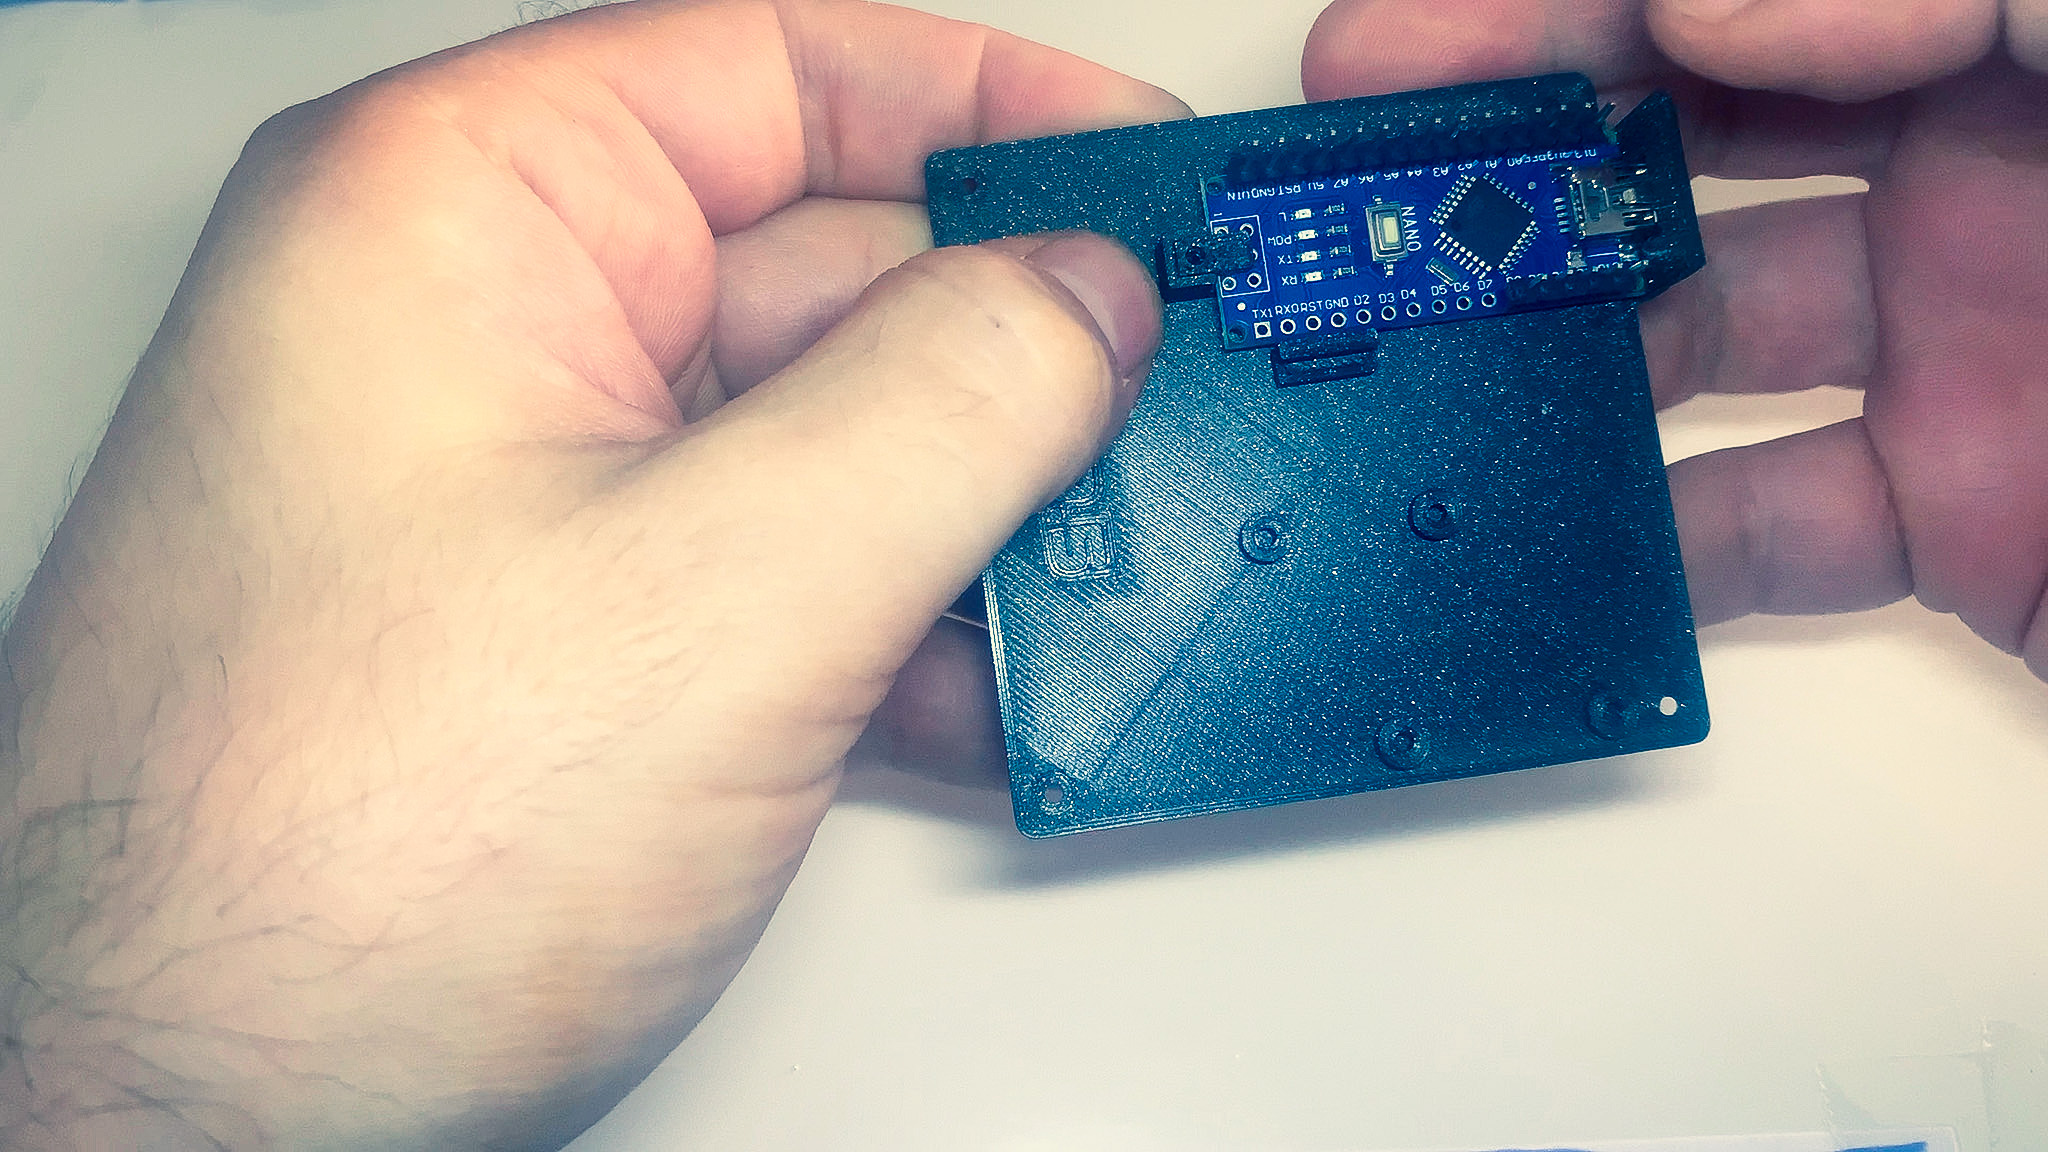
3. MCU
- Grab the MCU and bottom part of the enclosure.
- Insert the USB connector of the MCU into the opening at the back of the enclosure.
- Drop the flat tab in place and secure it with a screw.

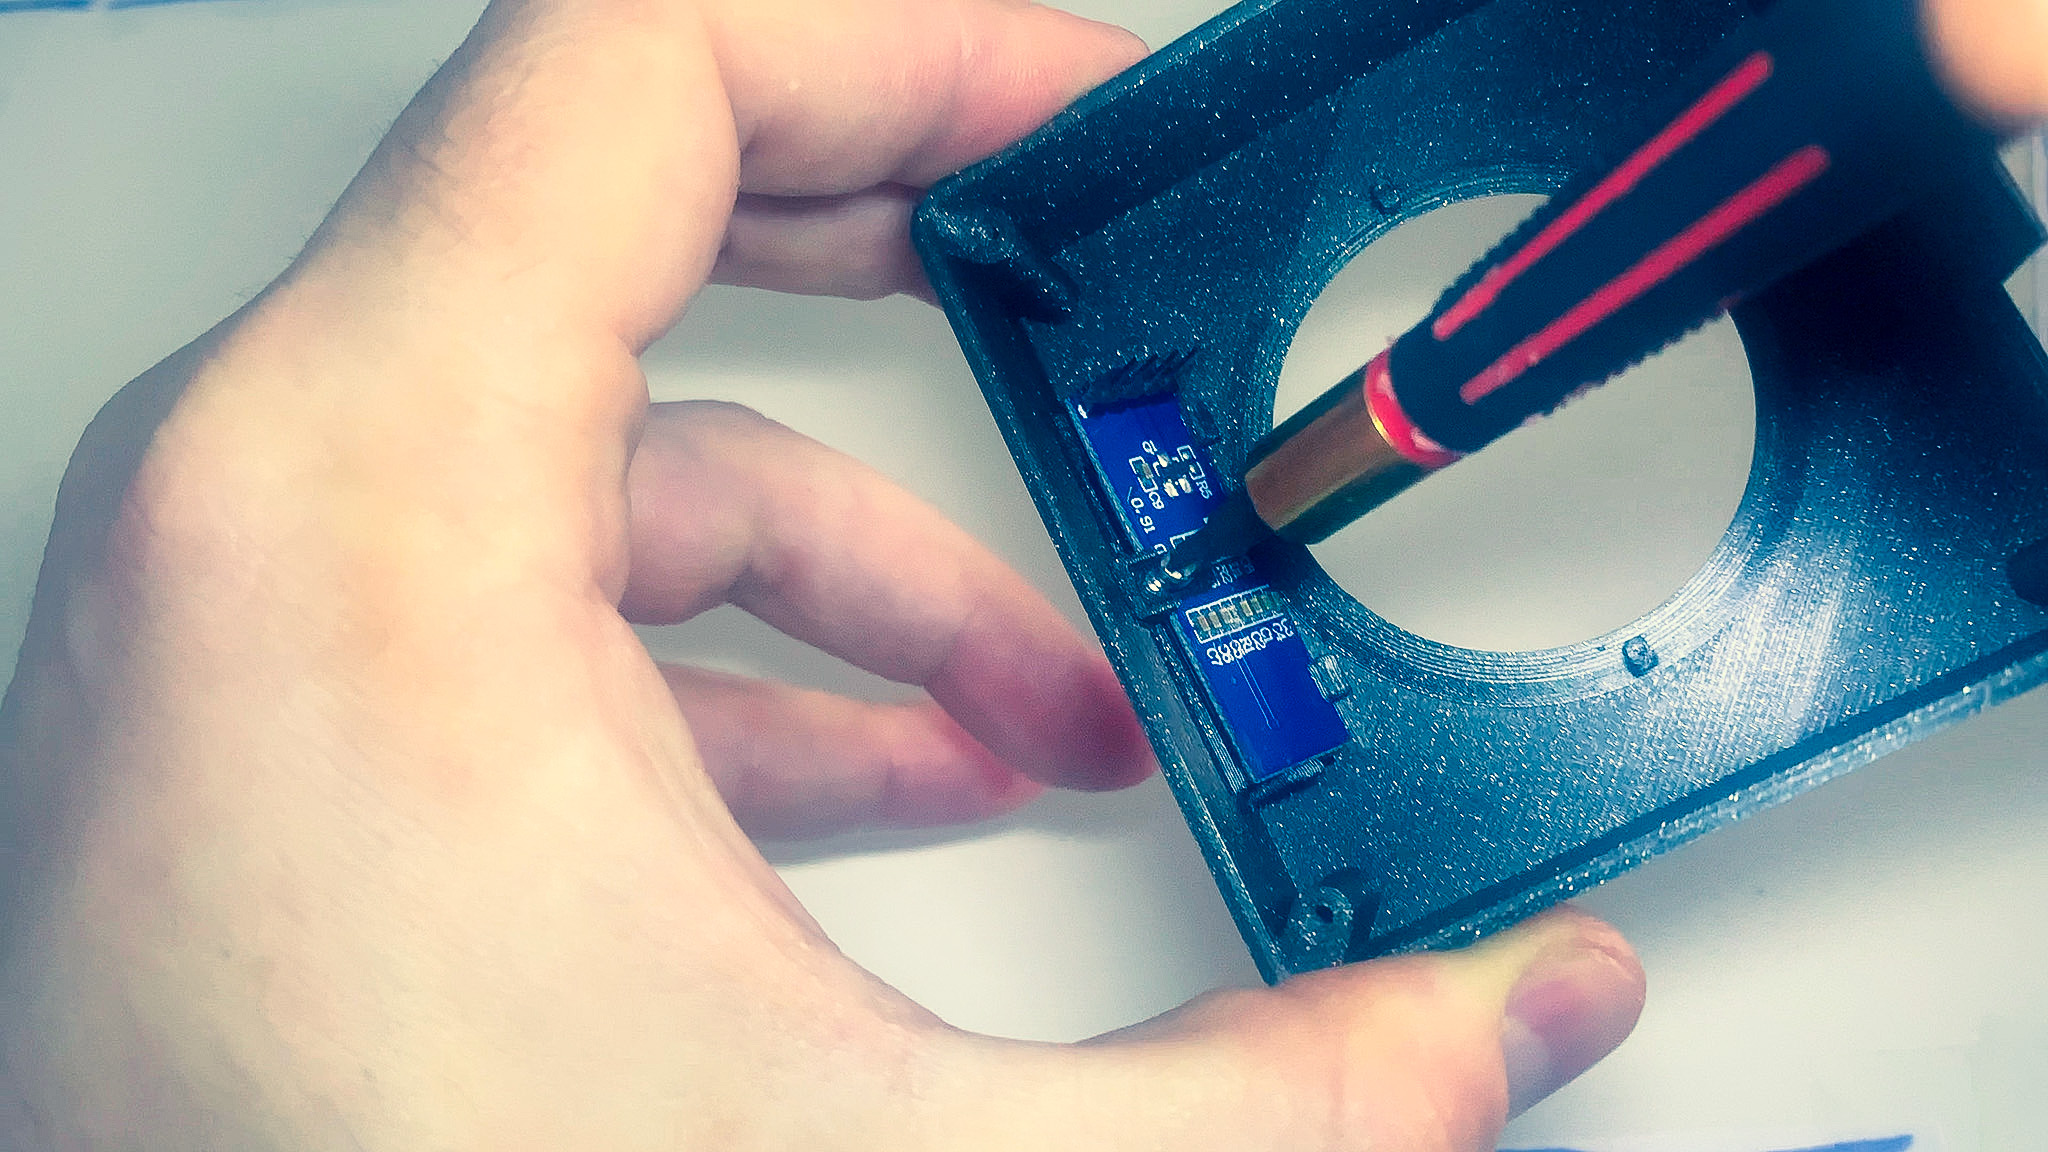
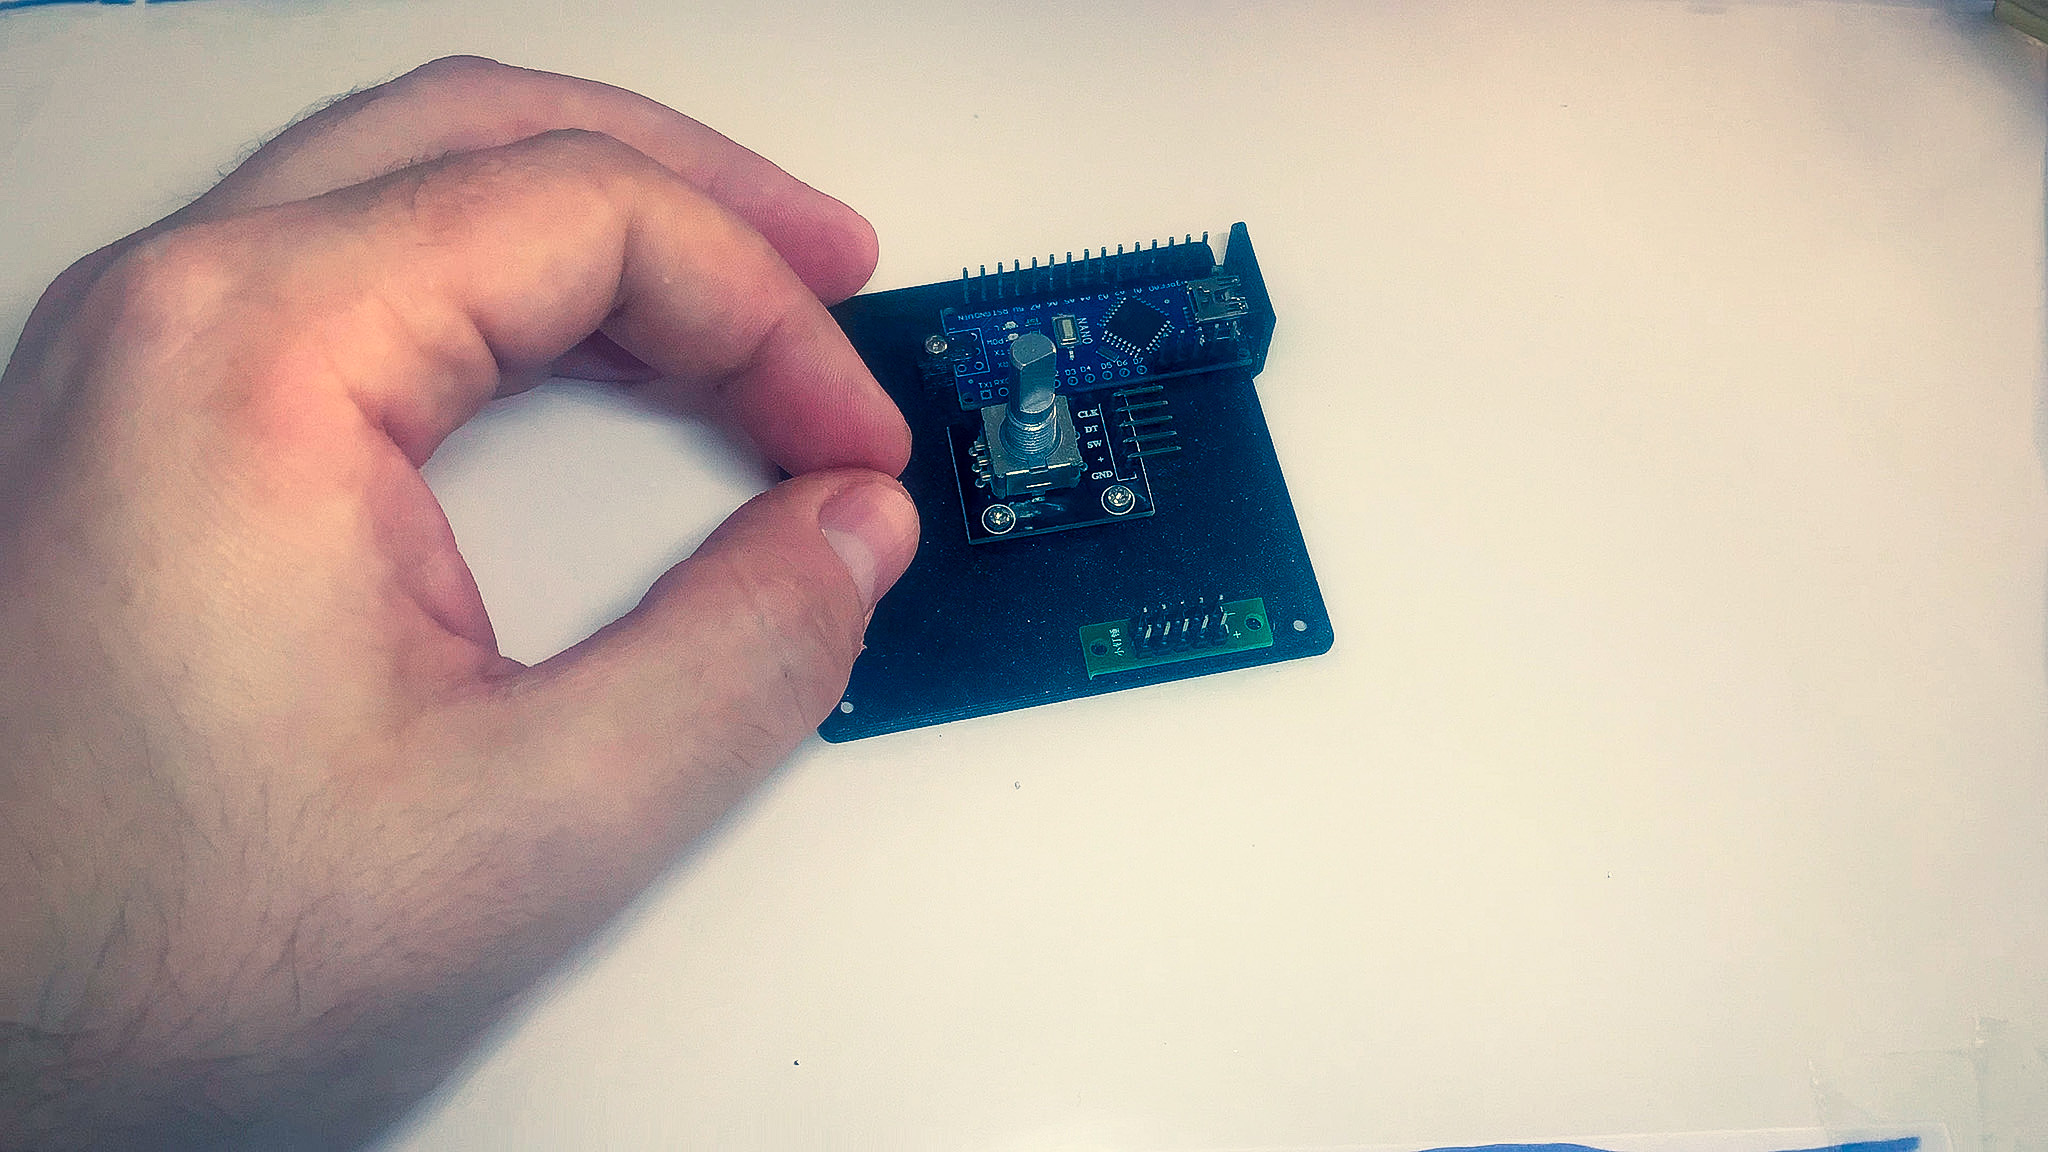
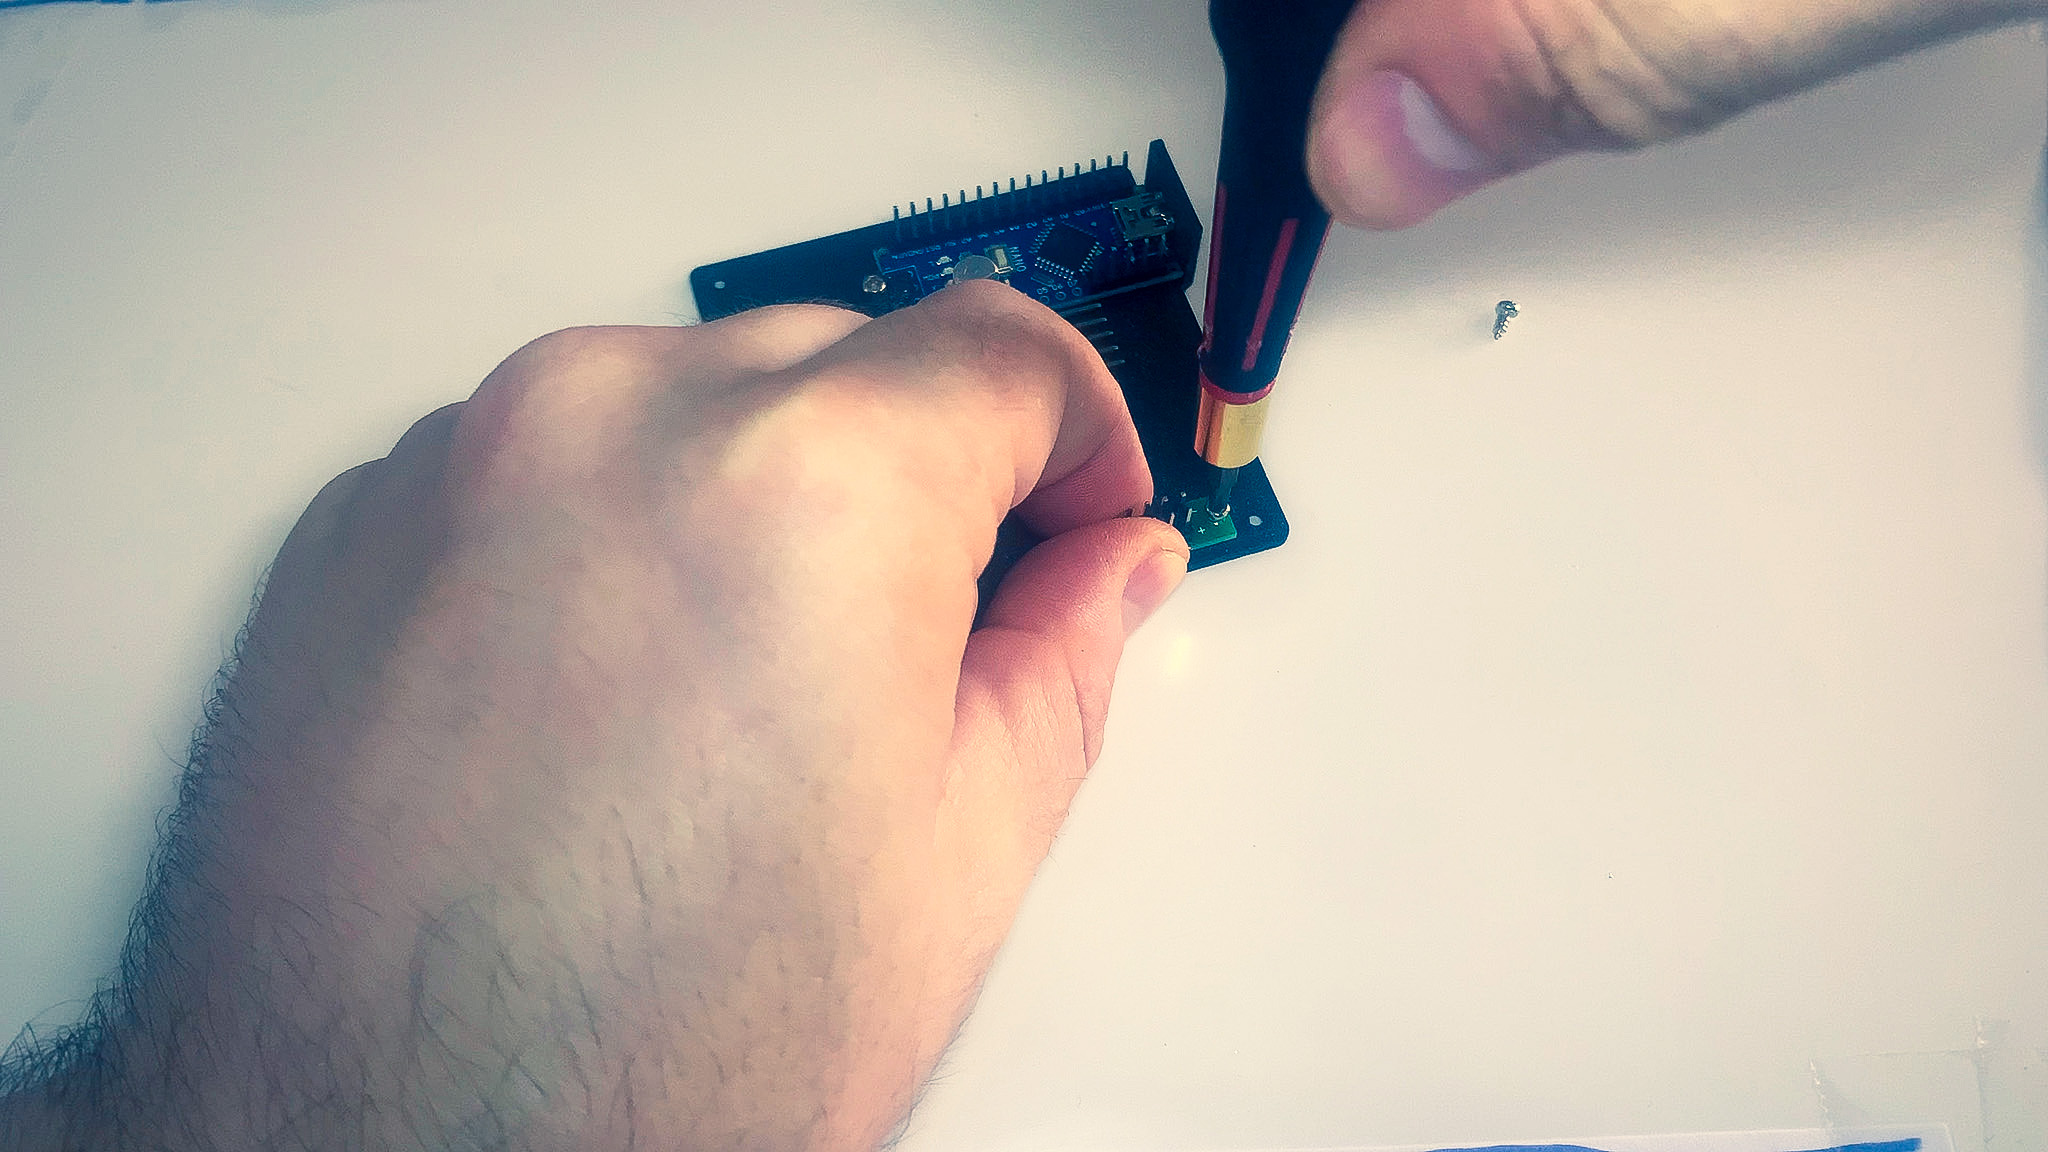
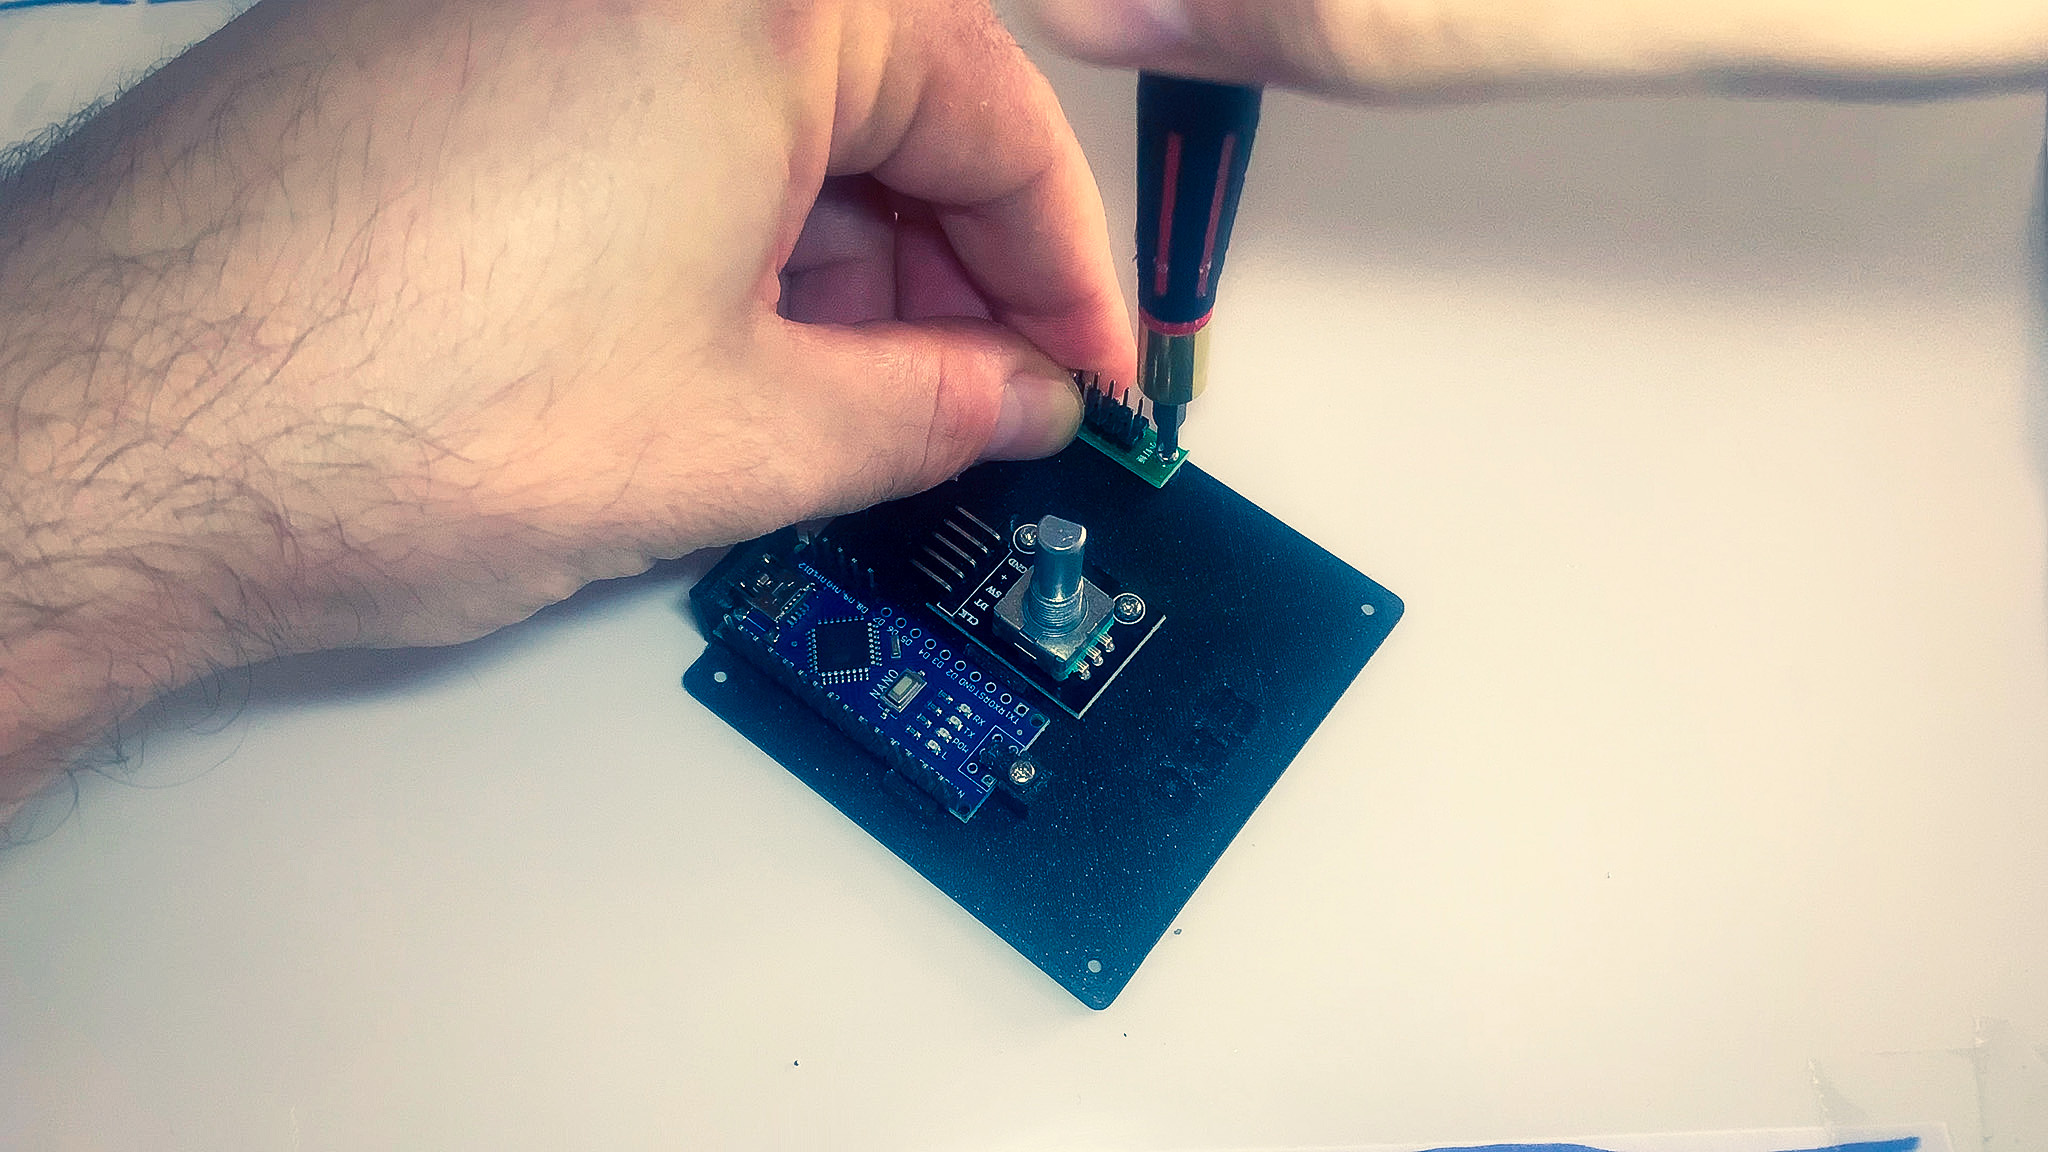
4. Power bus
- Grab the power-bus and the bottom part of the enclosure.
- Place the power-bus on the right hand side, lining up the holes.
- Secure it in place using the screws.
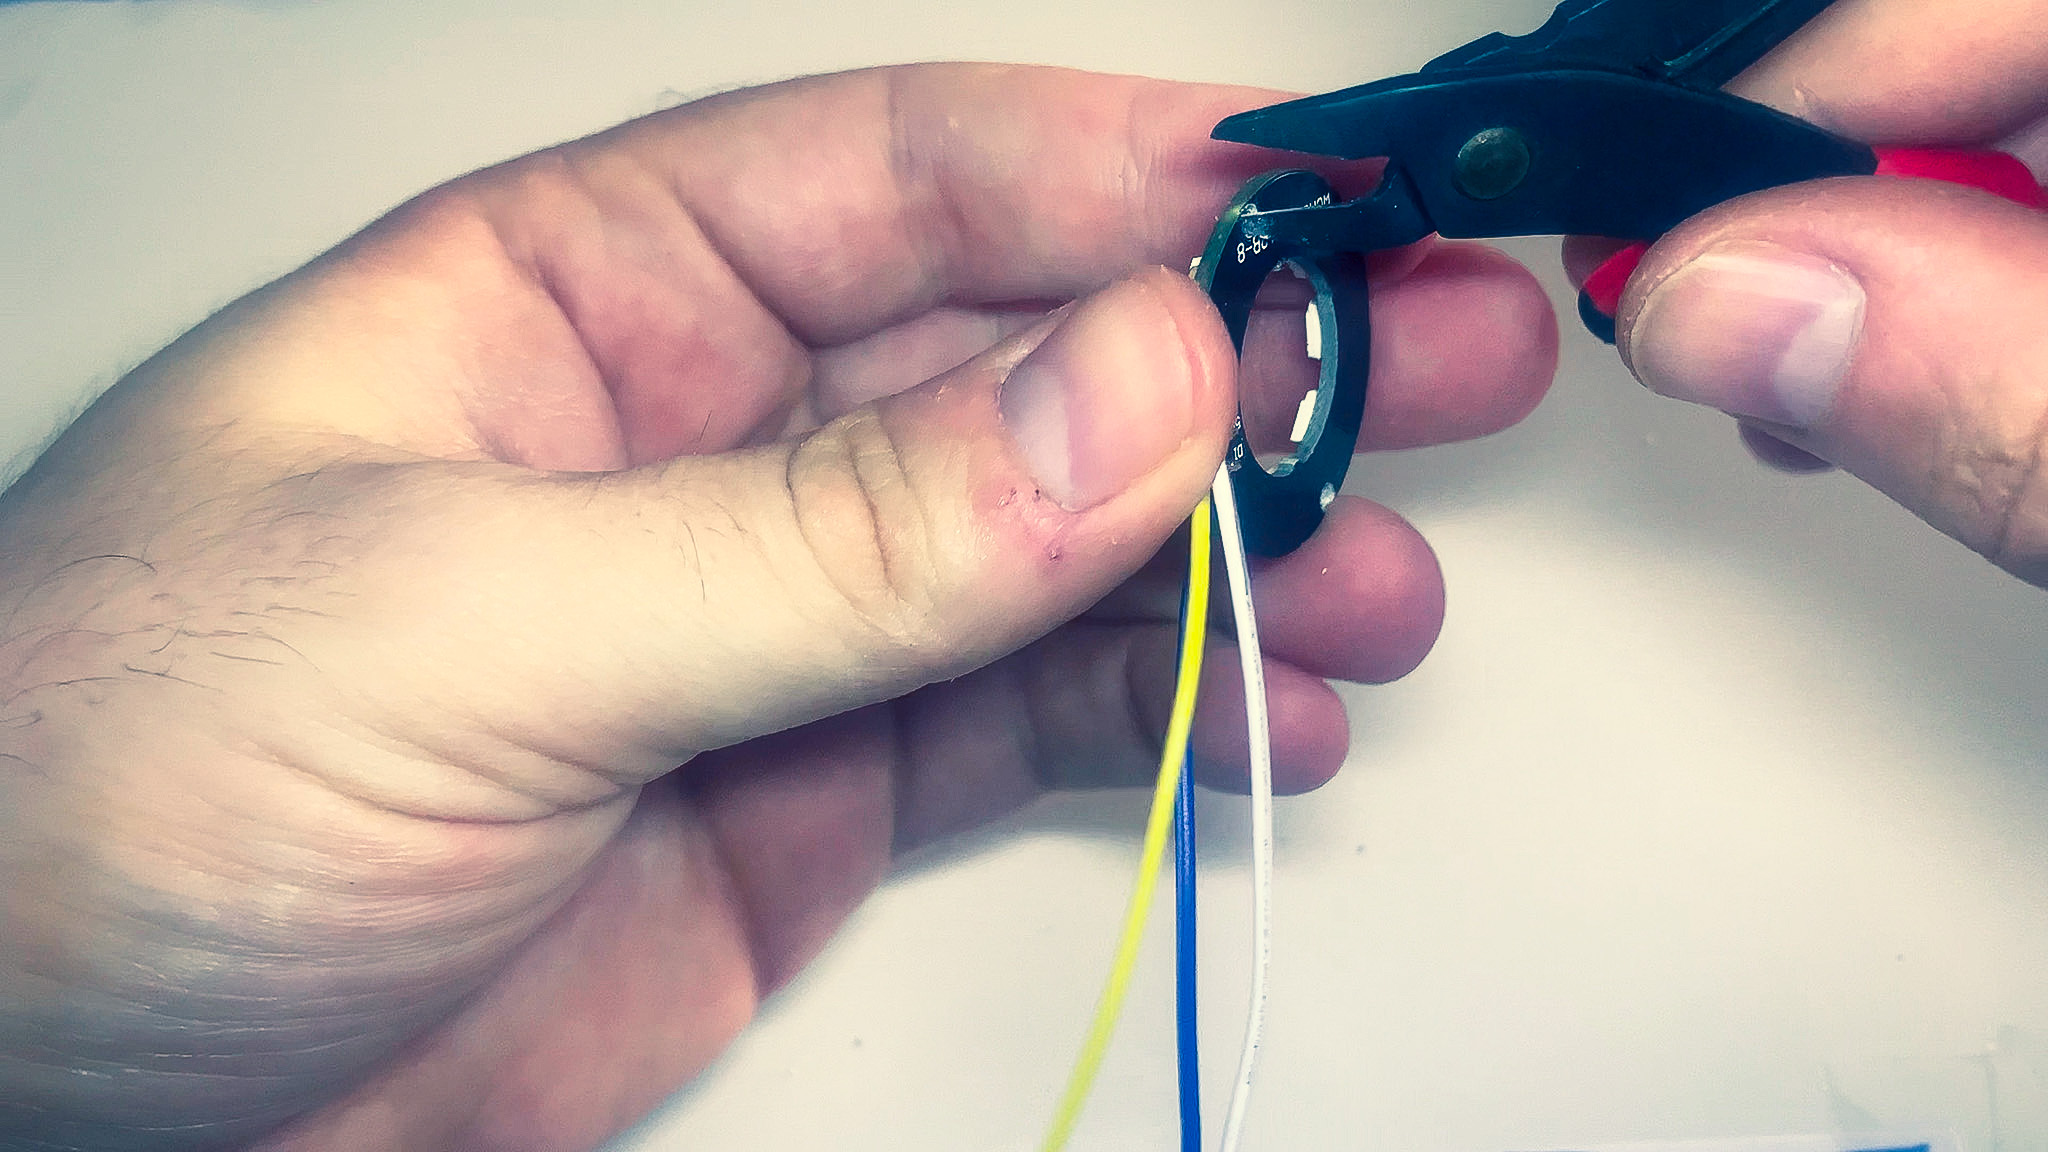
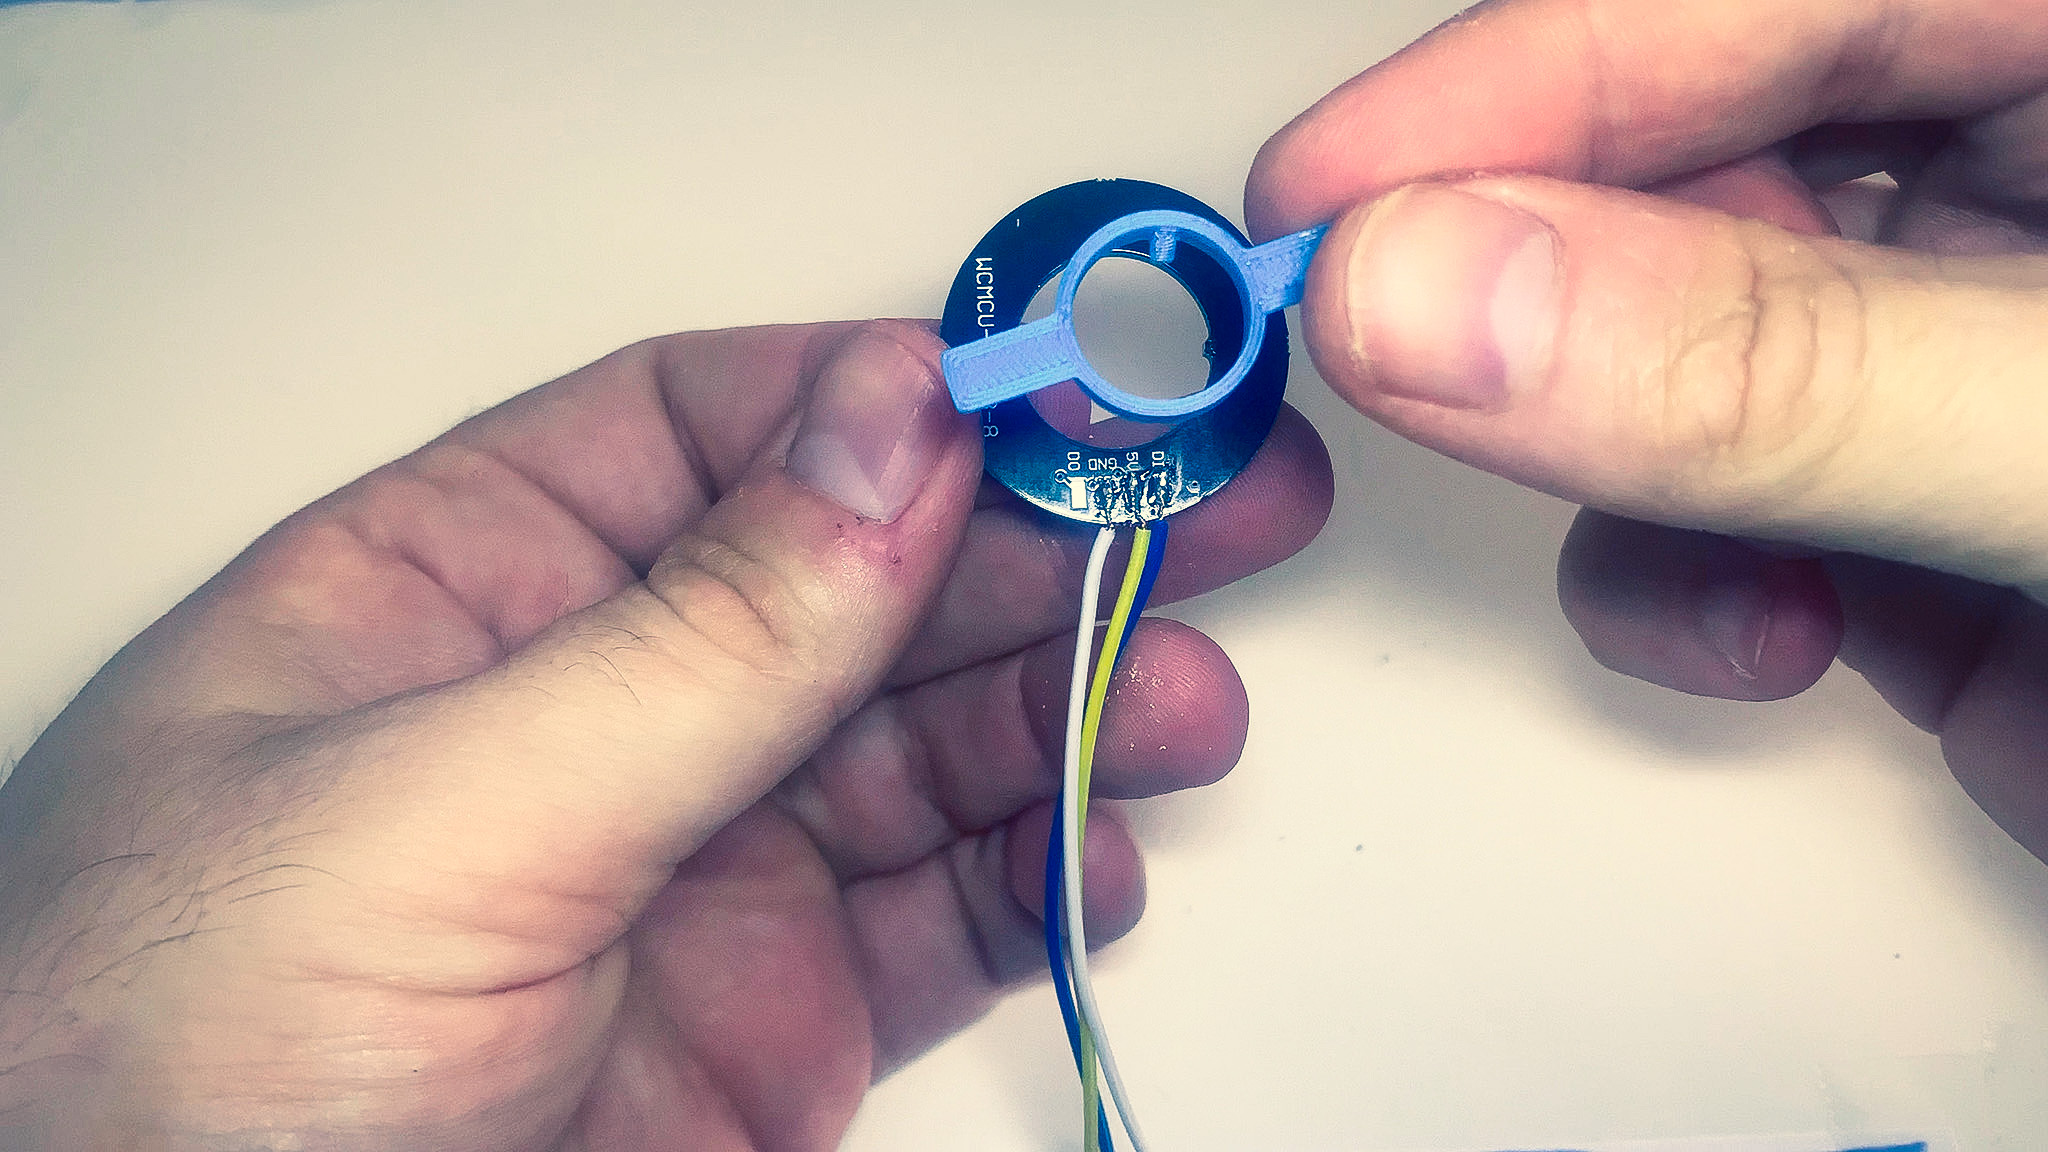
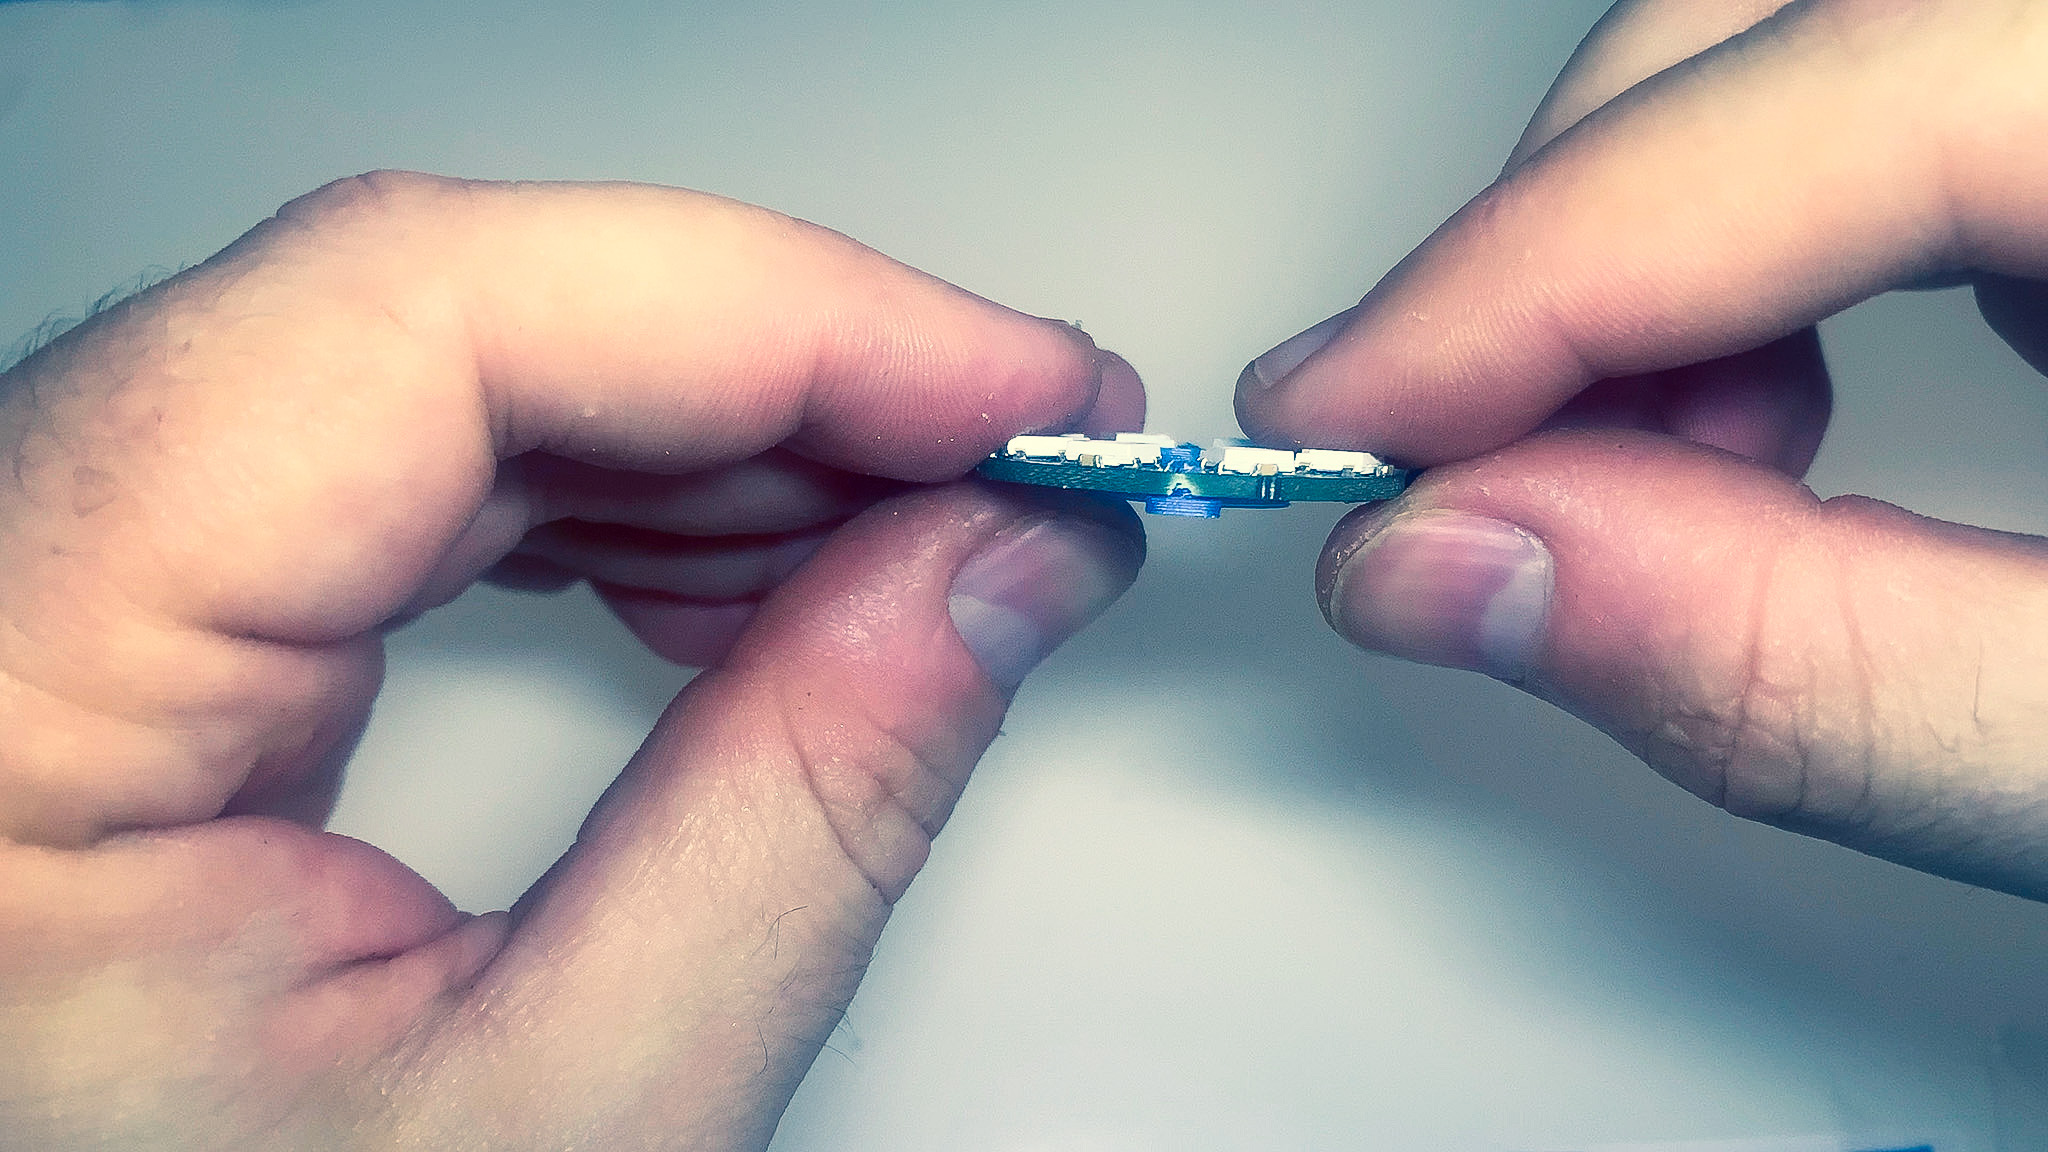
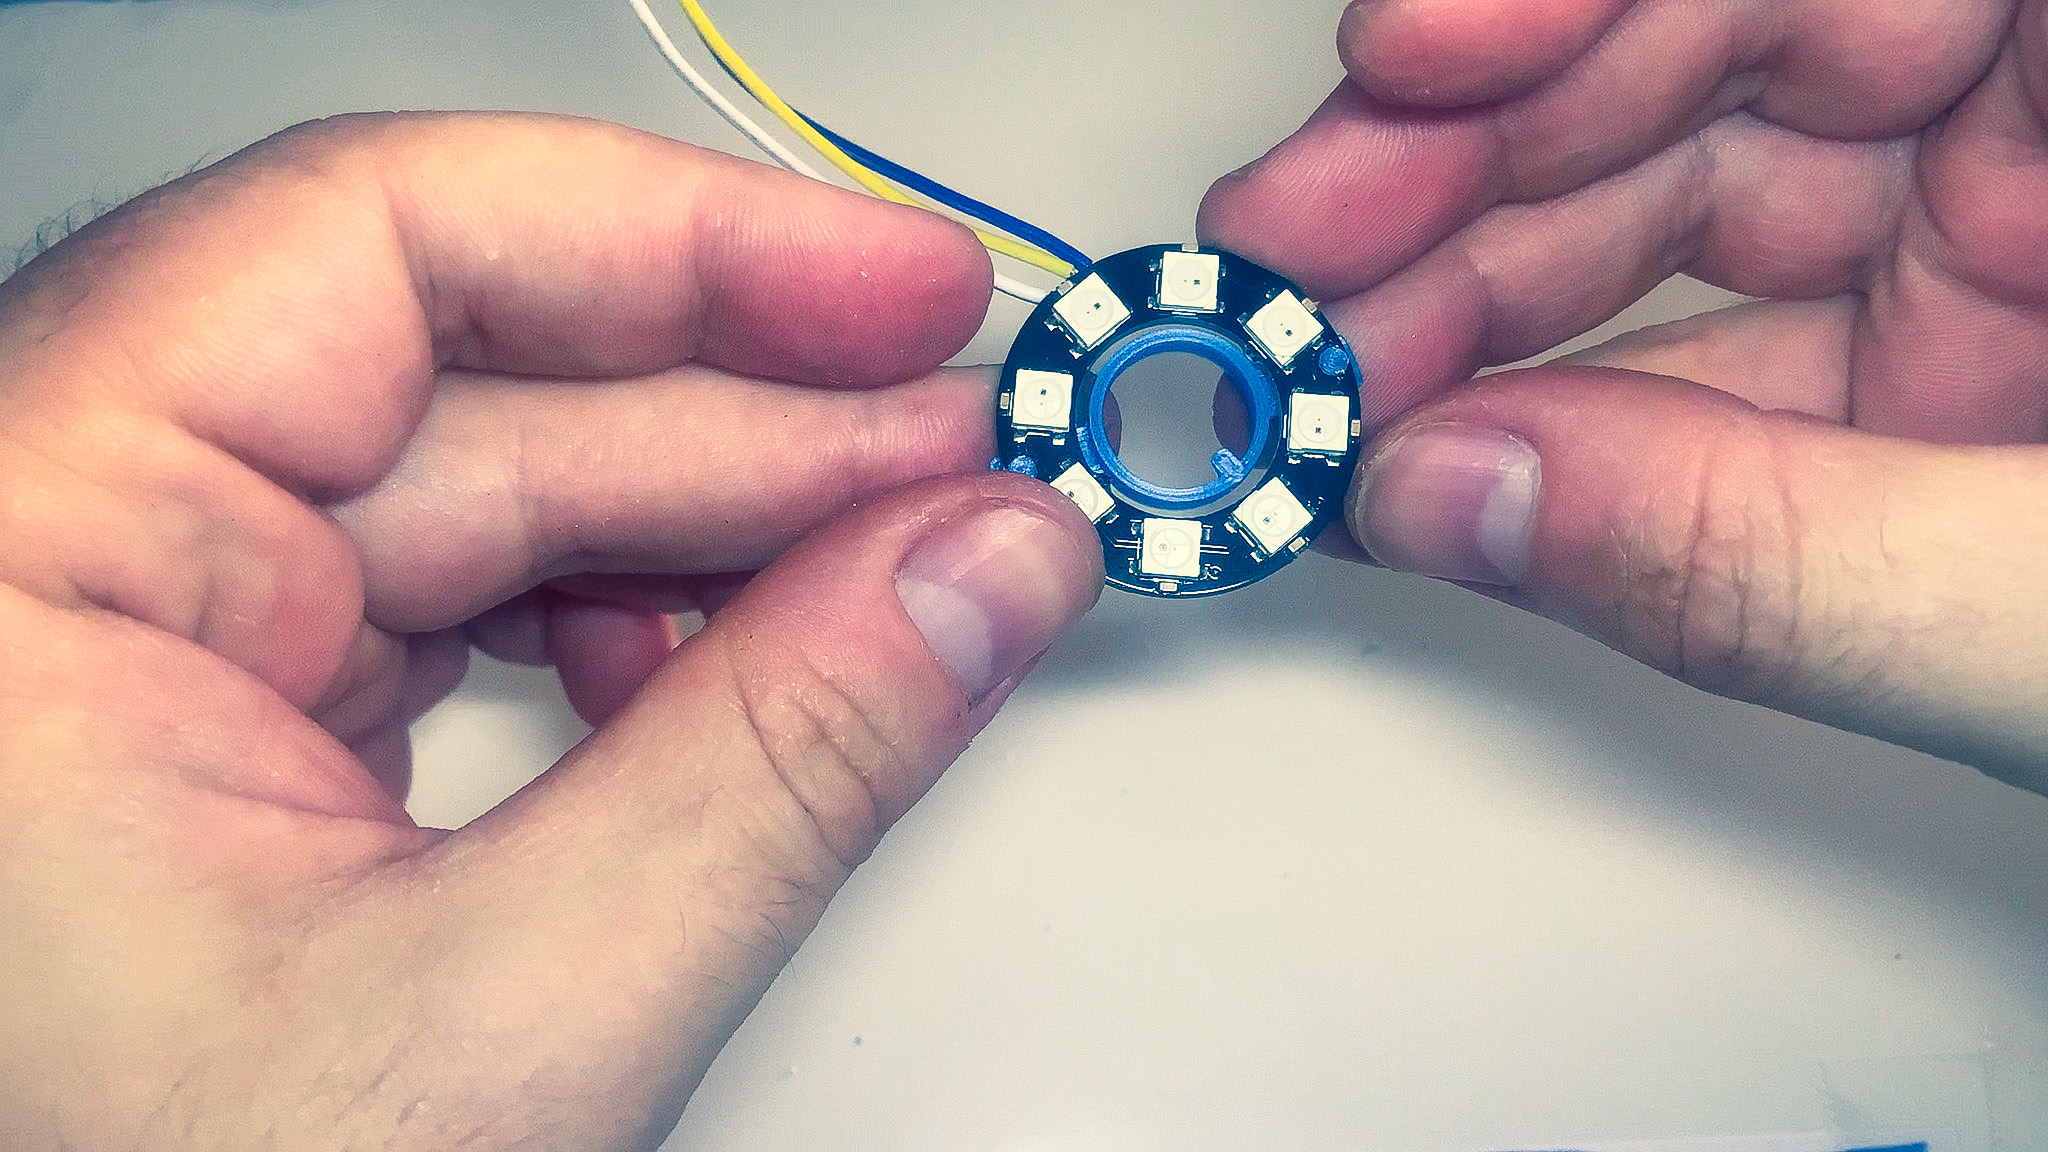
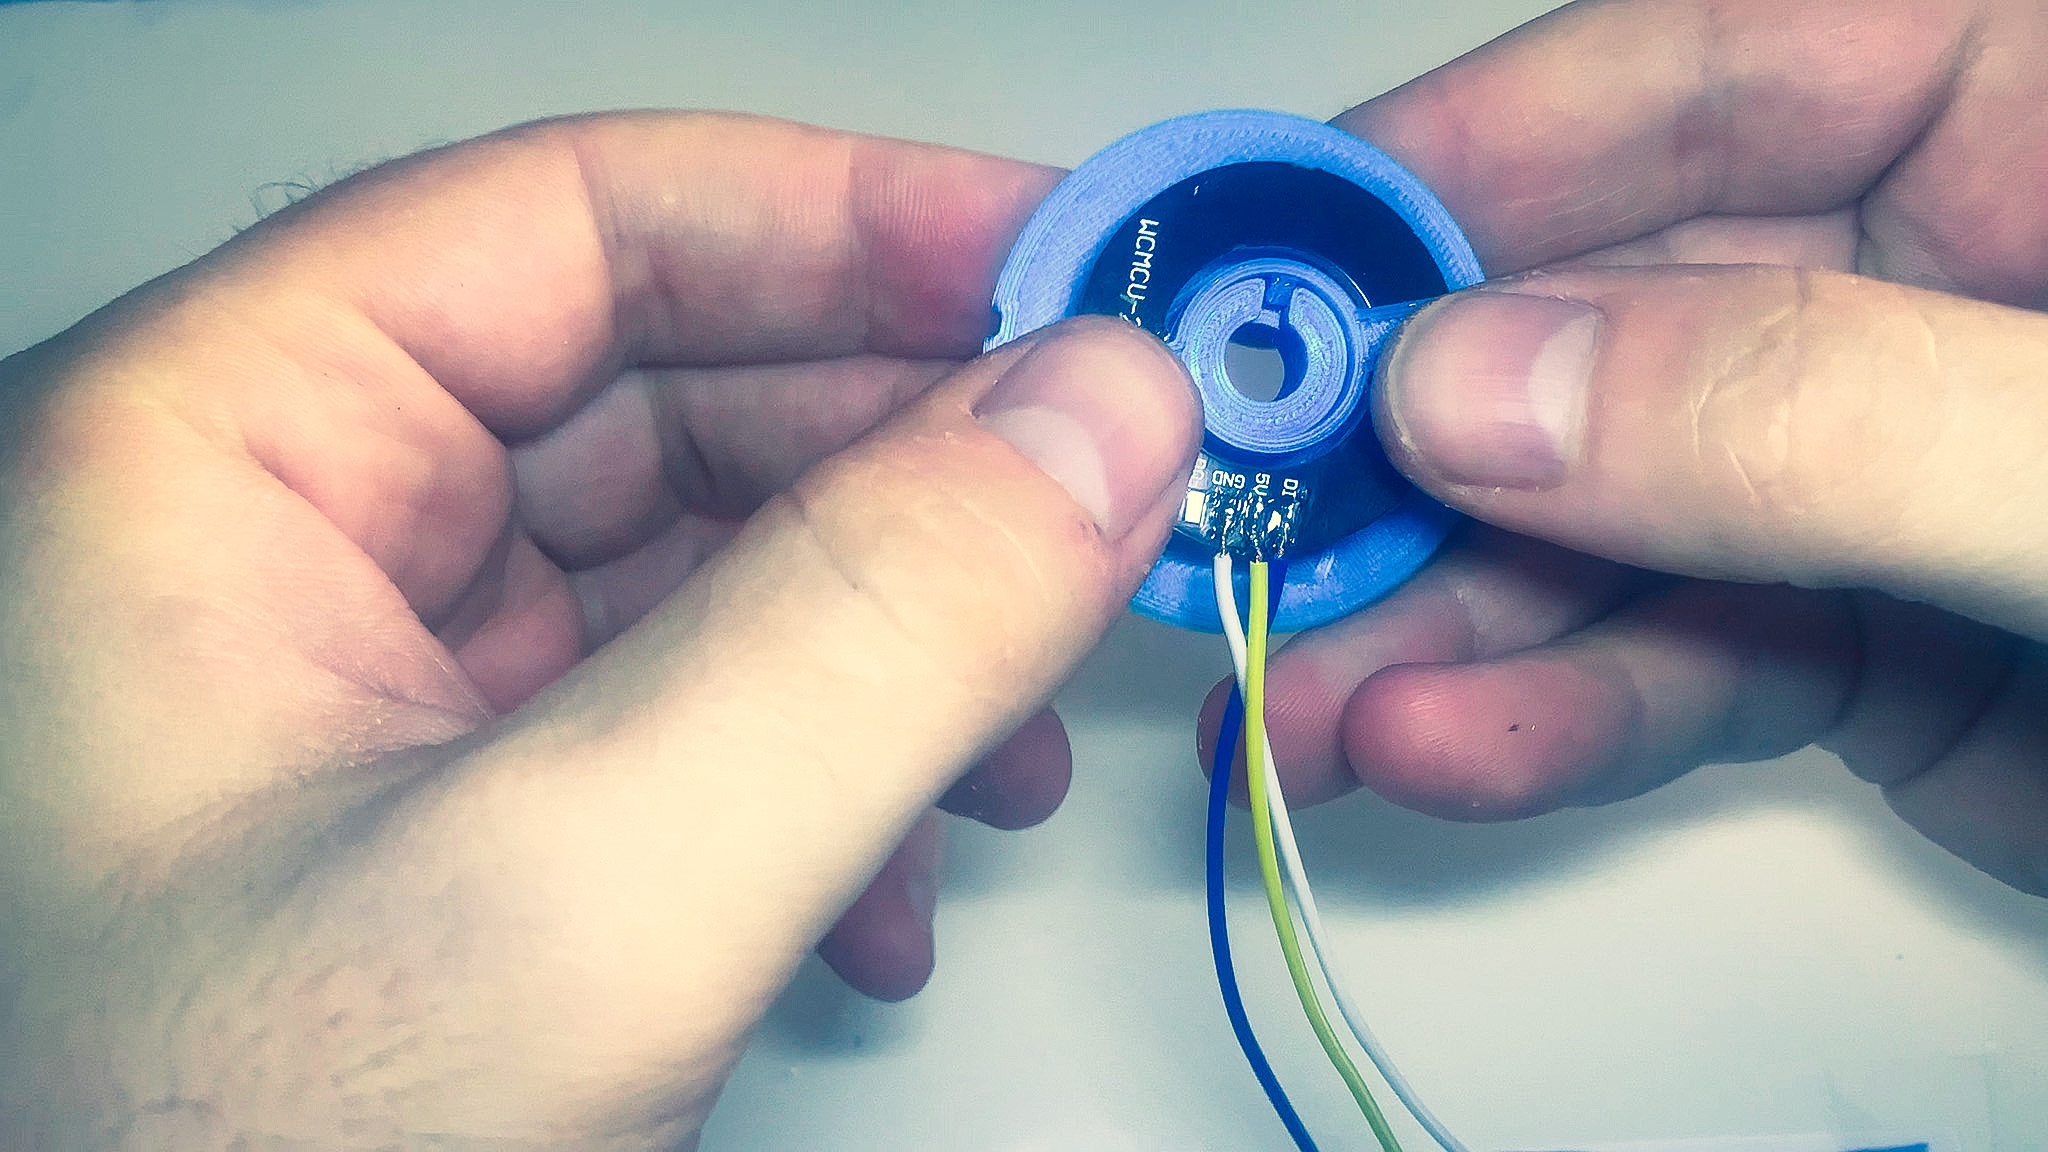
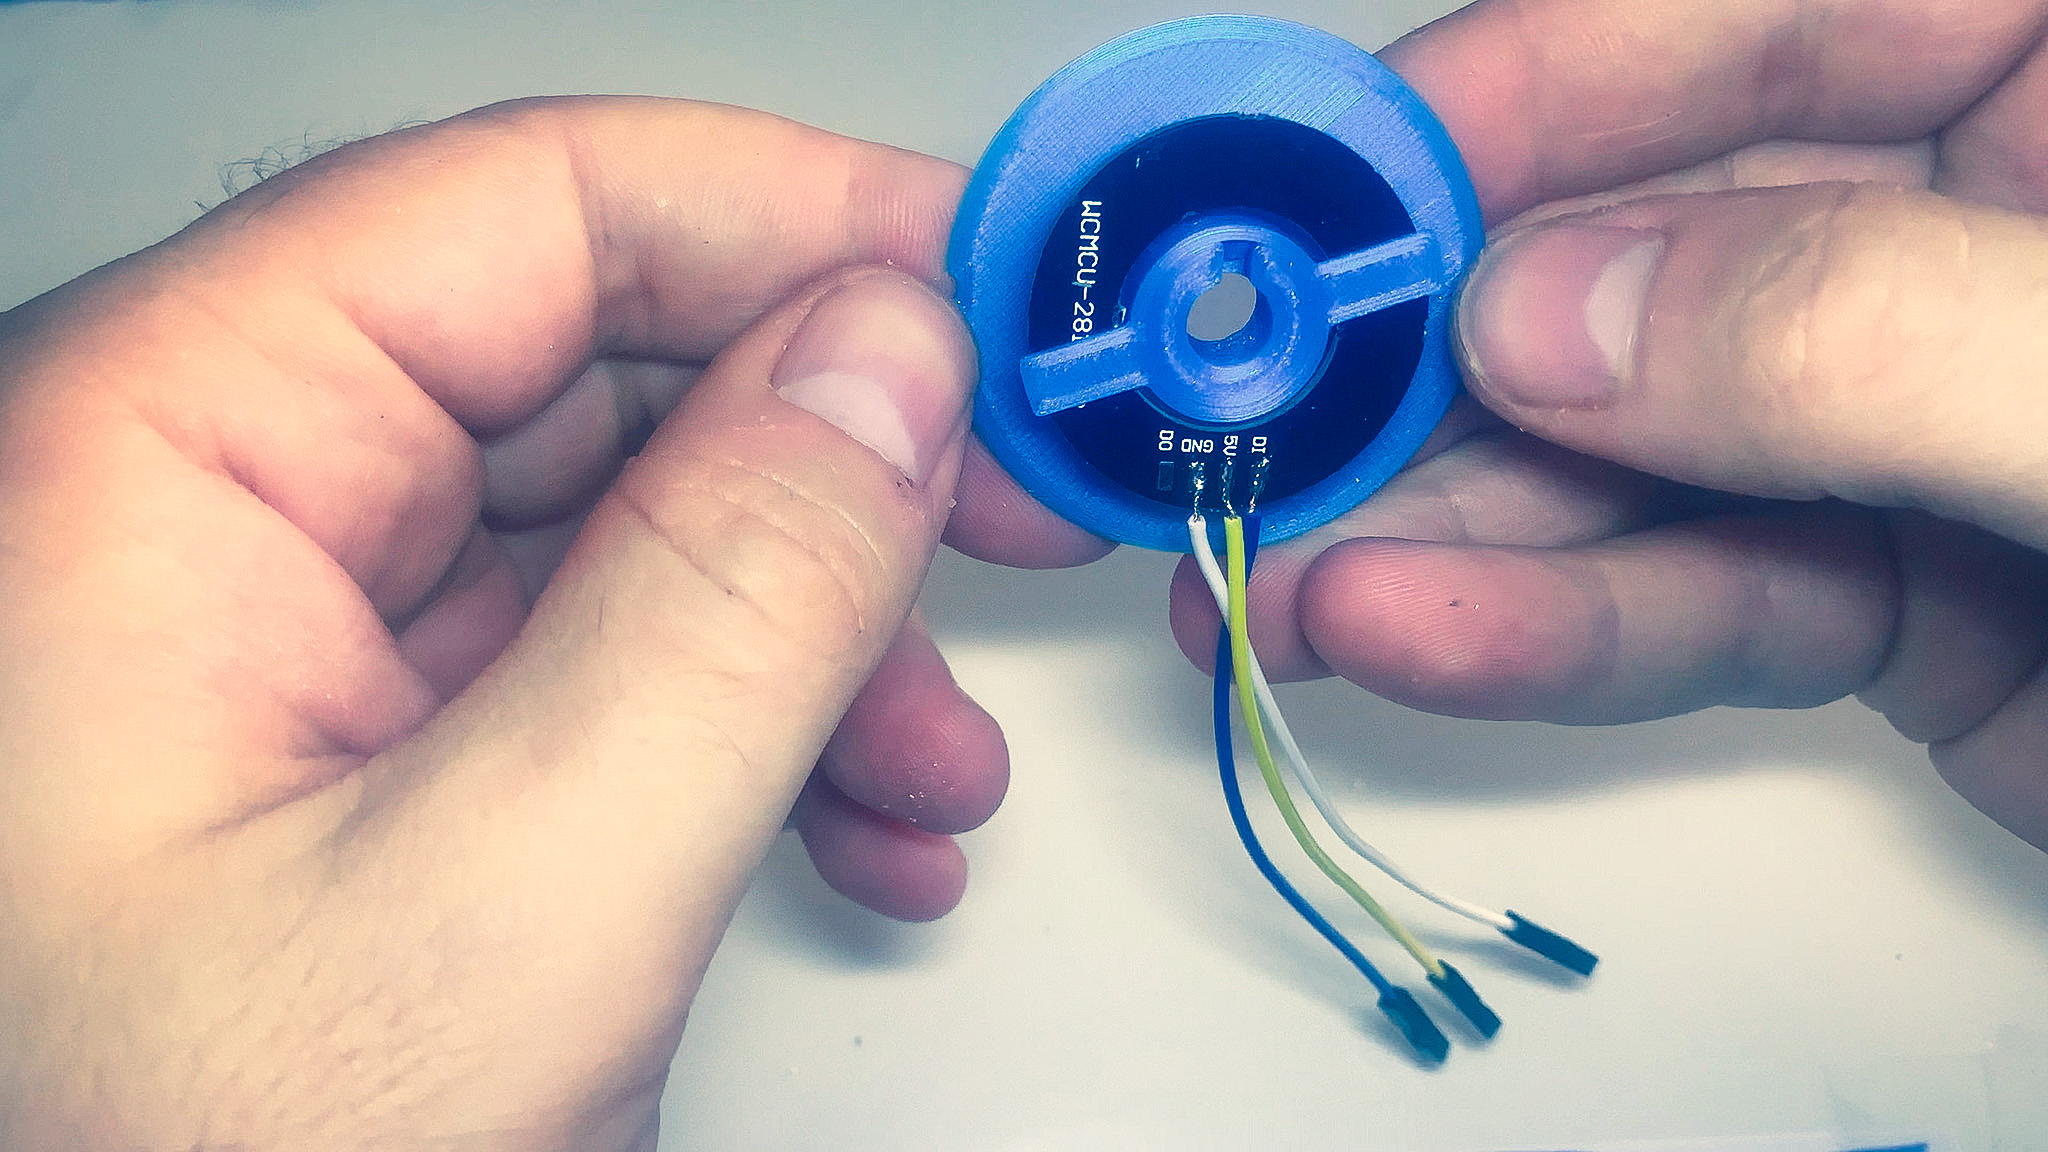
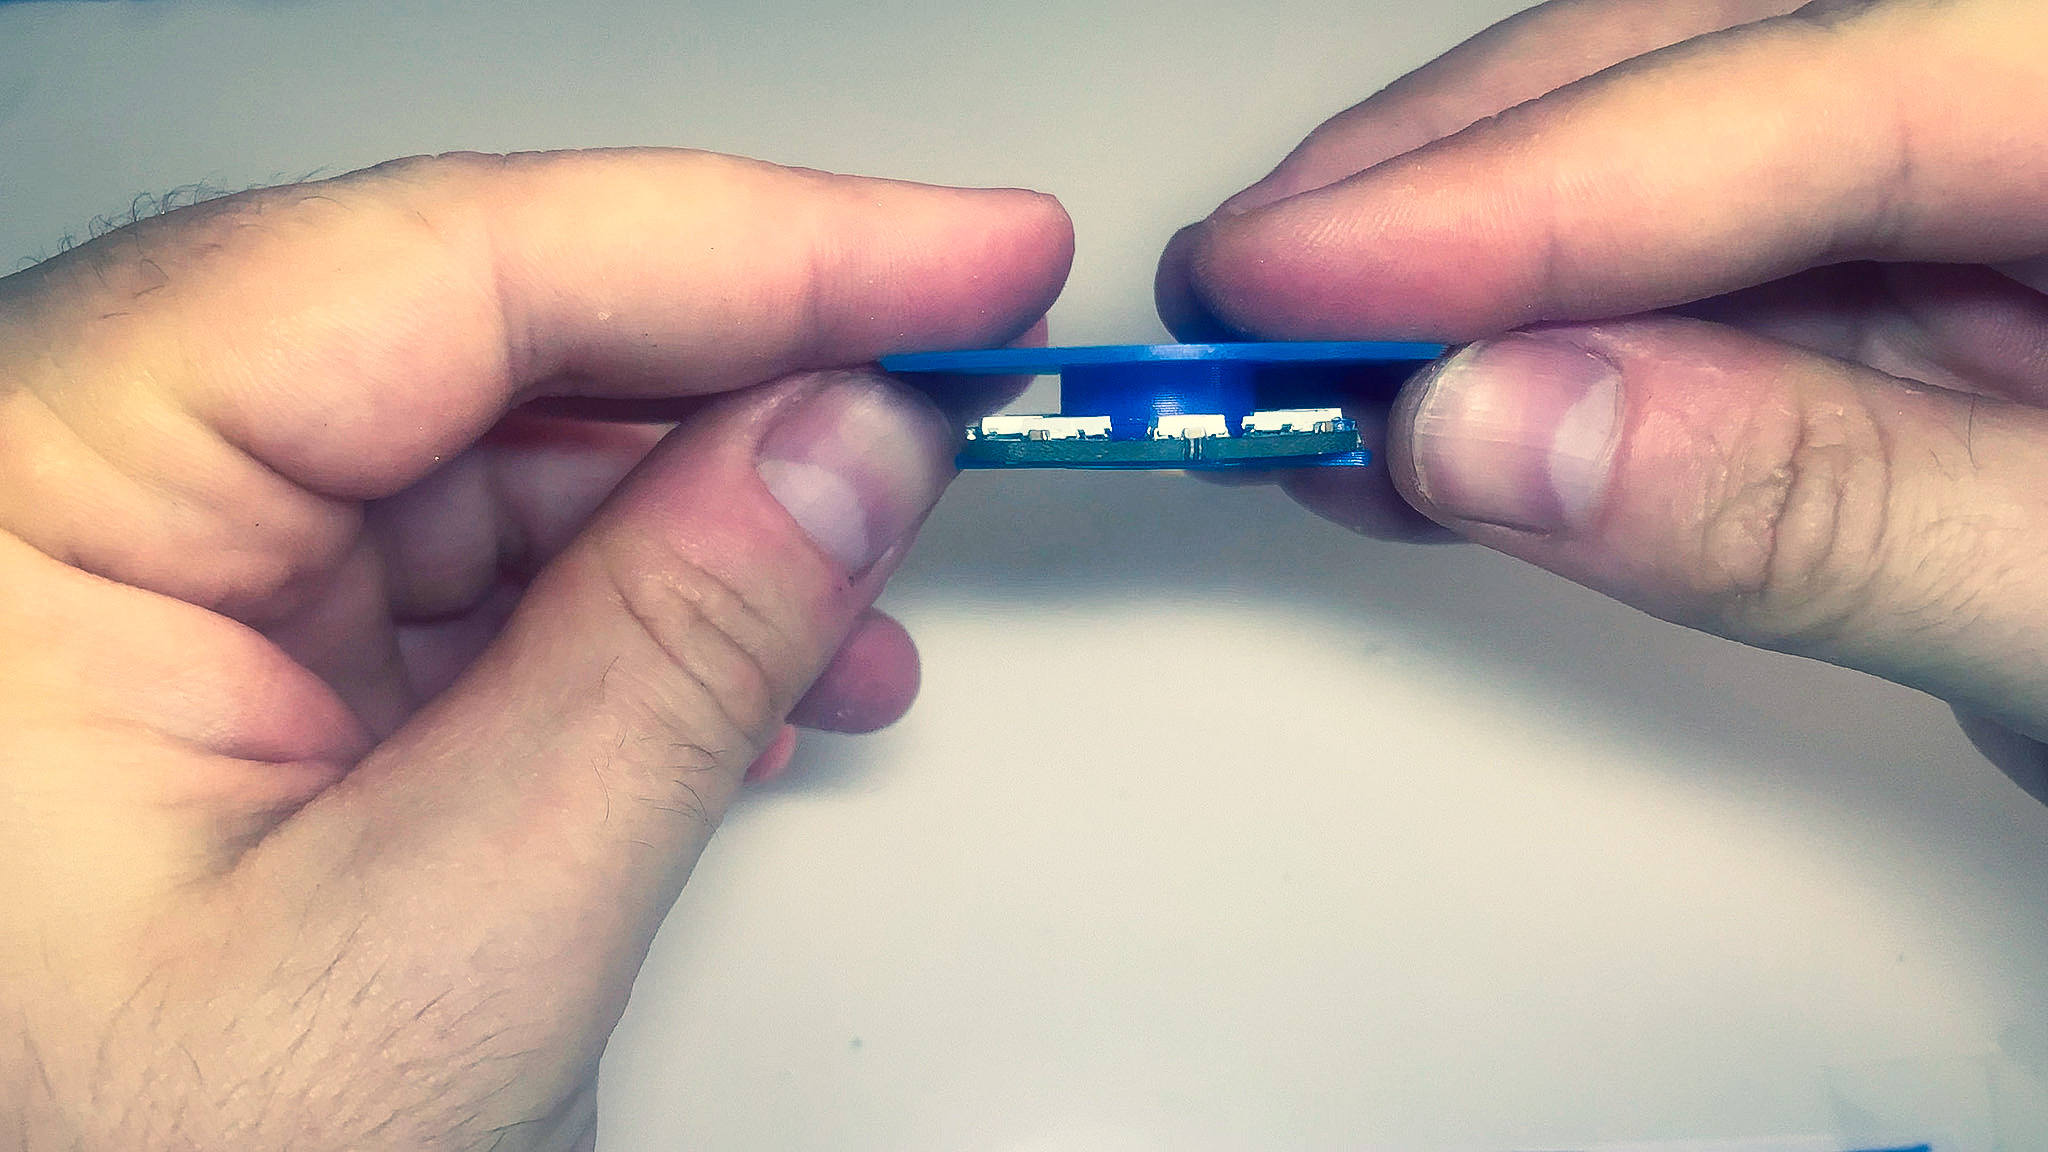
5. LED Ring (Optional)
The fit of the parts is designed to be very tight. Some sanding of the PCB holes may be required.
- Grab the ring holder 3D printed part.
- Line up the pegs with the holes of the PCB, making sure that the notch in the holder is facing away from the wires.
- Apply some pressure to insert the pegs into the holes until it sits flush.