Parts
All parts for the maxmix controller can be found and purchased online.
Links to the parts are provided below but feel free to purchase them elsewhere.
When looking for alternatives, just make sure the part specifications match to avoid any issues.
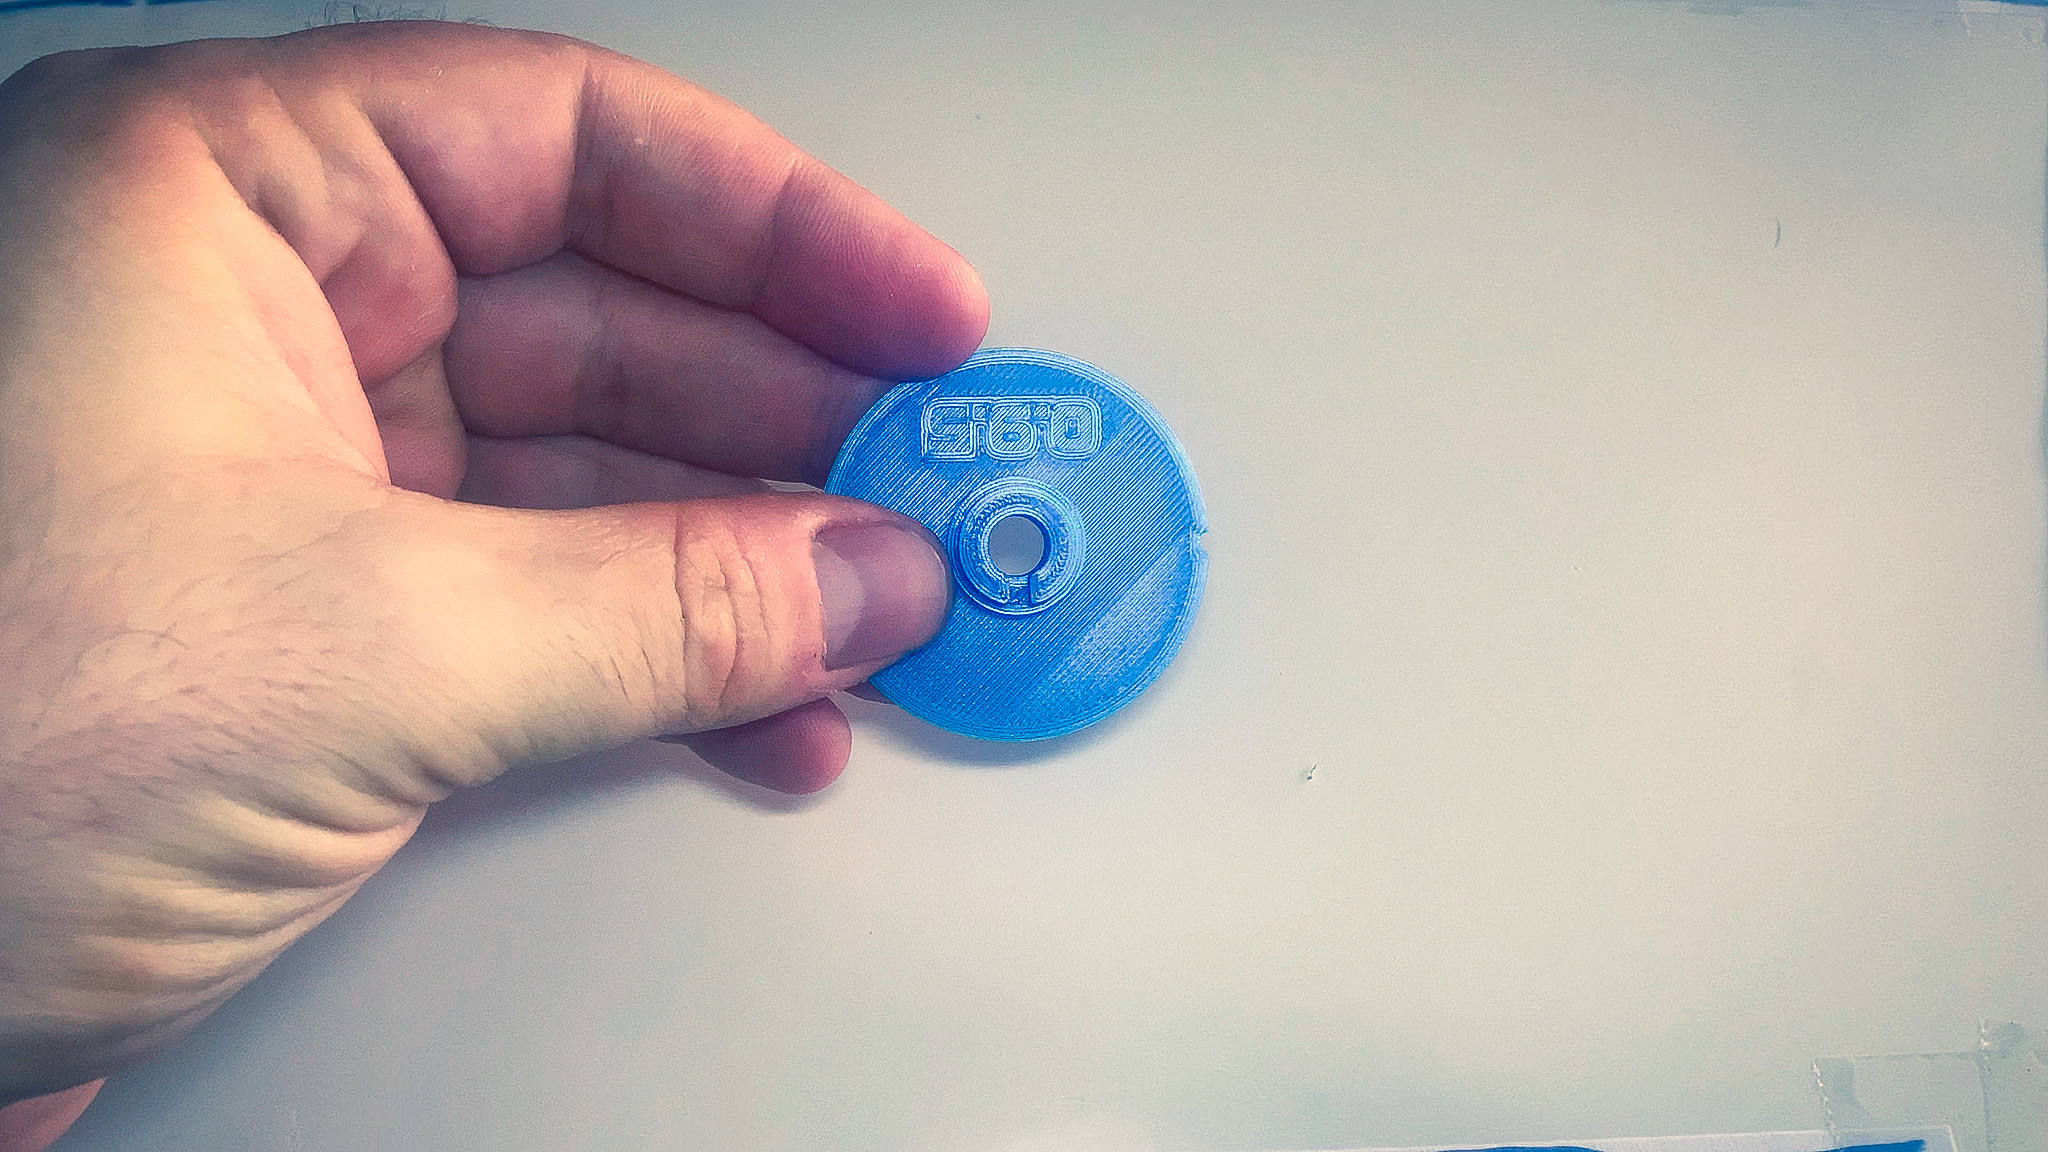
3D Print
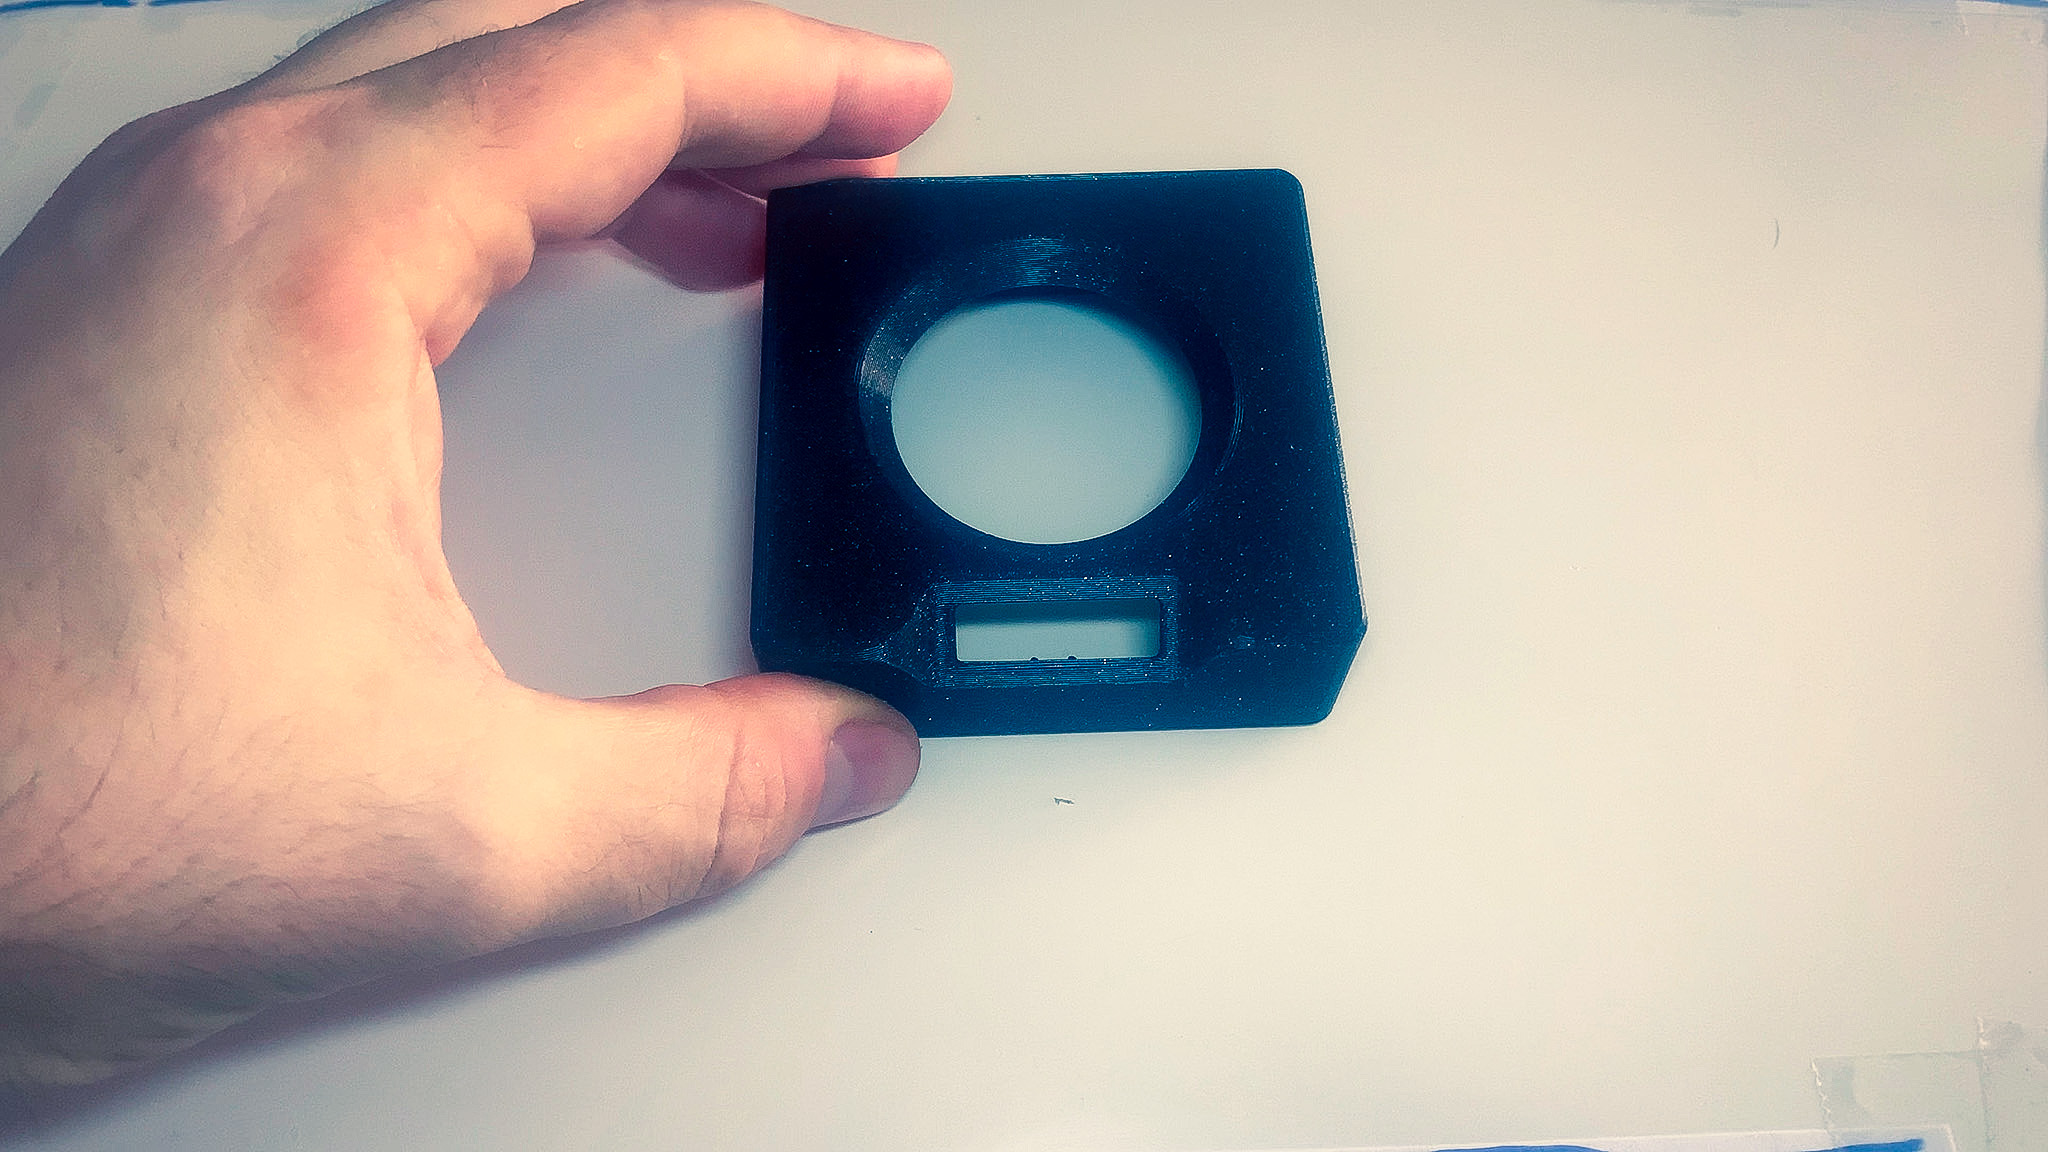
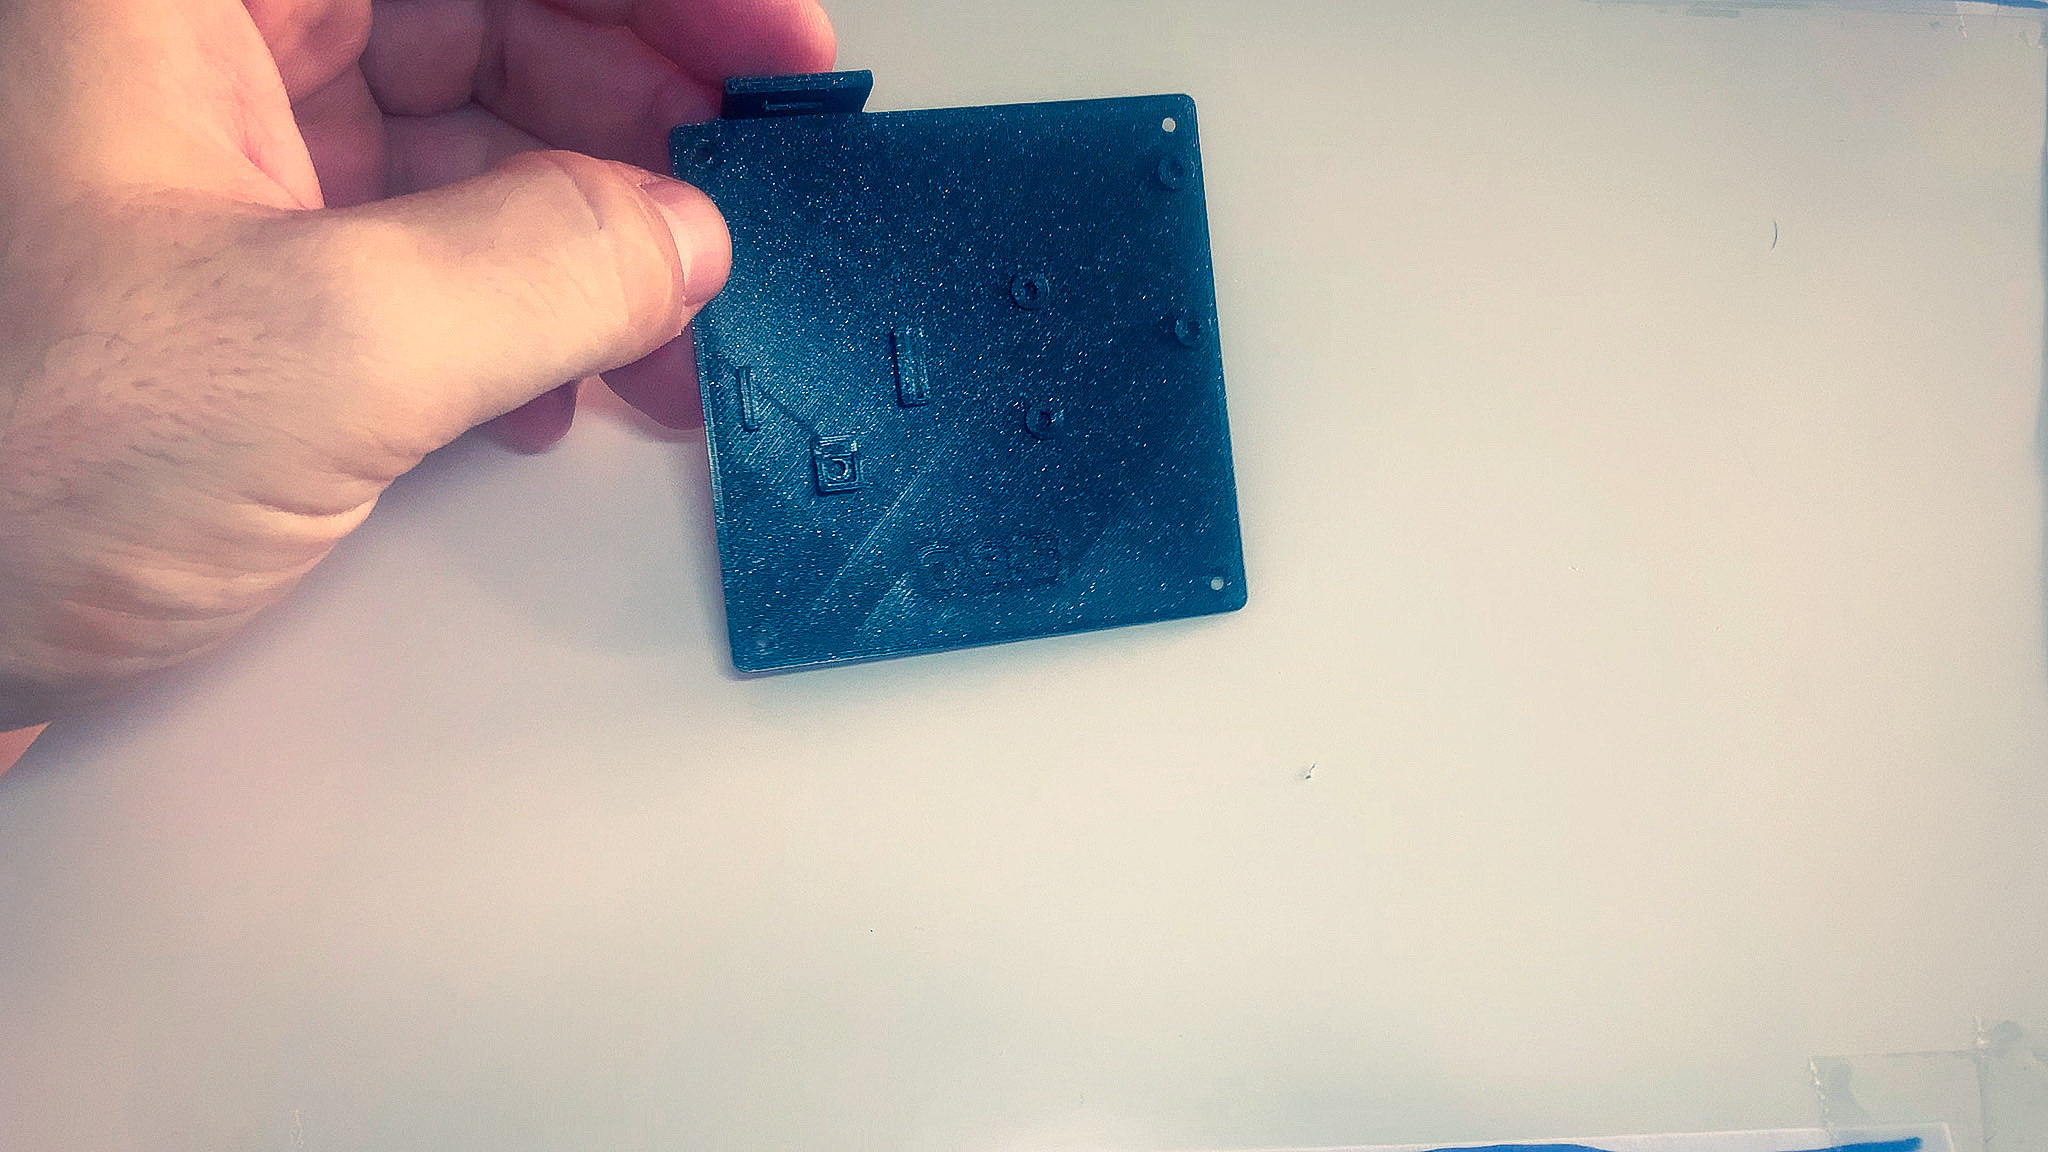
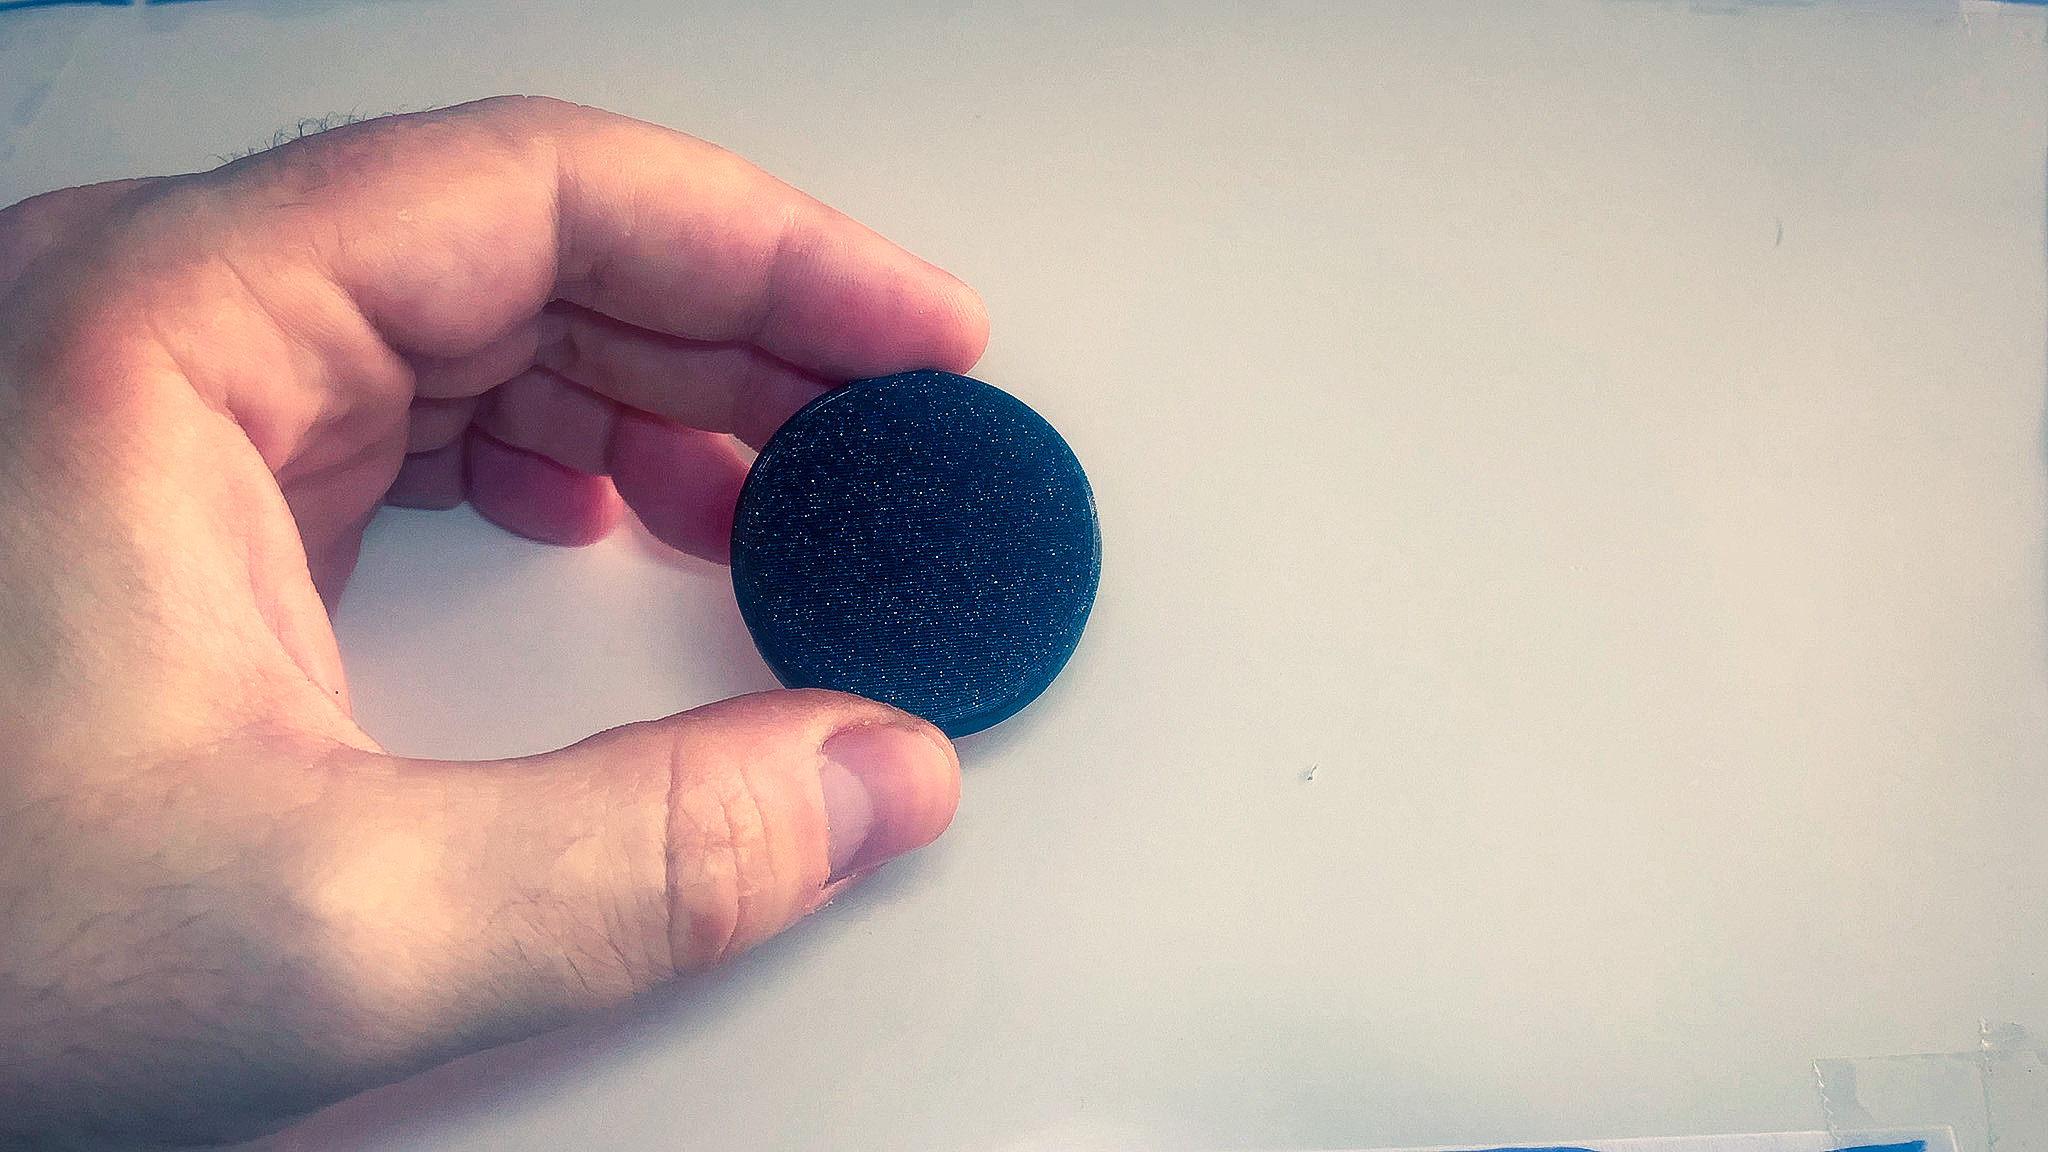
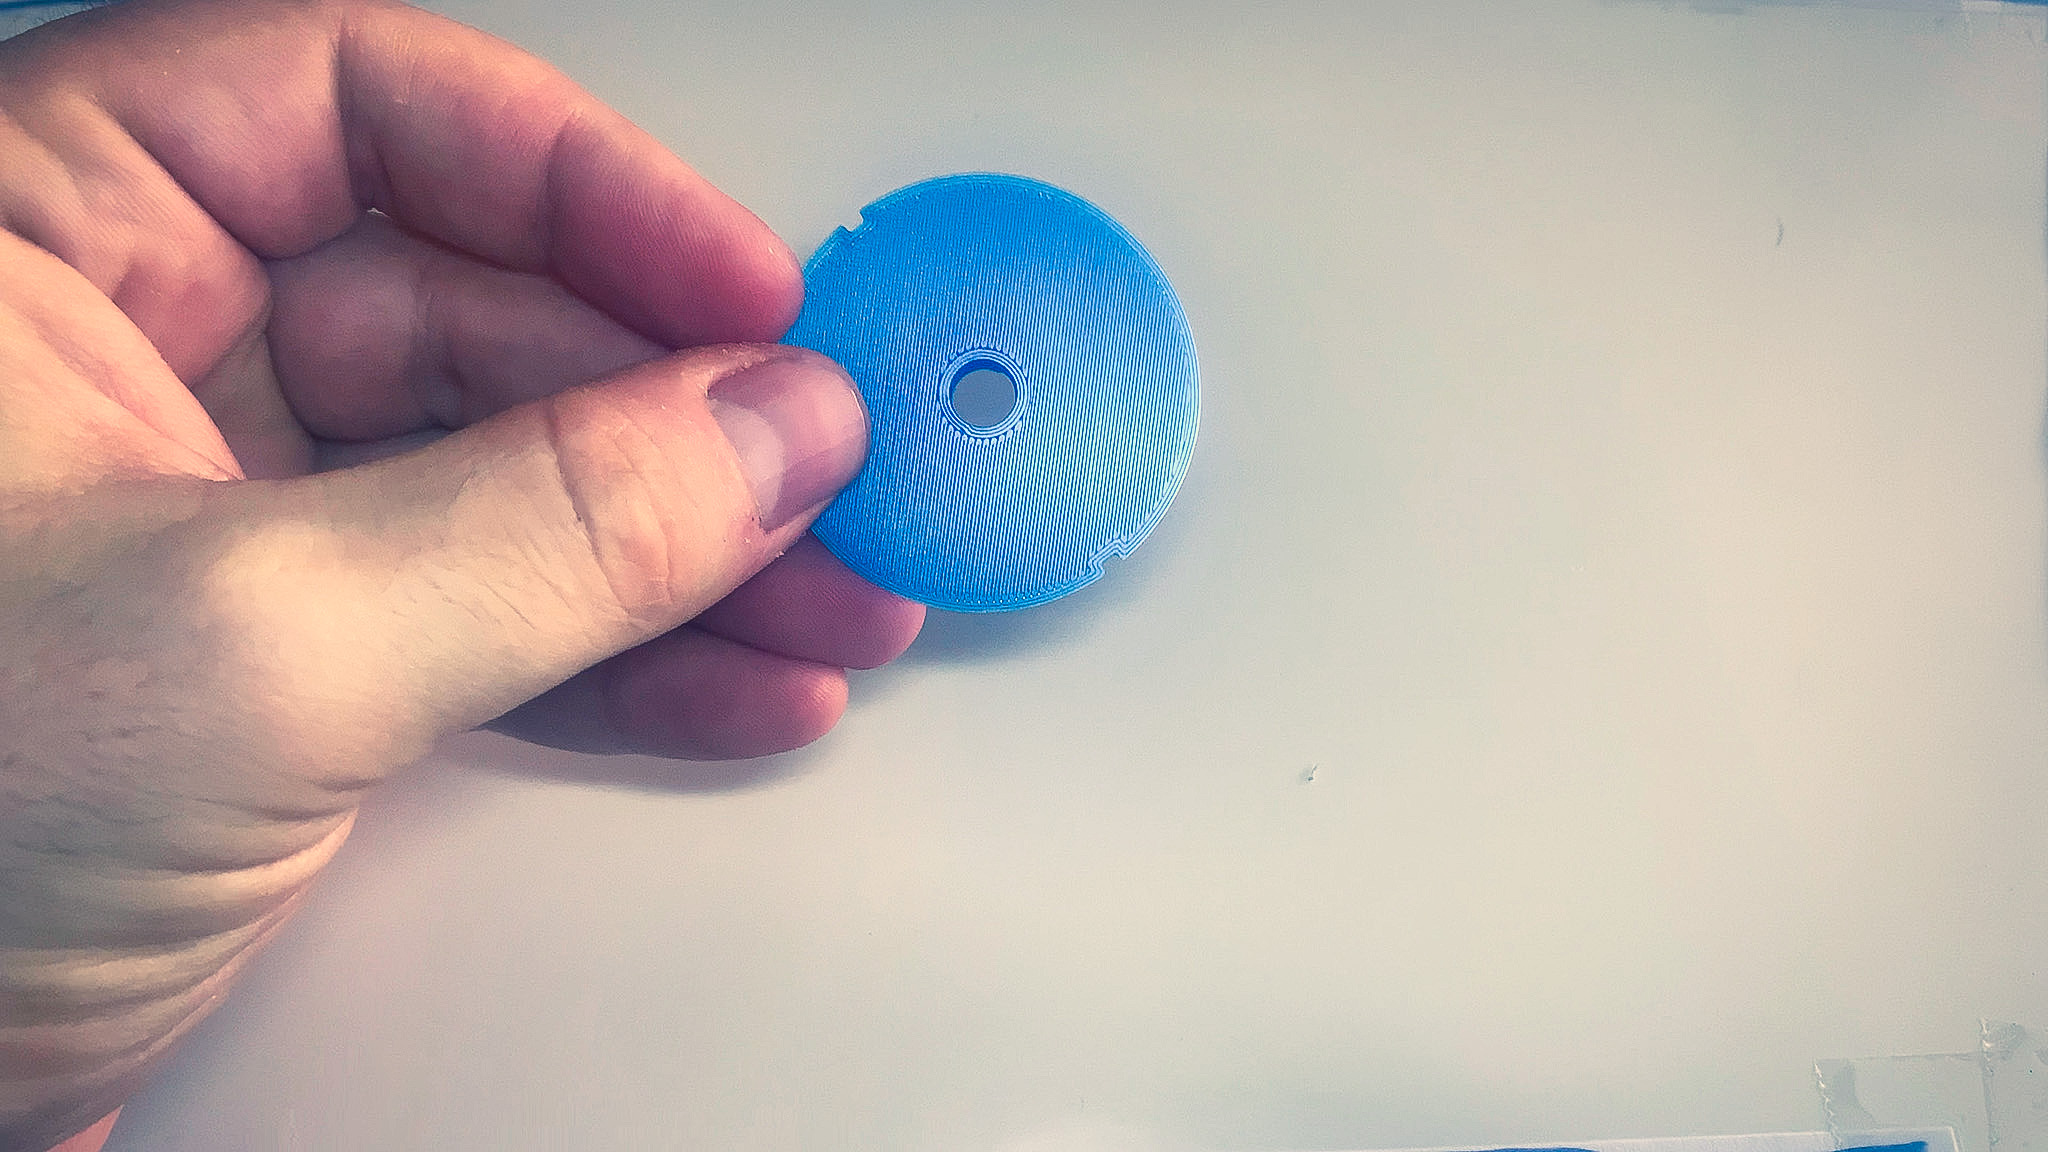
The enclosure for the controller is made of a couple of 3D printed parts and can be downloaded from Prusaprinters.org.
If you don’t have a 3D printer, I recommend using a community printing service such as Treatstock, it is the most cost effective method.


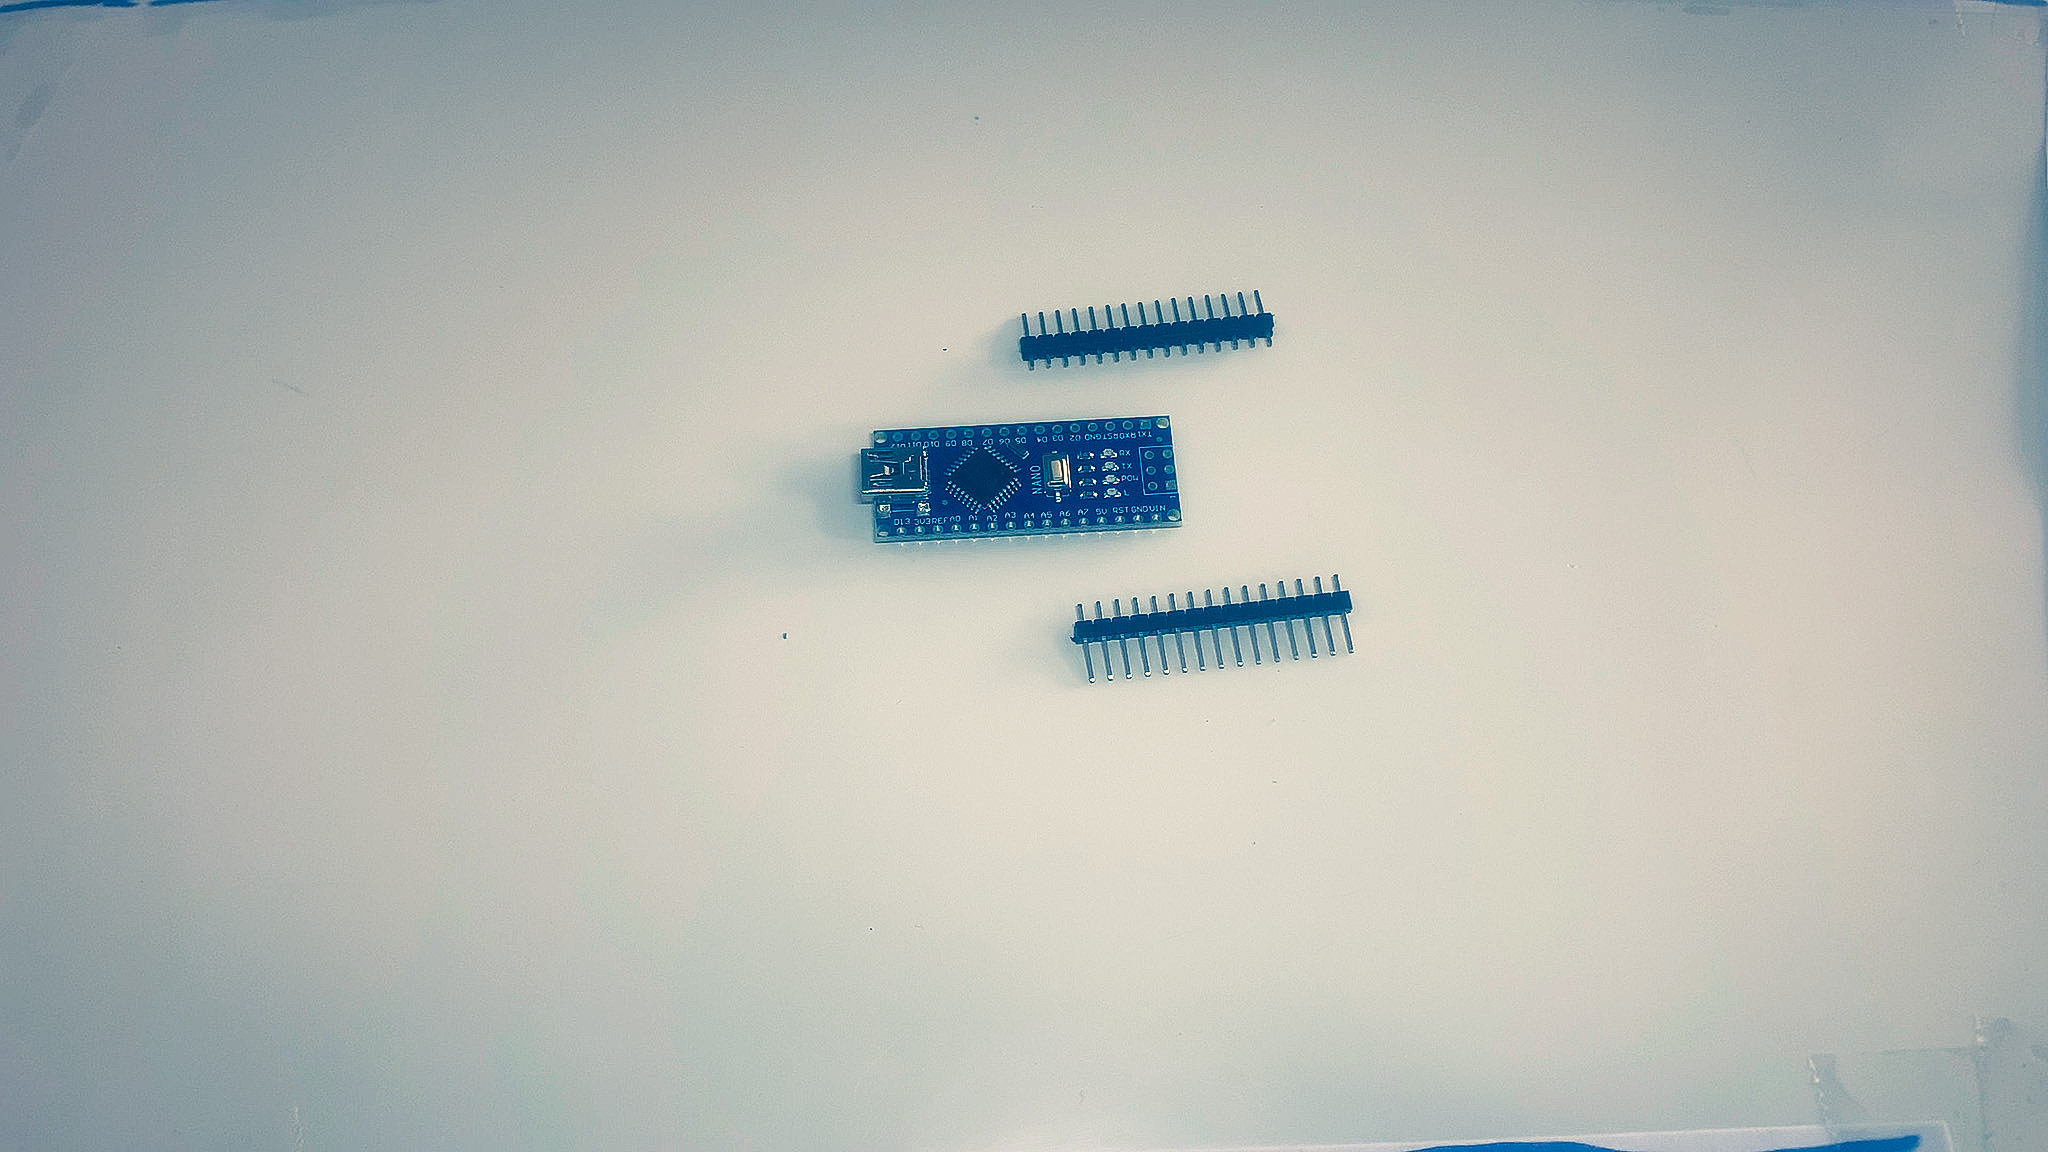
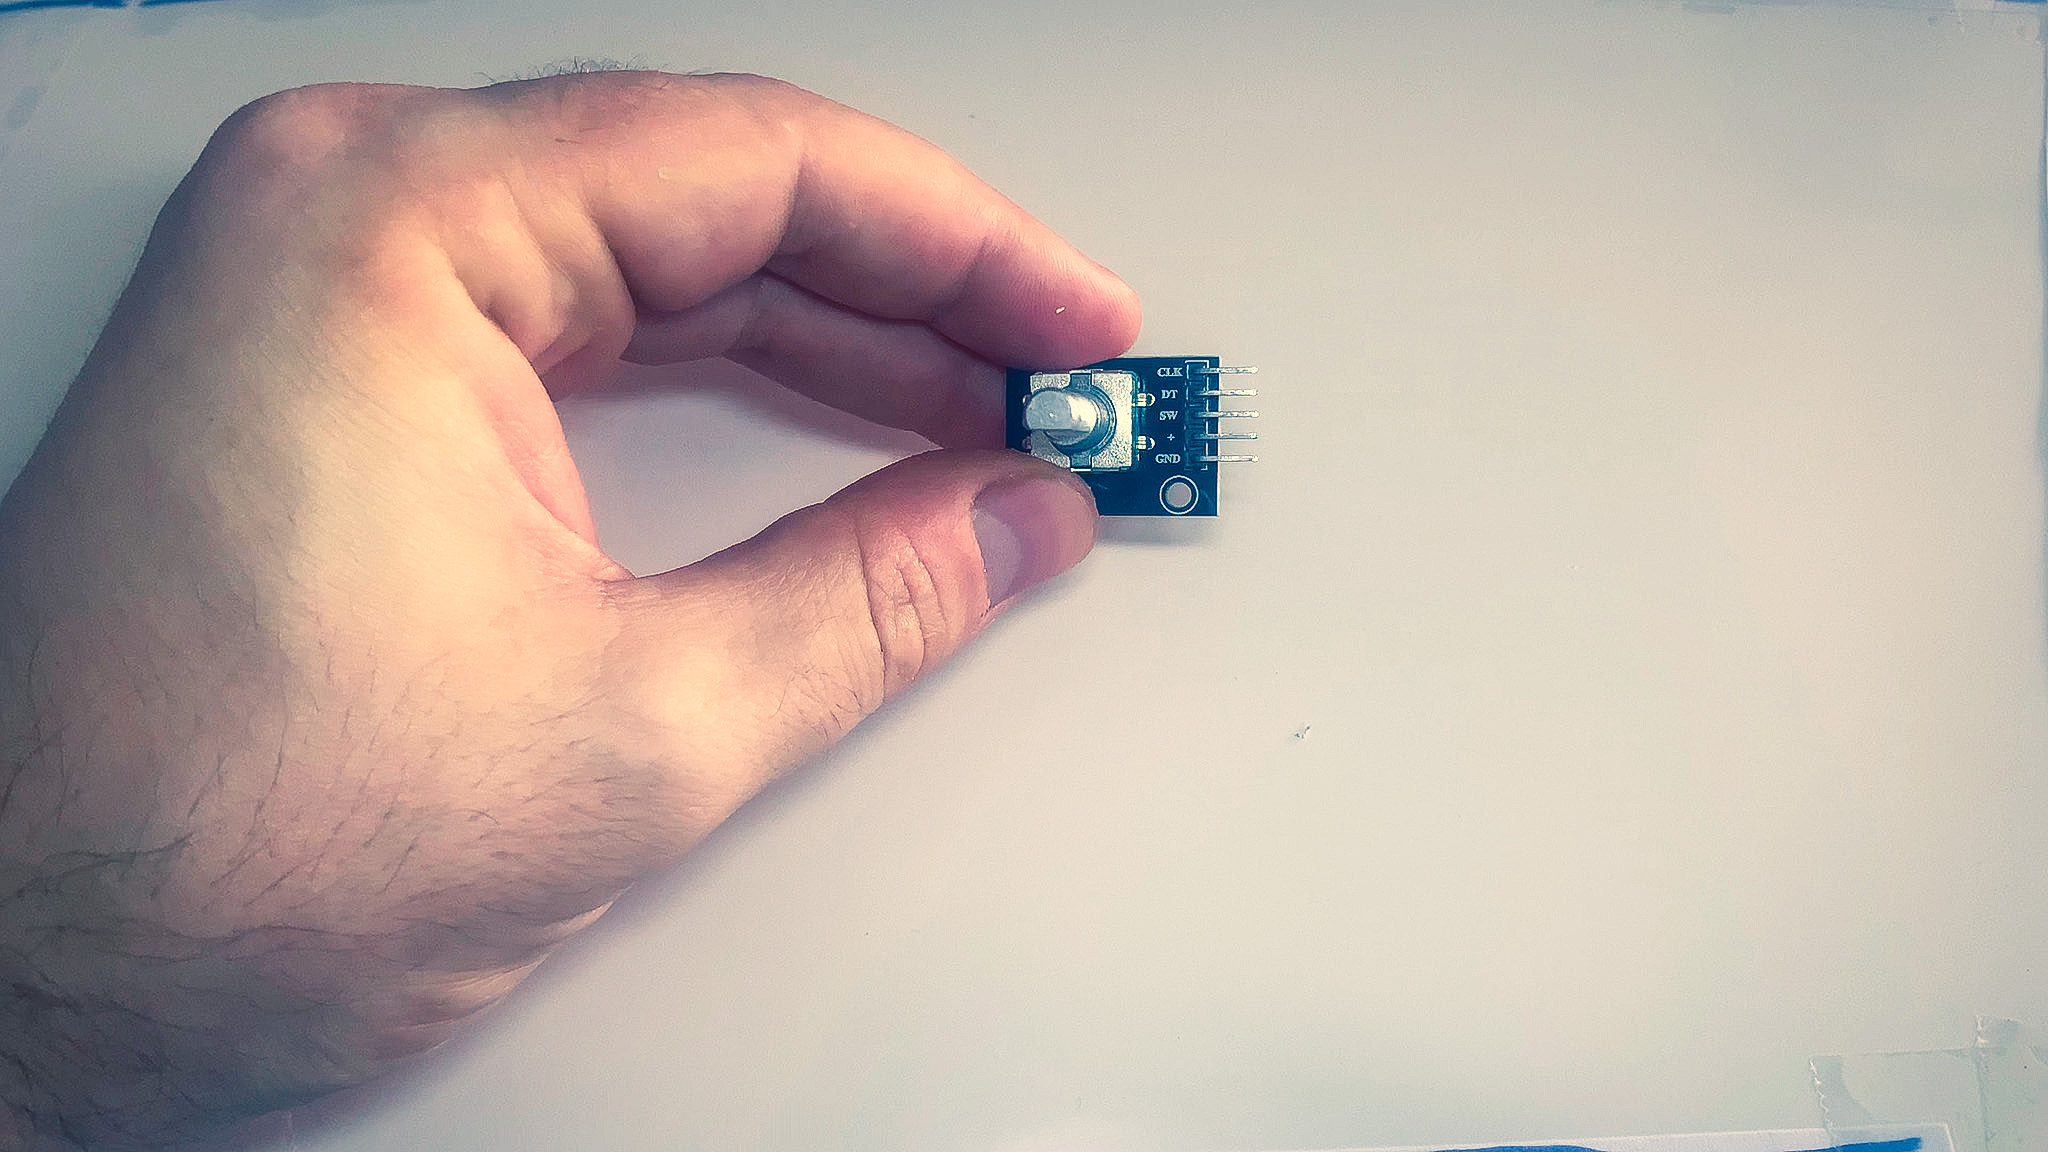
Hardware
Below are the rest of parts needed to complete the project.
* Due to DOA reports on Arduinos ordered from AliExpress, we’ve decided to not provide a link.
| Part | Count | Ali-Express | Amazon (US) |
|---|---|---|---|
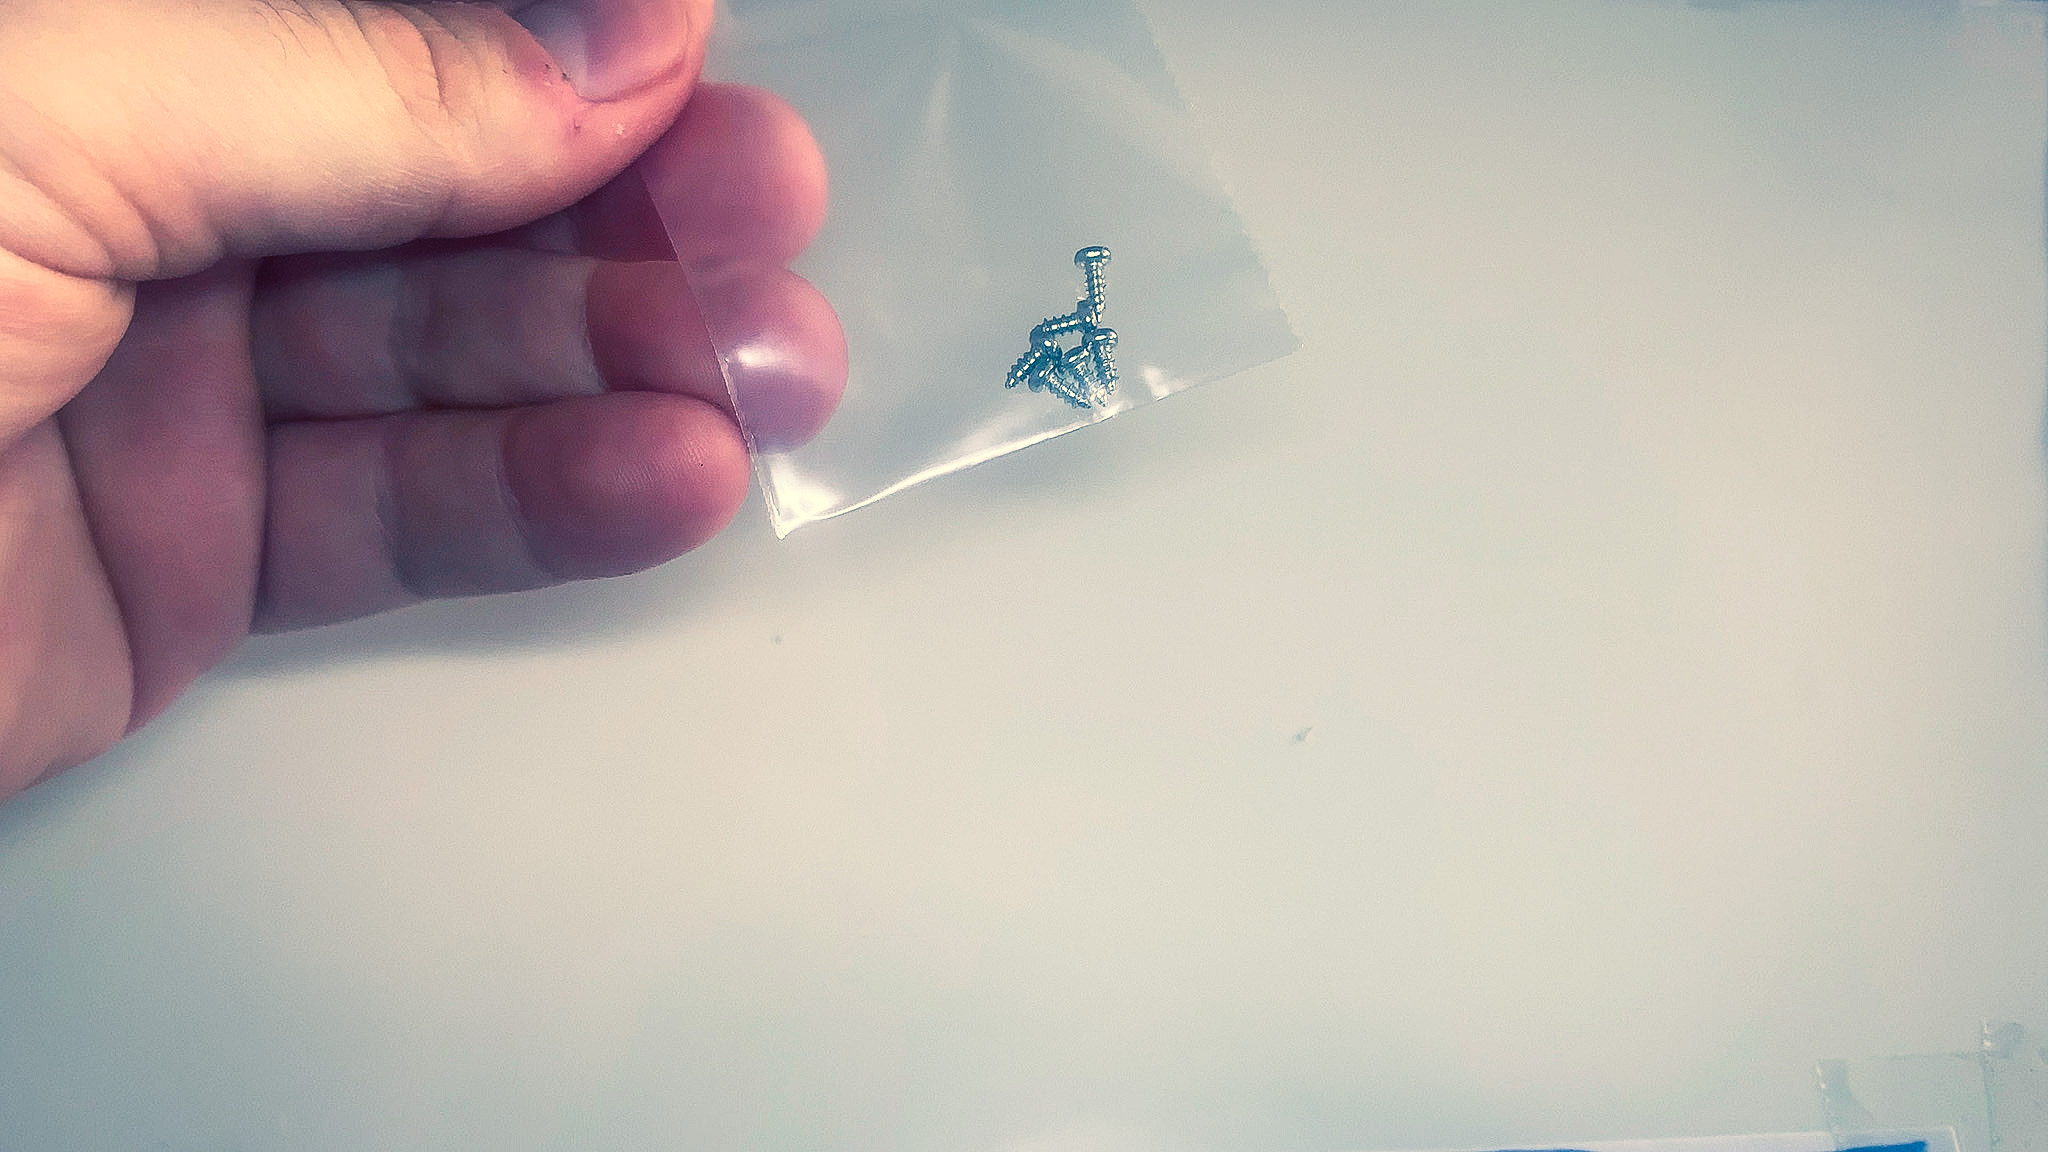
| M2 10mm Countersink screws | 4 | Link | Link |
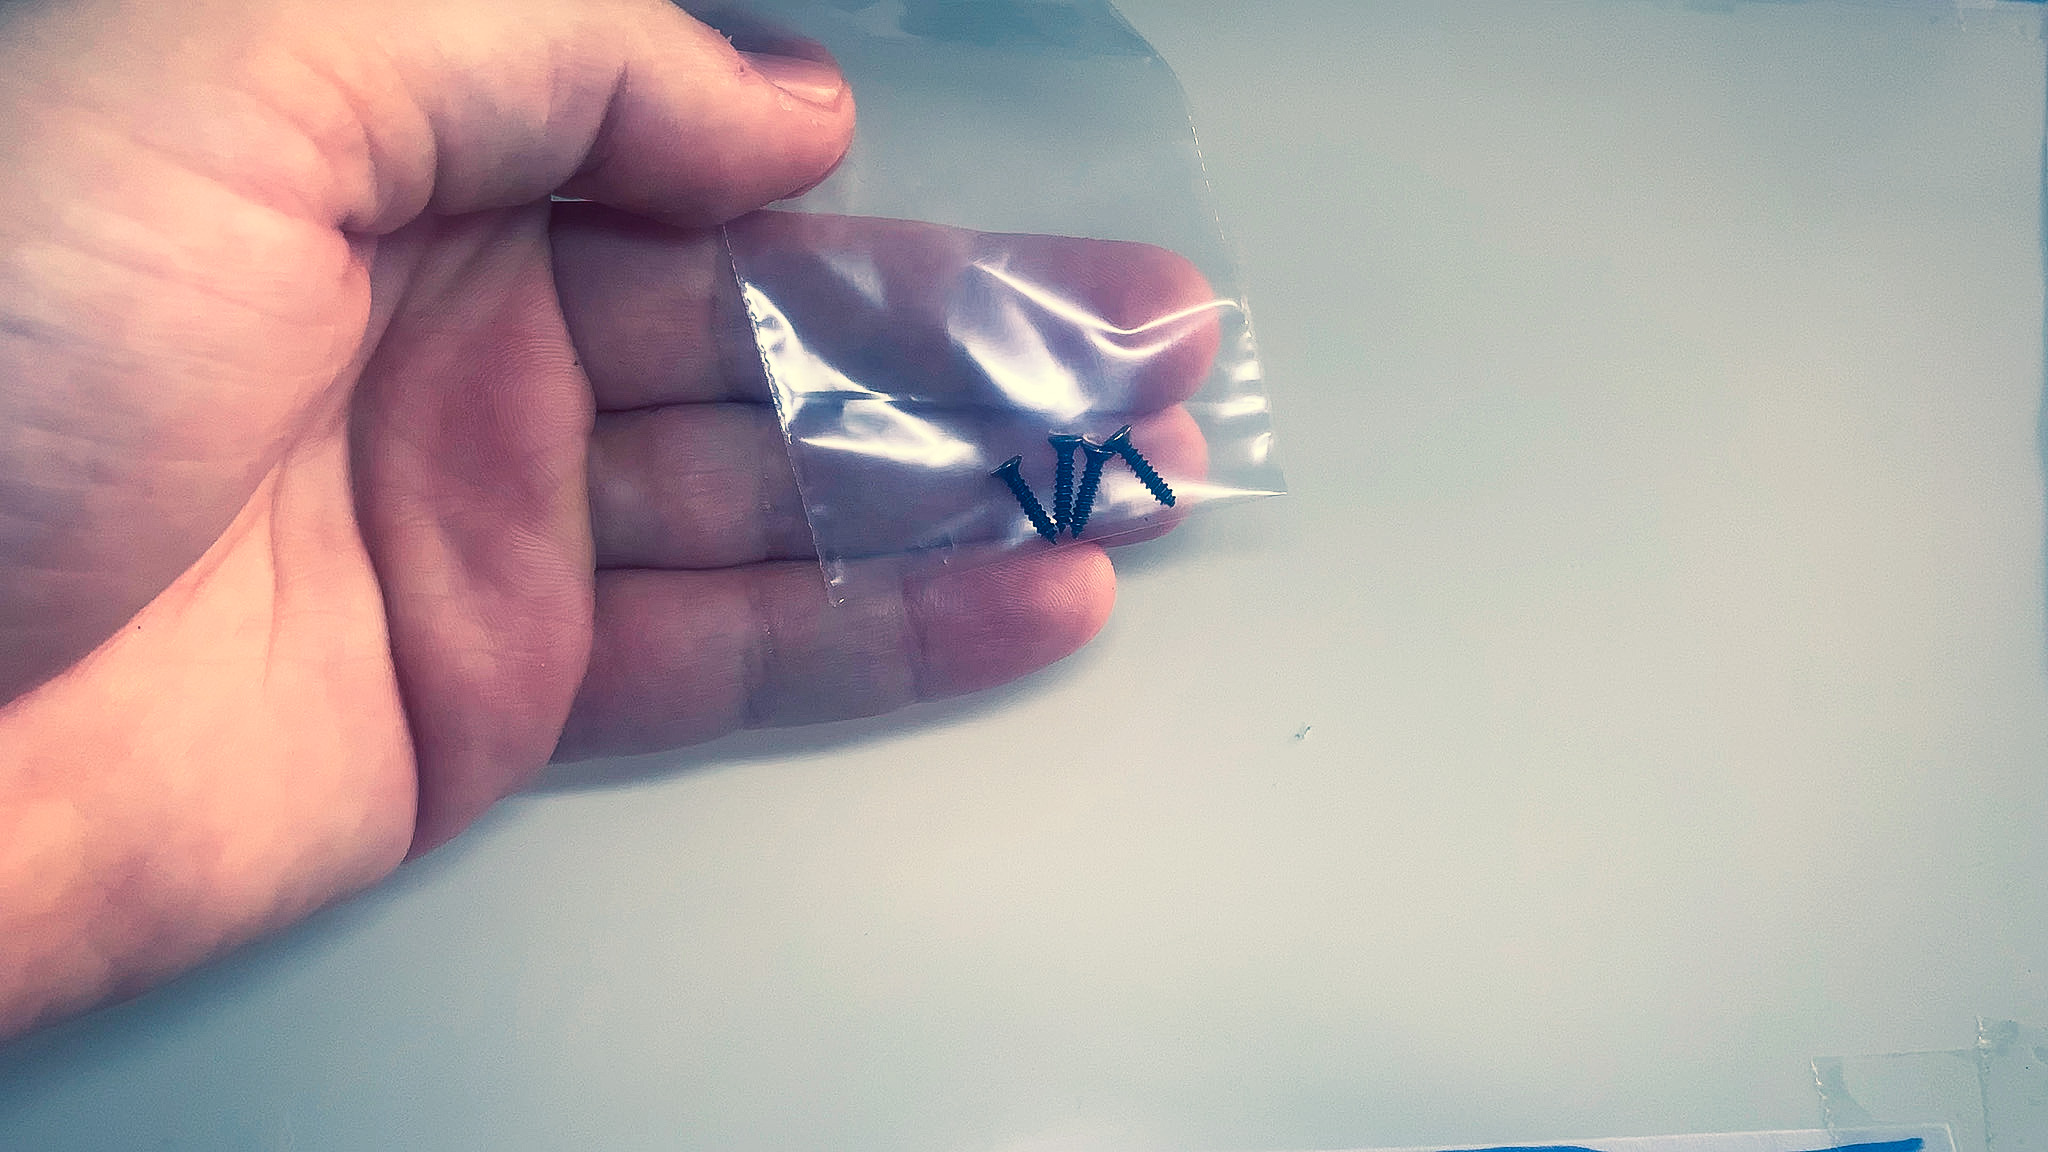
| M2 5mm Screws | 6 | Link | Link |
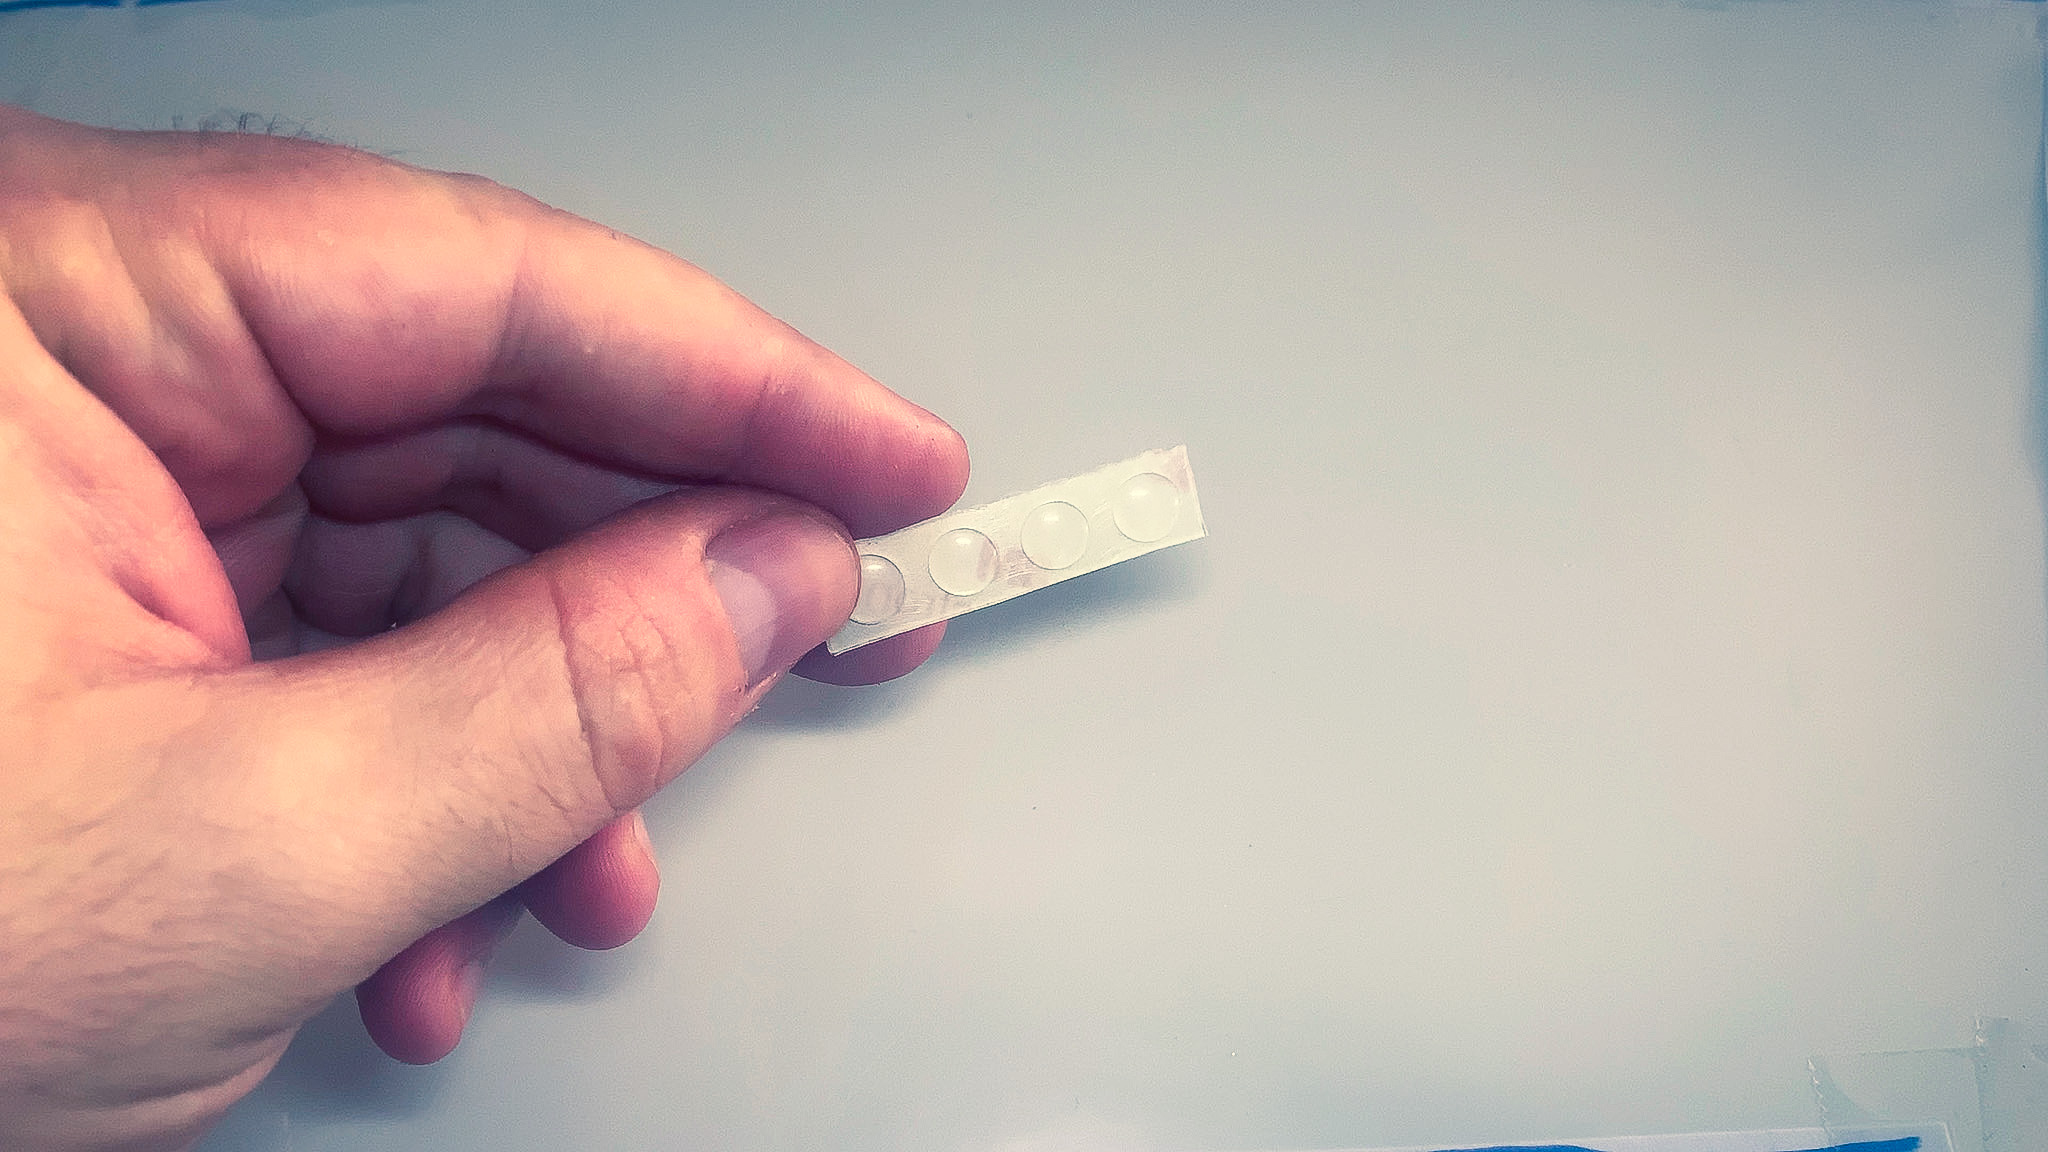
| Silicon bumper 2x8mm | 4 | Link | Link |
| Arduino Nano 328P CH340 | 1 | * | Link |
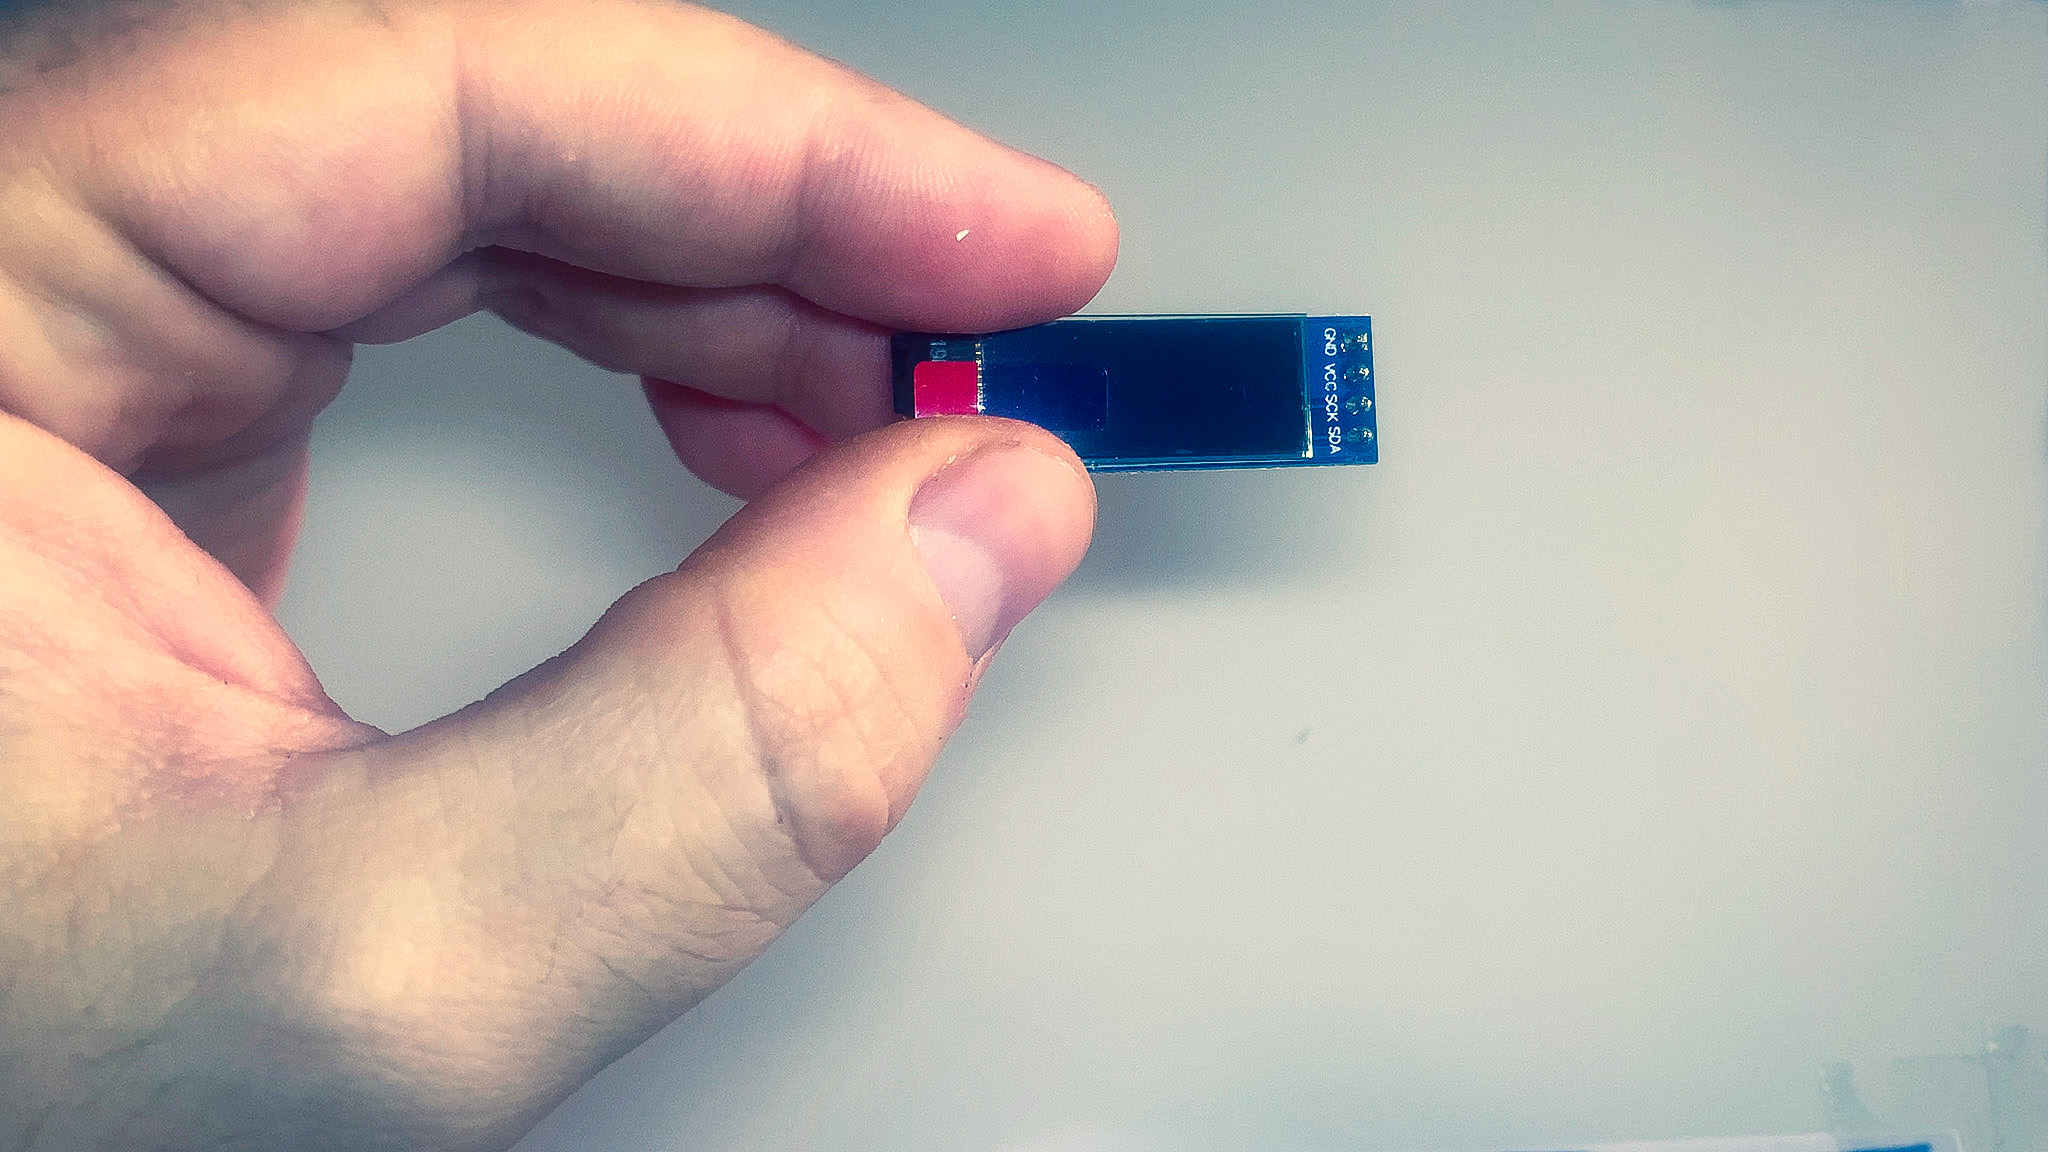
| 128x32 I2C OLED display | 1 | Link | Link |
| Rotary encoder | 1 | Link | Link |
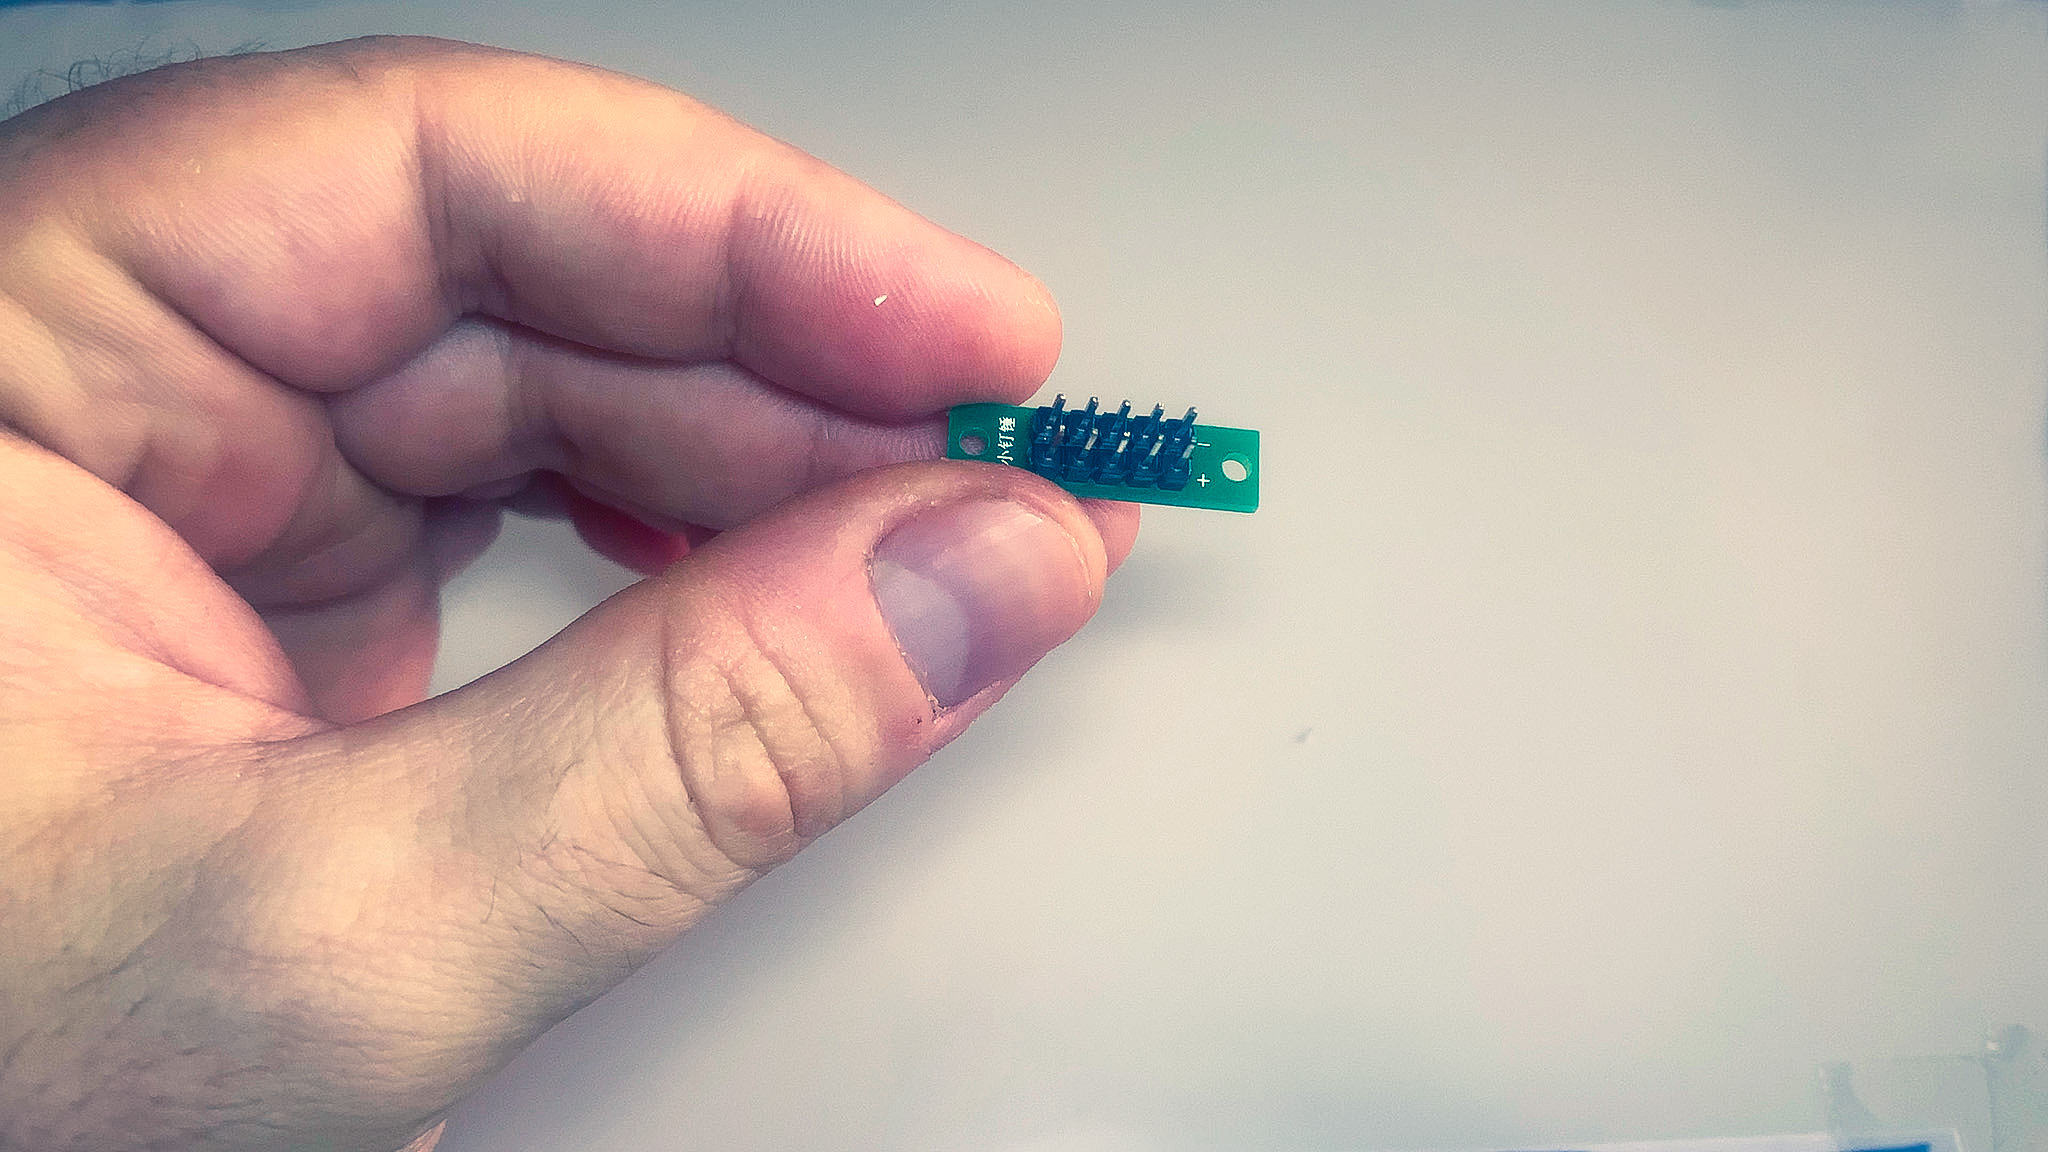
| Power bus | 1 | Link | Link (Tindie) |
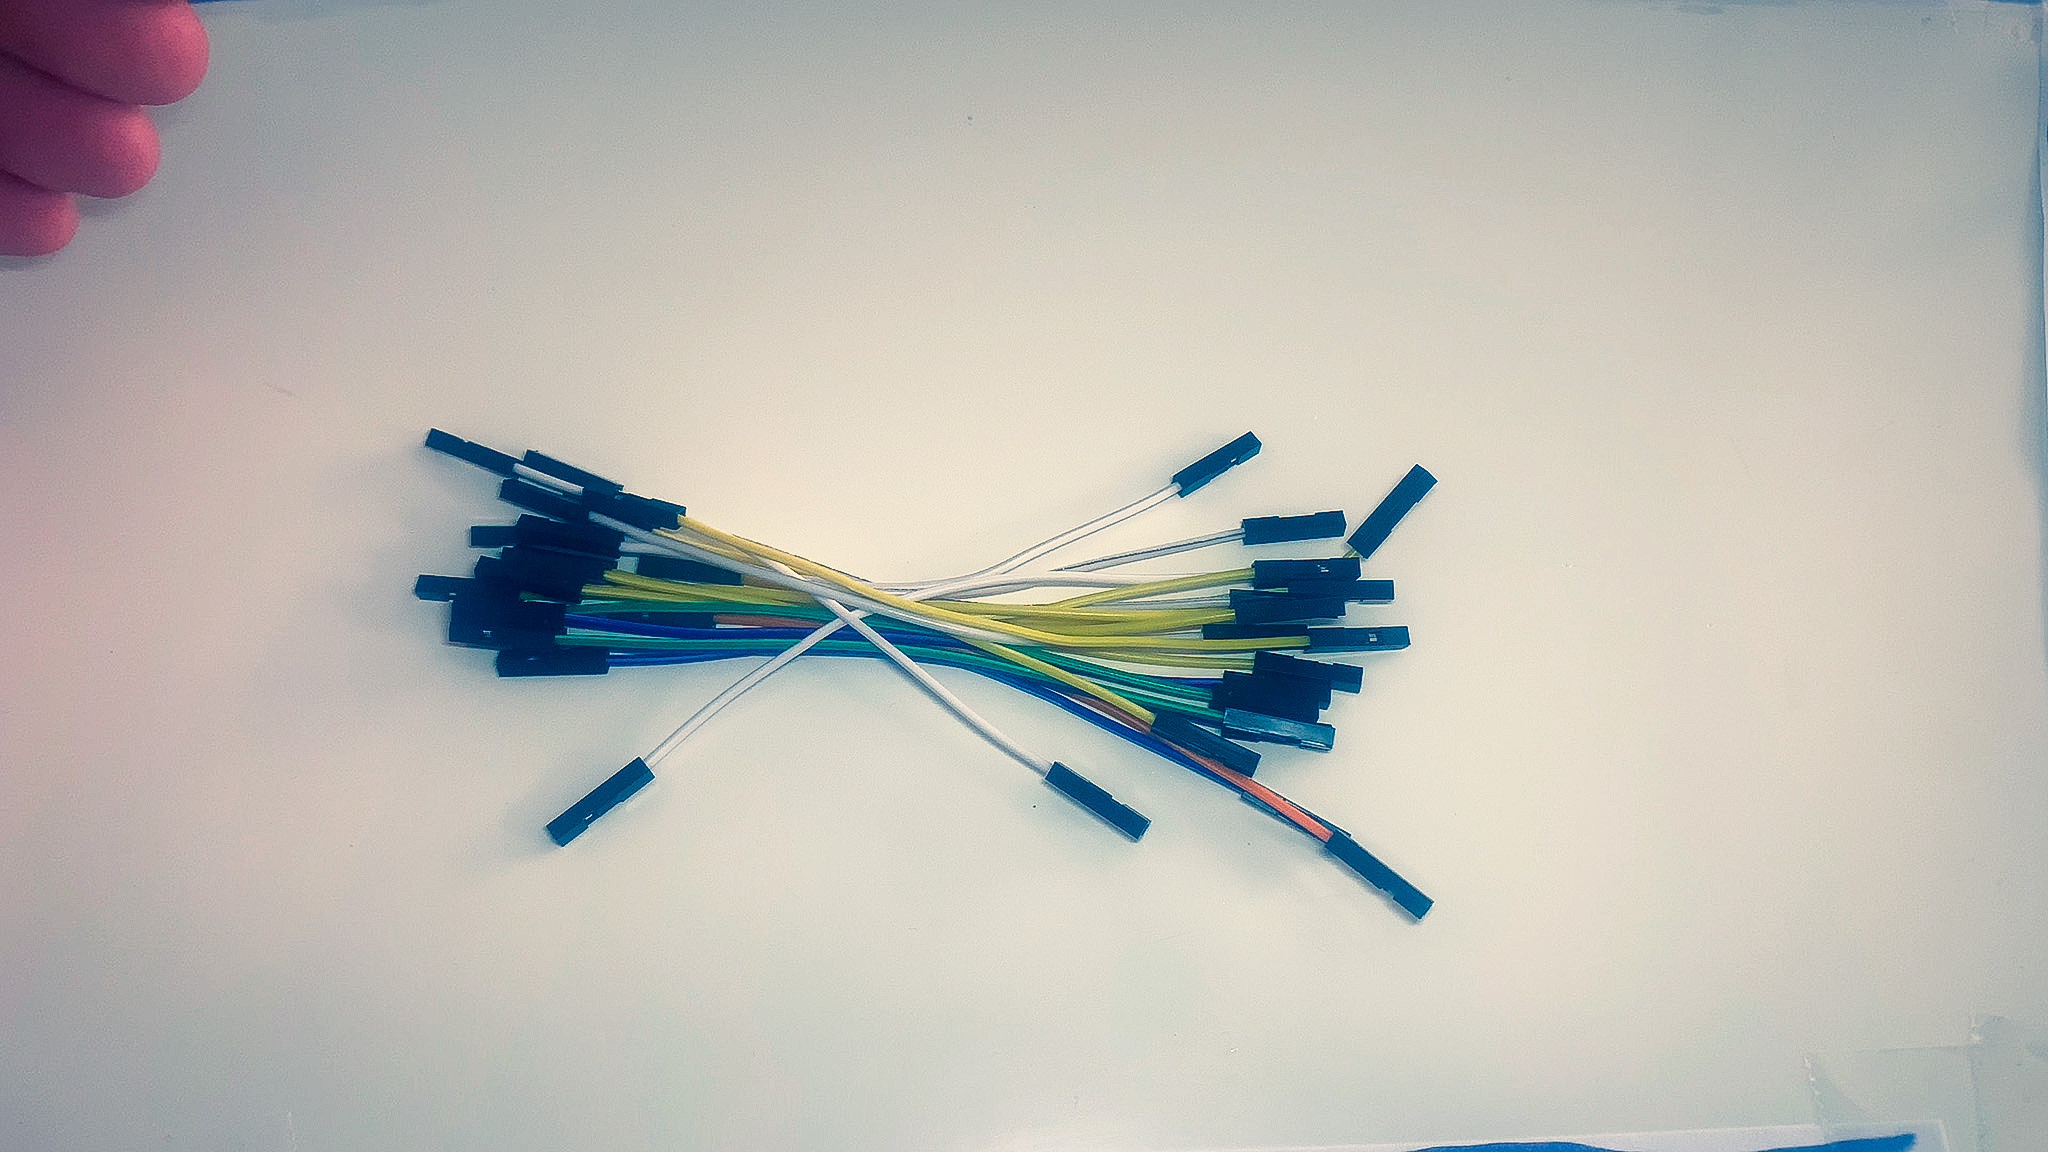
| 10cm Female to female jumper wires | 11 | Link | Link |
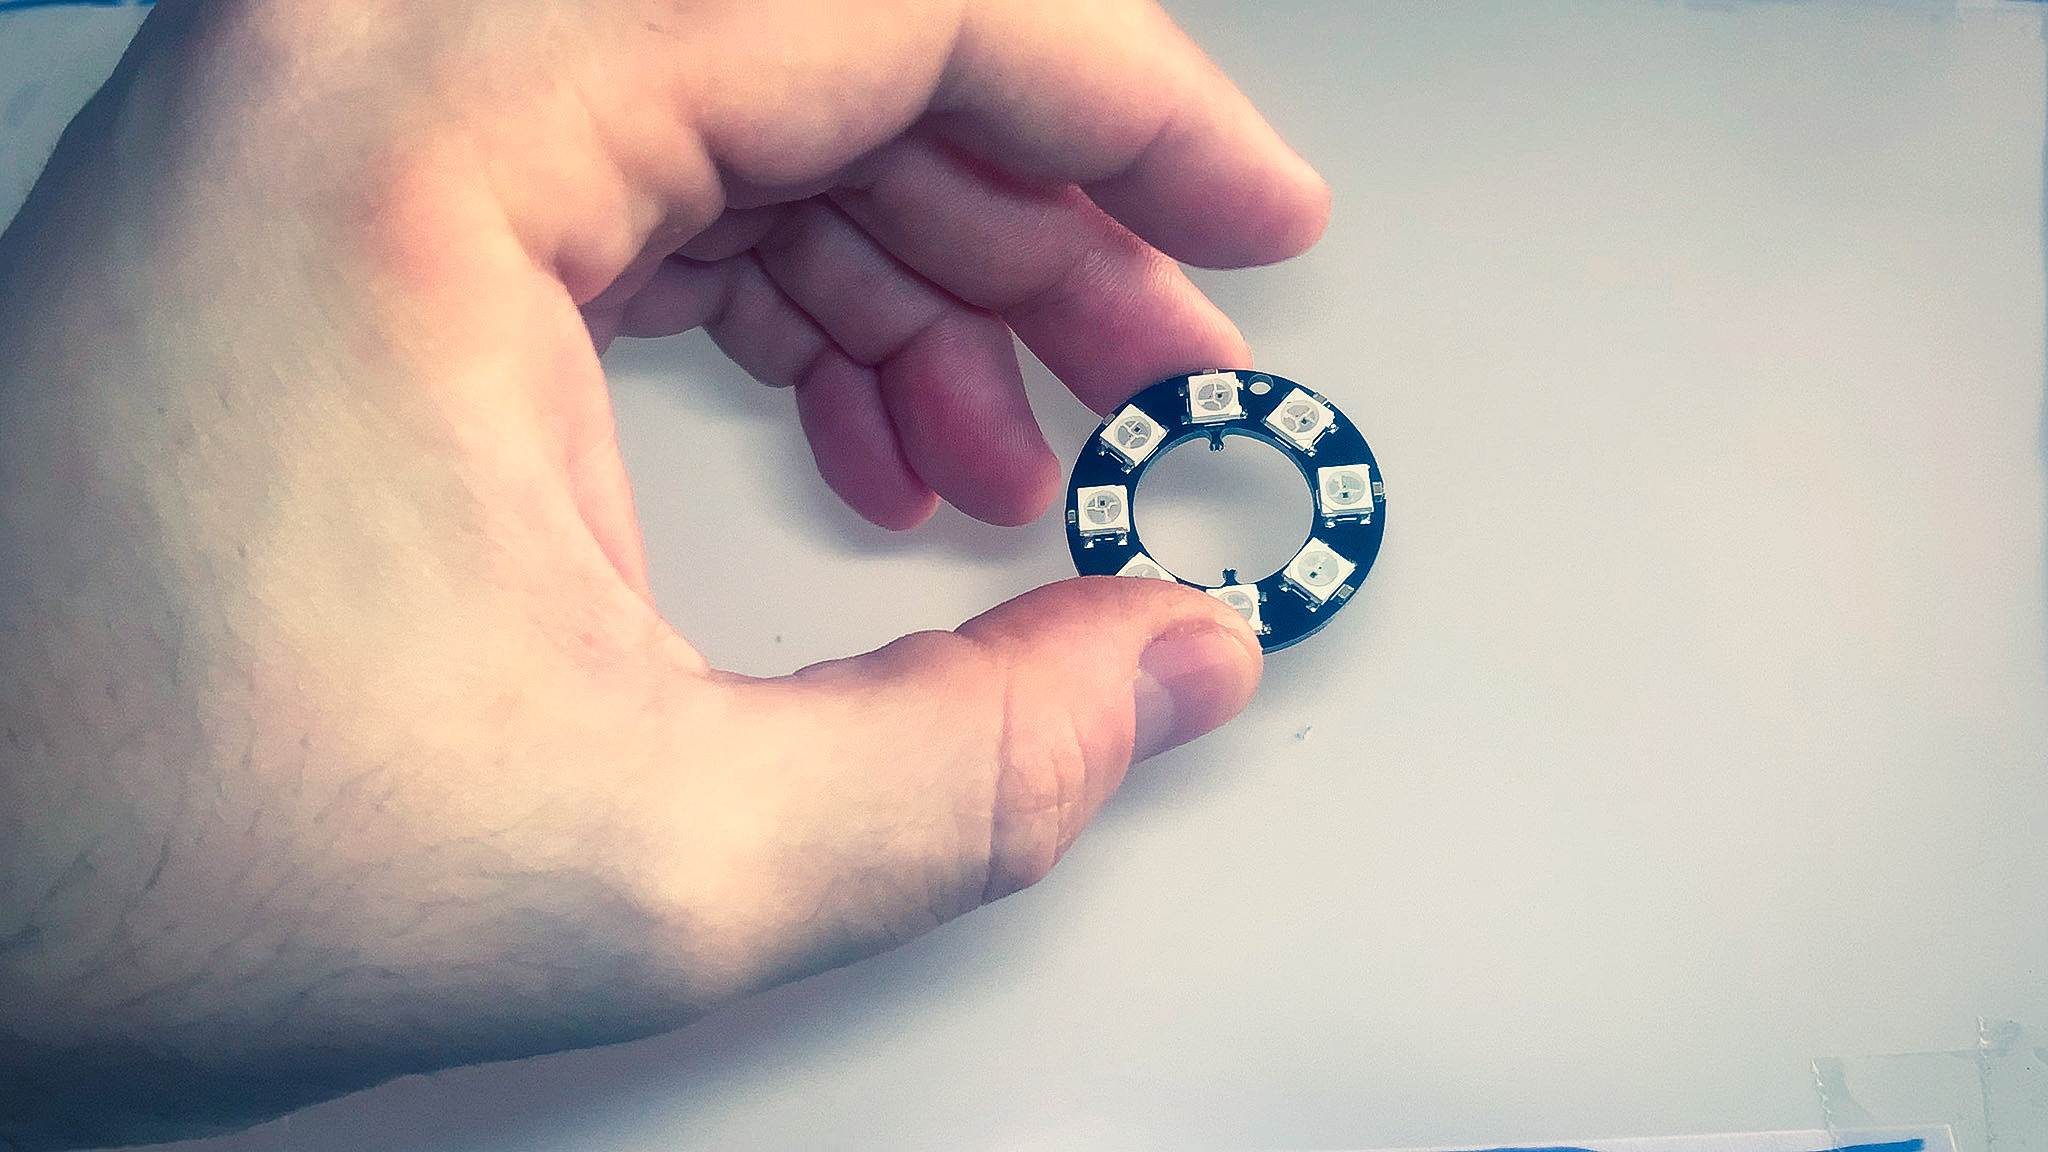
| WS2812 5050 LED Ring 8-bit (Optional) | 1 | Link | Link |
Tools
Here are the tools you are going to need.
- Small philips screwdriver
- Soldering iron (or alternative such as conductive silver epoxy)
- Needle nose pliers
- Wire cutting pliers
- Wire stripper (Optional)
- Third hand (Optional)